Configure Polylang/TranslatePress & Multilingual Sites in Breakdance Builder
Reaching a global audience has never been easier with WordPress translation plugins. Learn how you can add multilingual capabilities to your site by integrating them with Breakdance.
Christy Cañete
Updated August 31, 2023
multilingual Breakdance website
Reading Time: 5 minutes
Imagine a Spanish or Chinese visitor browsing your English website.
Having your content translated into their native language would likely make them feel at home.
A multilingual site can help increase your reach. It helps you speak to a global audience. Most importantly, it boosts user engagement.
But how do we set up multilingual capabilities in Breakdance?
There are several options available. But in this guide, I’ll show you how to make your site multilingual using TranslatePress and Polylang.
Let’s dive in.

Method 1: Use TranslatePress
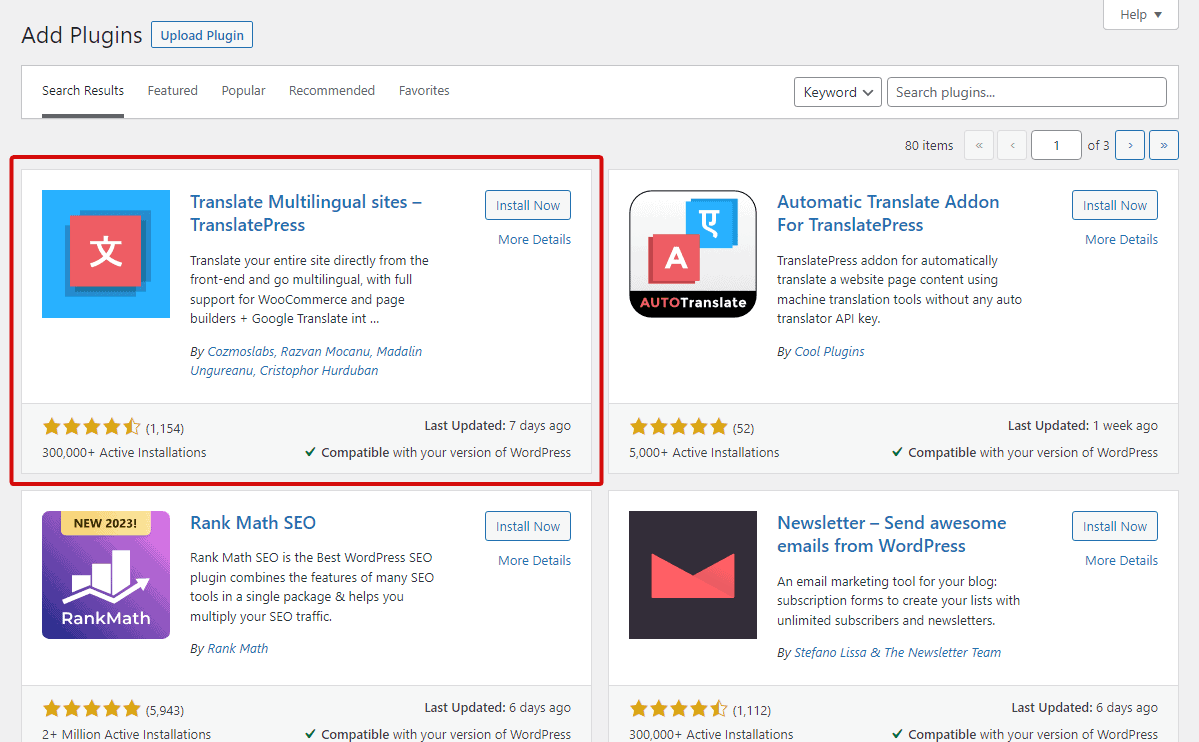
1) Install TranslatePress Plugin
On your WordPress dashboard, go to Plugins > Add New. Then, search and install TranslatePress.
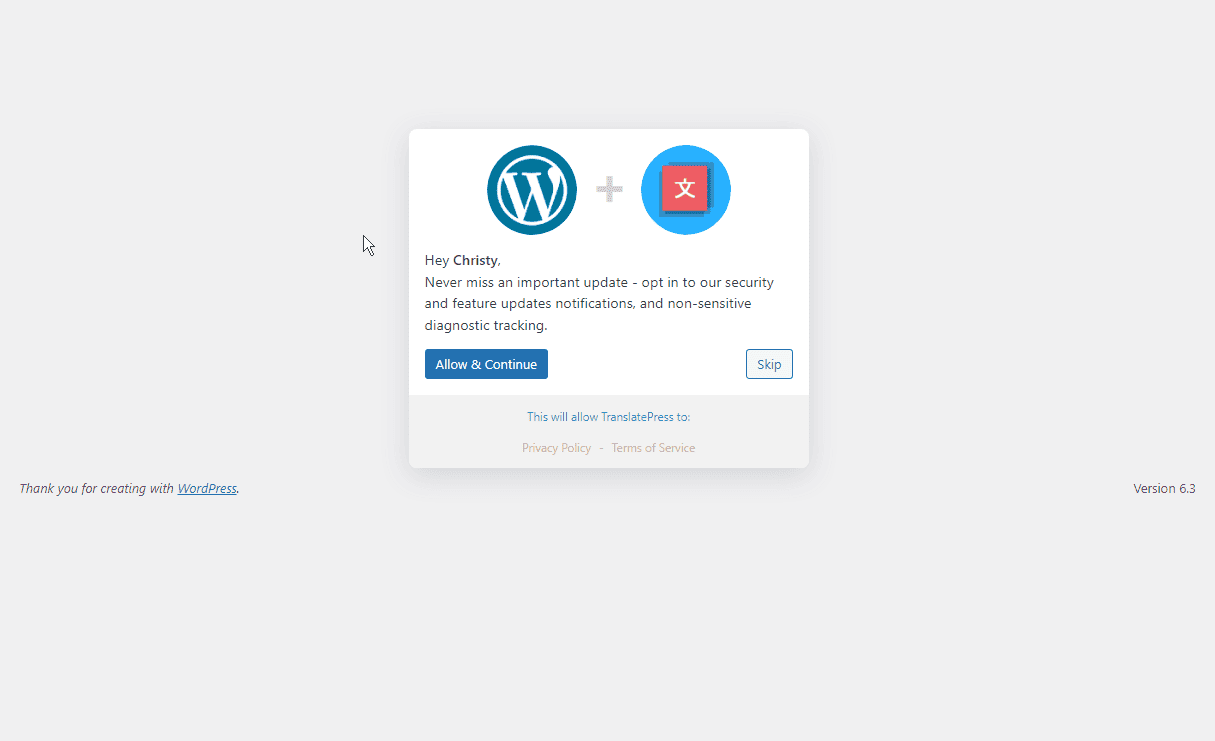
Once the installation is complete, you will be redirected to a setup wizard.
2) Configure the Plugin Settings
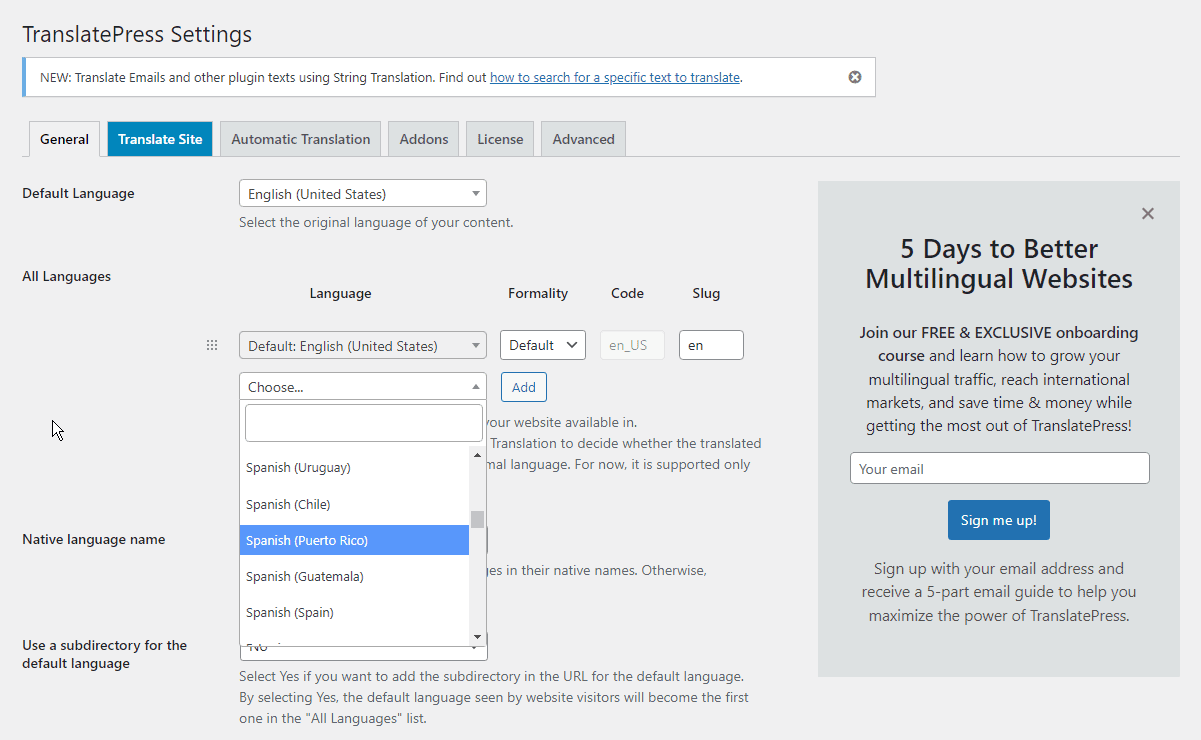
On the first page, you have the option to enable the plugin’s update notification or skip. You will then be taken to the ‘General’ settings tab.
Add a default language. In our example, we use English (United States). You can also add other languages for your content translations, like we did with Spanish.
3) Choose a Translation Tool
Select either Google Translate or DeepL to handle automatic translations of your pages. For our guide, we're choosing Google Translate.
Keep in mind: Google Translate requires an API key linked to your Google Cloud Console to function with WordPress.
To get this key, refer to the TranslatePress tutorial.
Once you secure your key, copy it.

Then, in your WordPress settings, paste the key into its designated field. Ensure you activate the auto-translate feature and hit save.

4) Preview Your Page
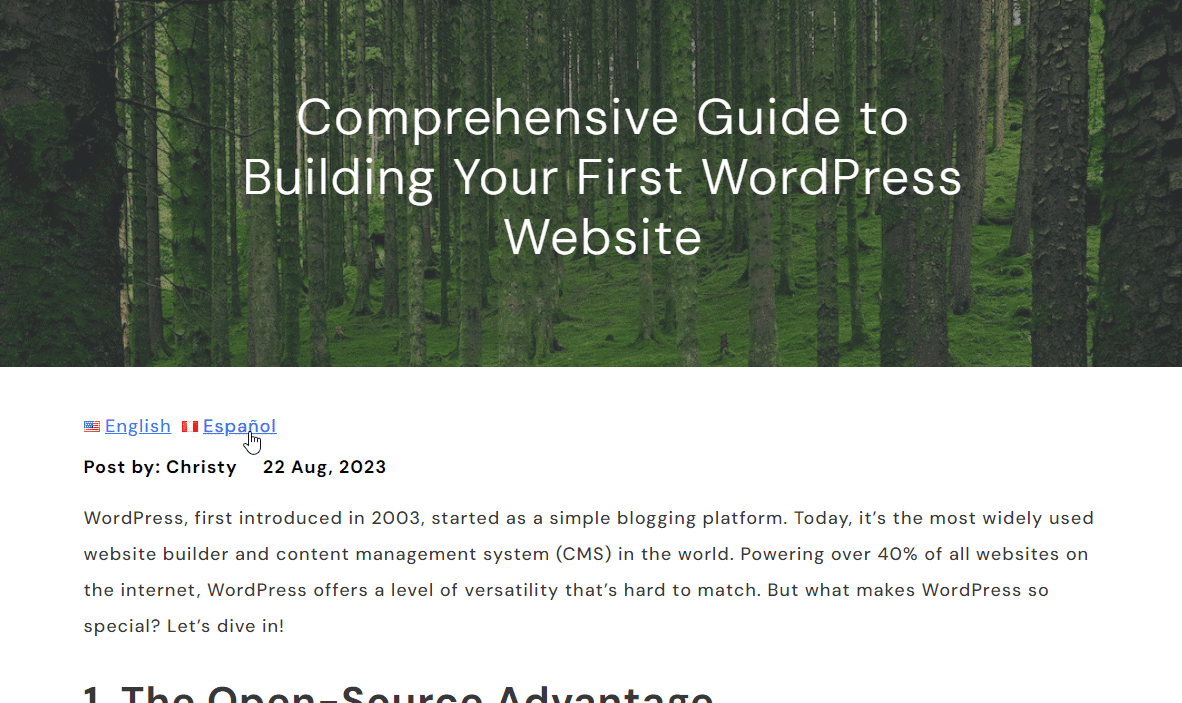
Open a page on Breakdance. In this tutorial, I’ve opened a sample article written in English. At the bottom of the page, you should see a floating box with a language drop-down menu.
Click this and choose another language to translate the page. Here, we’ve chosen Spanish.
After a refresh, your content should now be translated into your chosen language.

Method 2: Use Polylang
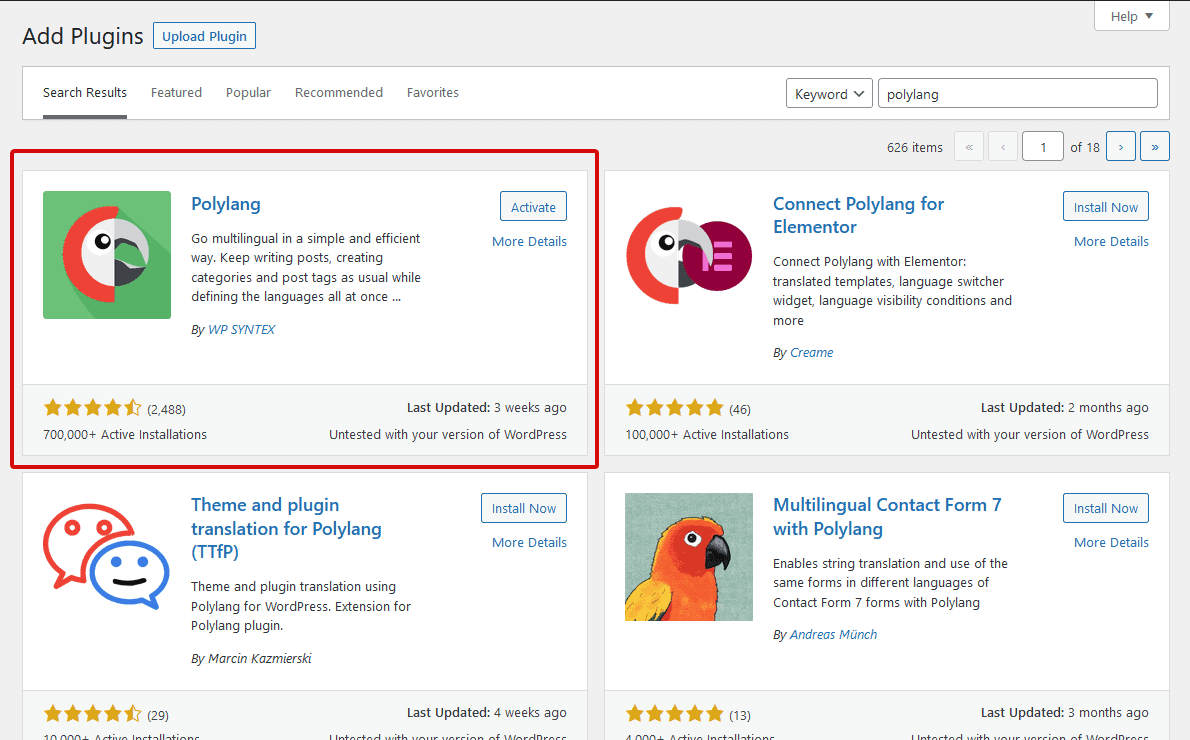
1) Install Polylang
Head to Plugins > Add New. Search and install Polylang. Then, click to activate.
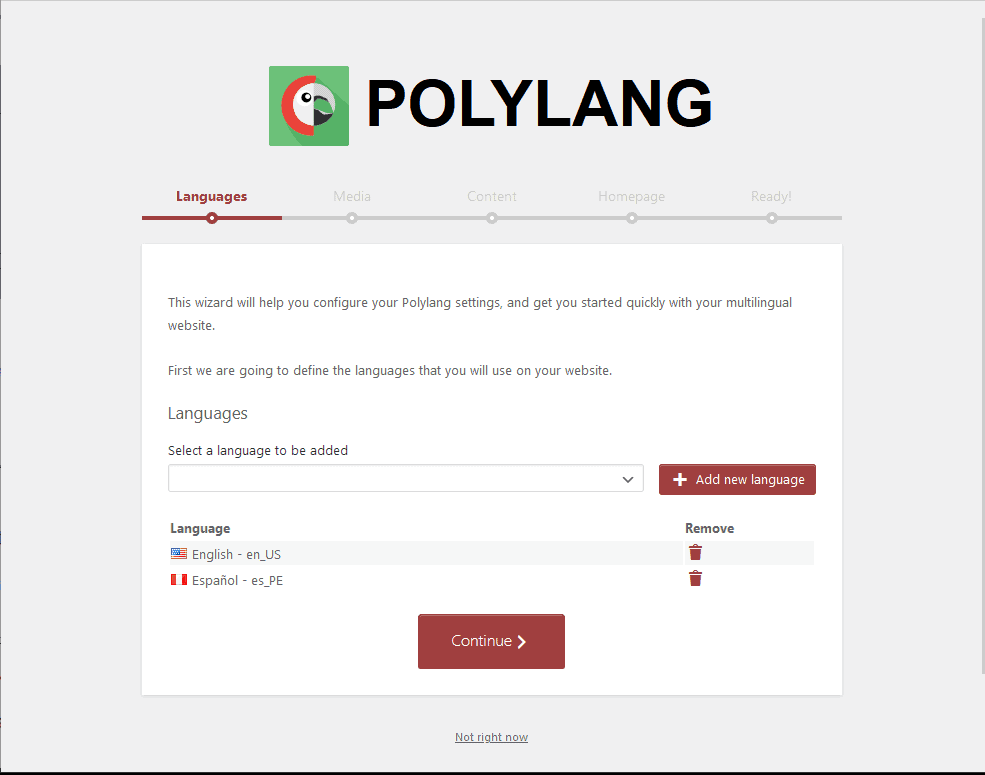
2) Configure Polylang Plugin Settings
Once activated, you will be redirected to a setup wizard. First, you’ll need to select languages to be added. Here, I’ve chosen English and Spanish.
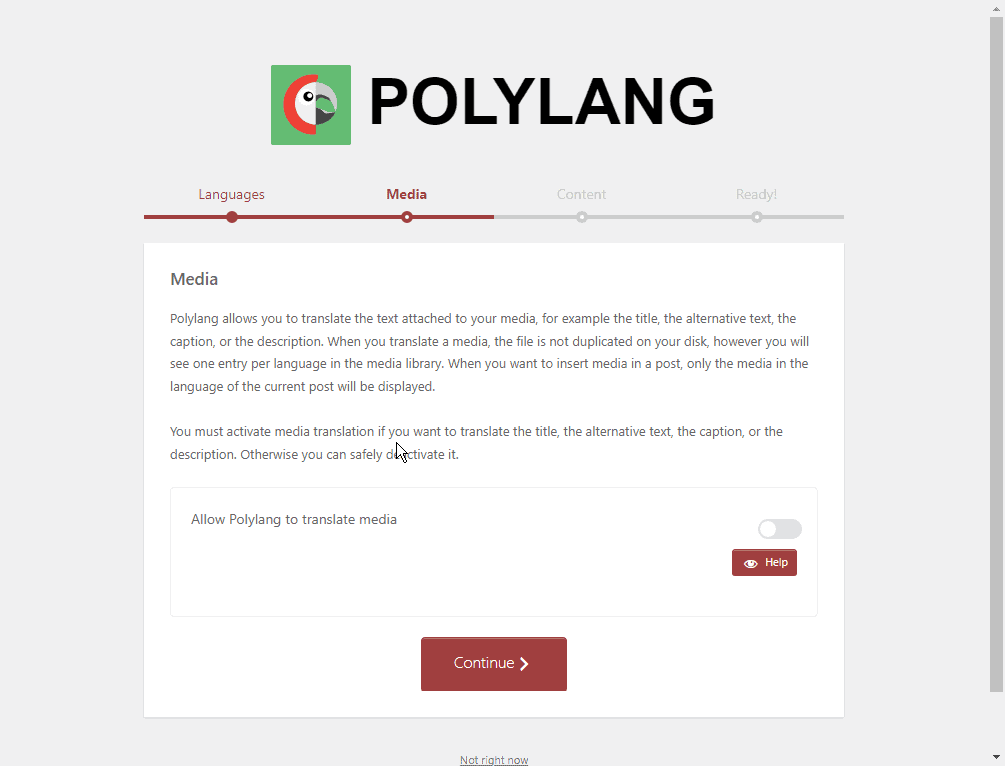
On the next page, you can configure Polylang to translate the text attached to your media. Let’s skip this for now, so click continue.
Then, assign a default language for content without language. Here, we've chosen English. Click continue.

Once you’re satisfied with the settings, click return to dashboard.

3) Install Polylang4Breakdance (Optional)
Polylang4Breakdance plugin is designed to make Polylang easier to use with Breakdance.
Of course, this is optional. If you’re an advanced user, you may configure this by adding custom PHP codes in your snippet manager or functions.php file. For beginners, I highly recommend using the plugin because it simplifies the process.
First, download the Polylang4Breakdance zip file.
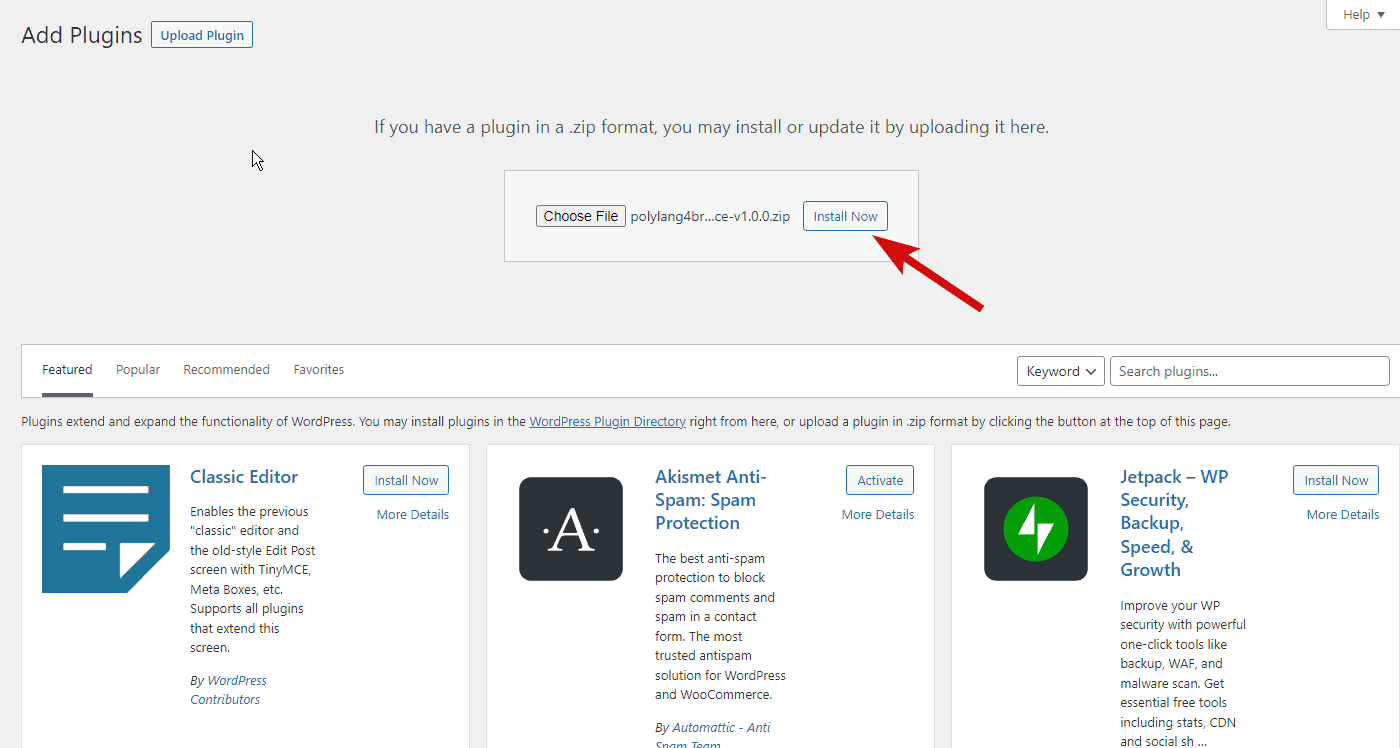
Then, go to Plugins > Add New. Click upload. Choose the zip file and click install.
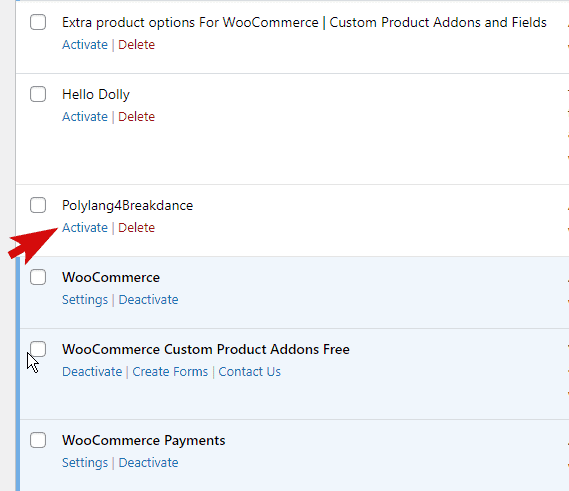
Then activate the plugin.
4) Manually Add A Translation
Let’s try to open a post and translate it into our chosen language. In the Posts section, you should see the ‘plus’ symbol on each of your published posts.
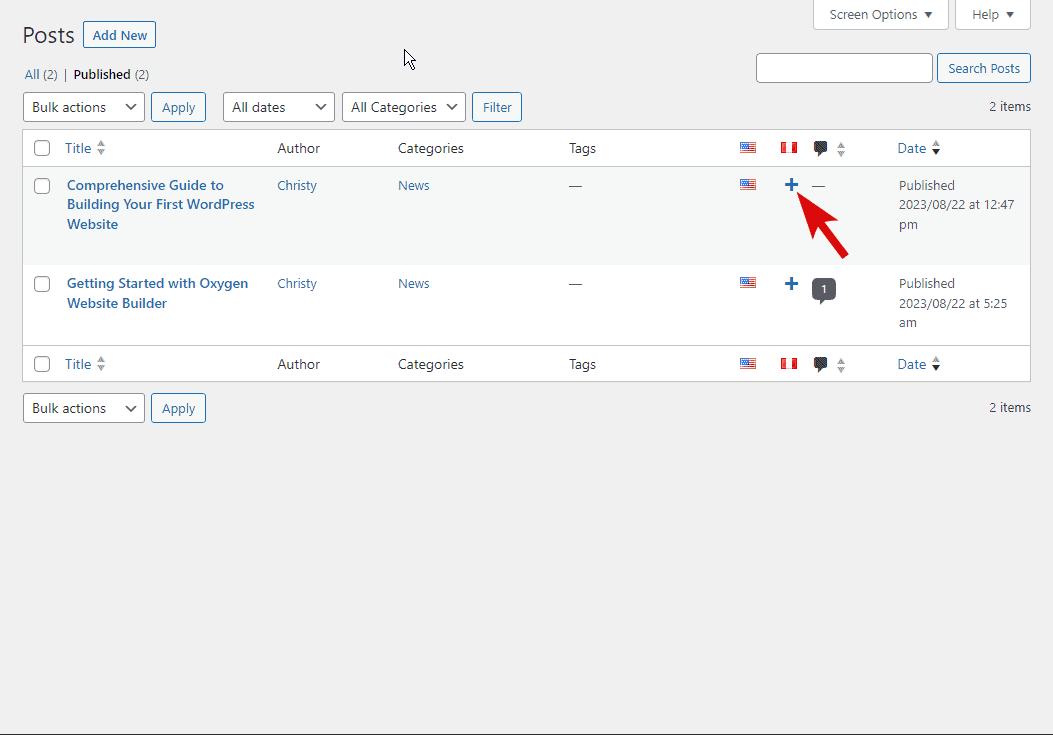
To add a Spanish translation, click the plus symbol. This will take you to a new page.
Type or paste the Spanish translation of the content on this page. Then, click save and publish.
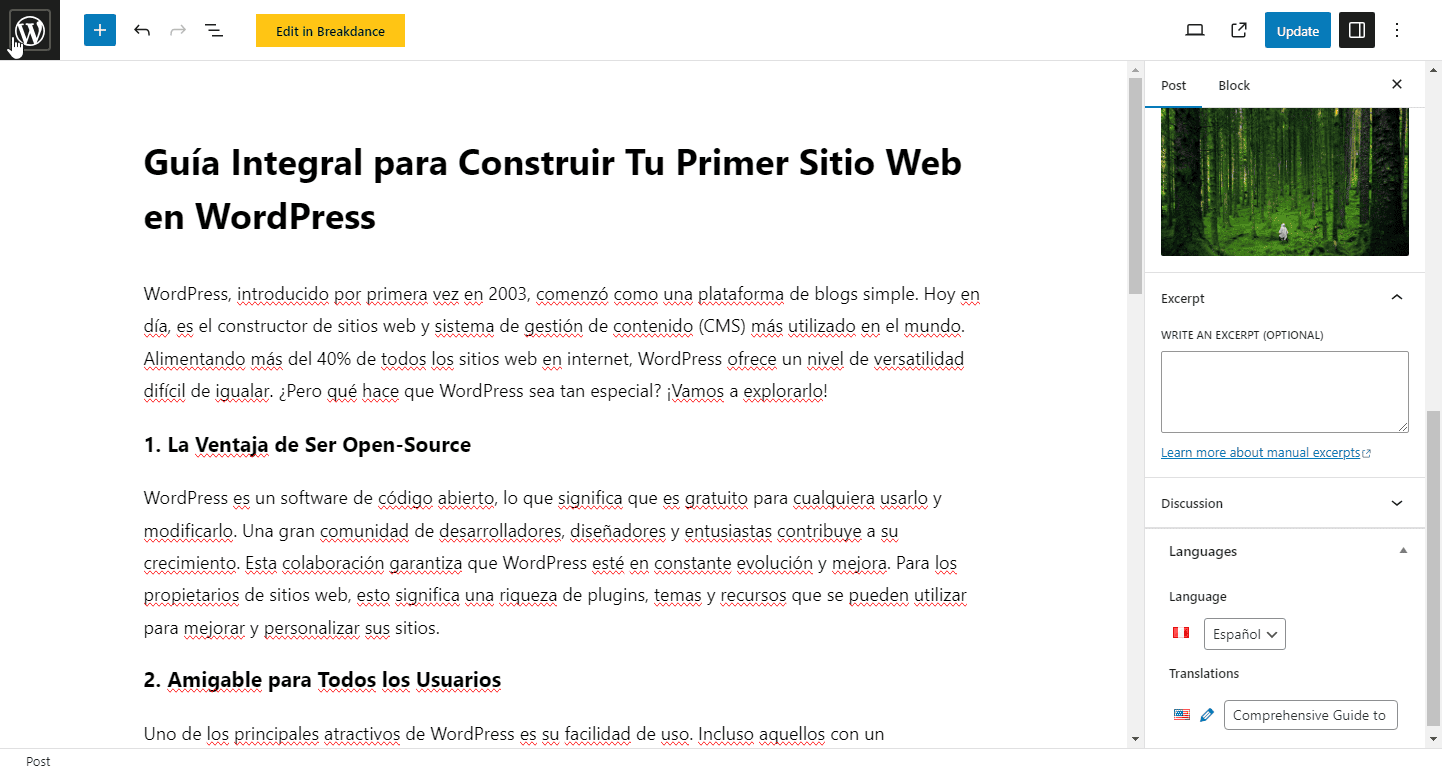
This separate page is automatically linked to the English version of your content. So, when you choose a second language, this translated page will open up.
Of course, you have the option to auto-translate the page to another language. But keep in mind that you’ll need to install additional plugins like Lingotek. Plugins might also cause poor translation of some words.
5) Add the Polylang4Breakdance Element
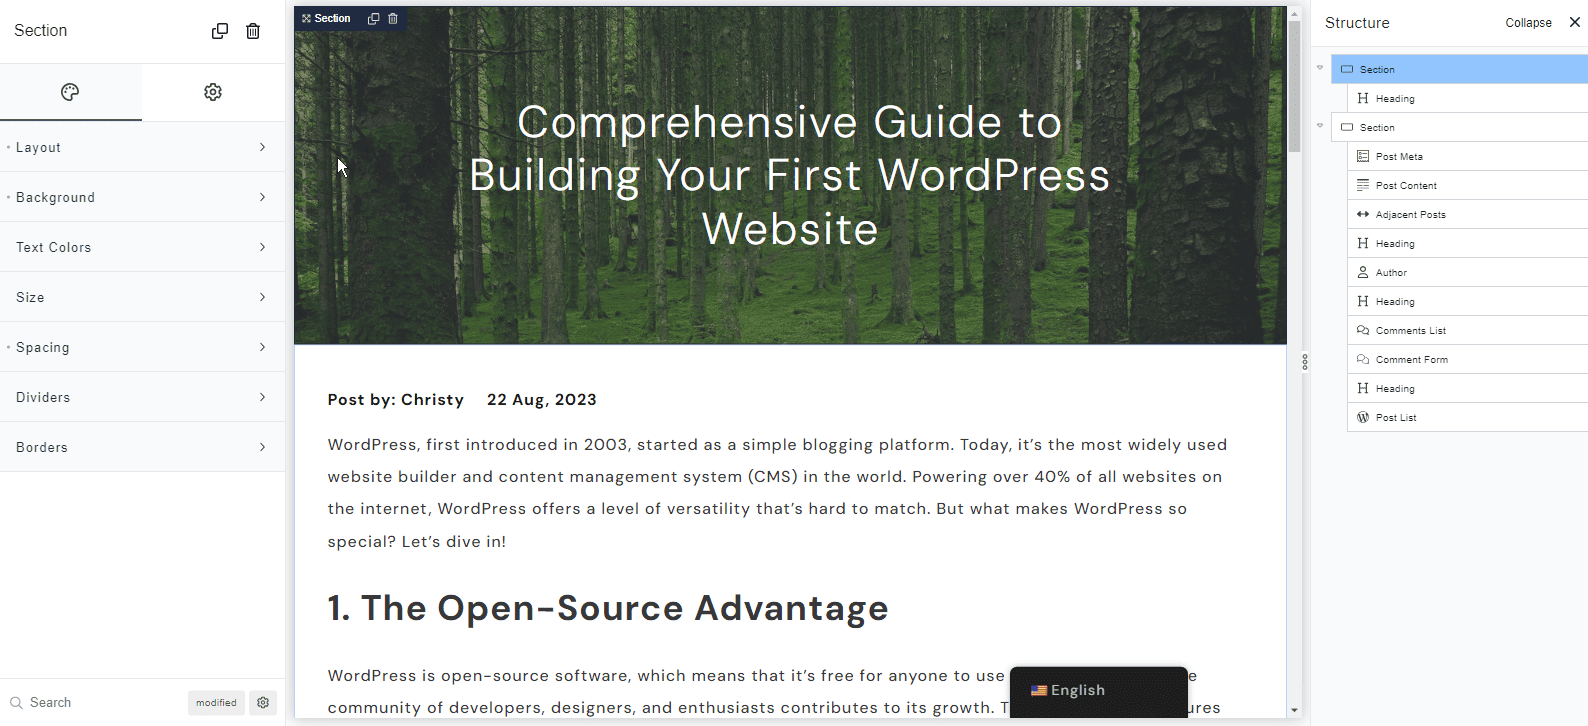
Open your single post template in Breakdance.

Let’s try to display the languages available at the top portion of our article.
On the left-side menu, click add. Search and click ‘Polylang Languages’ in your editor.
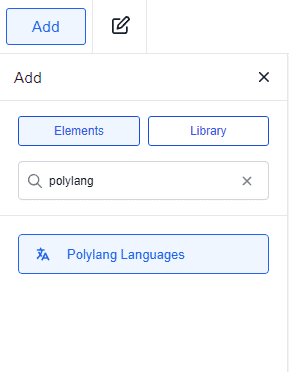
Then, drag the Polylang element to the top portion of the article. Click the settings on the left side to add style. For example, if you want to display the flags, toggle the ‘Show Flags’ option. You can also display the name and change the layout as you desire.

6) Save and Preview
Once you’re satisfied, save the changes. Then, click ‘exit to frontend’ to preview.
Here, you can pick a language to translate the page content. In this example, you can choose between Spanish and English. Once clicked, the page will reload and display the translated content.
TranslatePress vs Polylang - Which Plugin Is Better?
Both Polylang and TranslatePress work well in creating a multilingual site in Breakdance.
However, I do find TranslatePress easier to use. With just one plugin, it handles translations based on your selected language. Yet, accuracy can sometimes fall short.
Polylang may require custom coding or extra plugins for a seamless Breakdance experience. It requires manual content translation. However, this gives you the option to add accurate translations of your content.
In this guide, we’ve only covered two plugins for language translation - TranslatePress and Polylang. If you’ve tried other plugins that work well with Breakdance, please let us know in the comments!
Want to Learn Even More?
If you enjoyed this article, subscribe to our free newsletter where we share tips & tricks on how to use tech & AI to grow and optimize your business, career, and life.