How to Automatically Find Work Emails of LinkedIn Contacts Using Clay
Finding work email addresses of your LinkedIn contacts doesn't need to be a cumbersome process. This guide will teach you how to automate this process!
Christy Cañete
Updated August 7, 2023
Reading Time: 6 minutes
Gathering email addresses from potential leads manually can be a laborious process. What if I told you that there’s an easy way to automate this process?
In this guide, we’ll explore how to use Clay to find work emails from a list of LinkedIn profiles without investing tens of hours, or investing in a variety of different tools.
By the end, you should be able to learn how to filter names and add enrichments to your Clay table to fetch LinkedIn information from your prospects.
So, let’s dive in!
Why Get Work Emails from Linkedin?
LinkedIn has become the best platform to network with other businesses and professionals in any industry. With millions of active users, you can leverage this platform to reach targeted prospects, from a company’s decision-makers to the influencers in a respective sector.
However, generating leads in bulk can be a tough job. Sending personalized emails and staying connected with your prospects can take a lot of time and effort.
This is exactly one of the challenges that Clay is trying to solve. One reason why I love using this platform is that it helps me gather email addresses from my LinkedIn contacts with just a few clicks.
With Clay, your email marketing efforts become more efficient without lifting a finger.
Steps to Find Work Emails of Linkedin Contacts Using Clay
1. Import List of LinkedIn URLS of Contacts
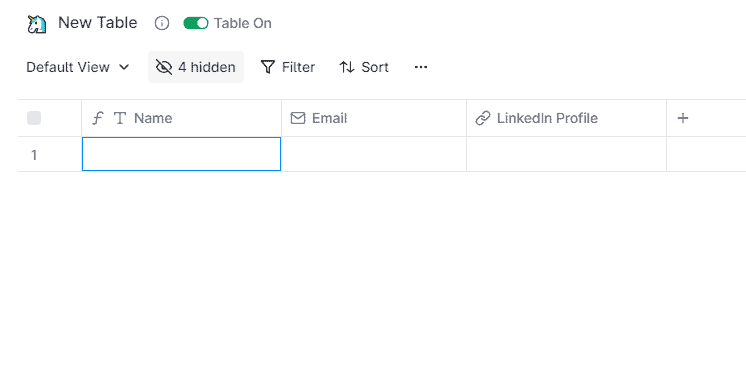
On your Clay dashboard, create a new table. By default, Clay will load a table with the Name, Email, and LinkedIn Profile columns. Note that you have the option to hide some of these columns by tapping the ‘hidden’ button.
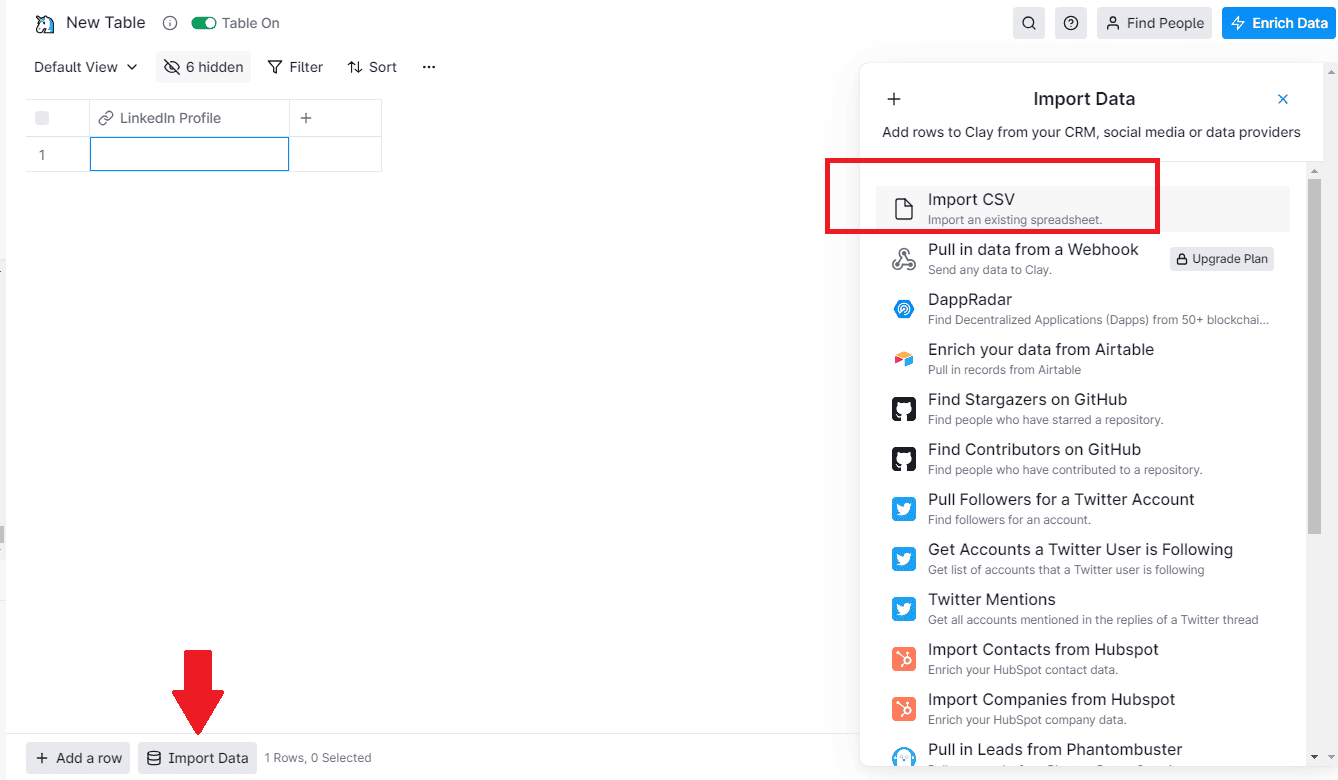
Let’s add the LinkedIn URLs of our contacts. If you have a CSV file, you can simply import it by hitting the ‘Import Data’ button below the page. Then, choose import CSV.
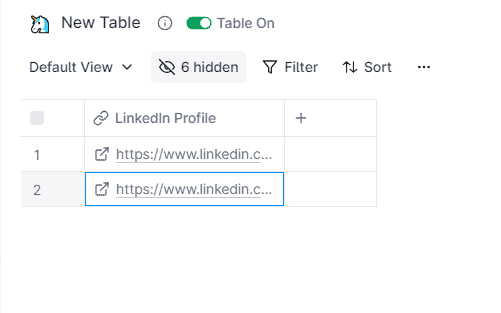
In this example, let’s just enter the LinkedIn URLS manually under the LinkedIn Profile column, as shown below.
2. Add Enrich Person from LinkedIn Profile
The next thing we need to do is extract all the public information of our LinkedIn contacts.
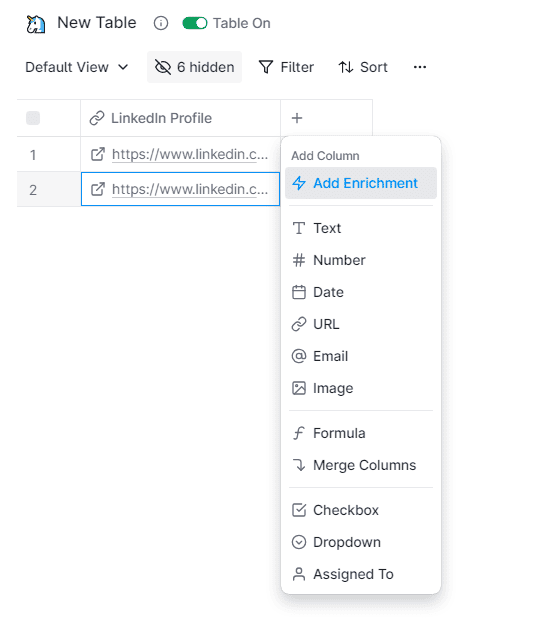
Tap the ‘+’ symbol next to the LinkedIn Profile column to add a new column. Then, choose ‘Add Enrichment.’
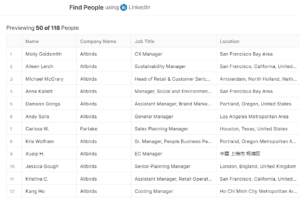
Let’s search for the ‘Enrich Person from LinkedIn Profile’ action. Here, you can type the keywords on the search bar and then tap this option, as I did below.
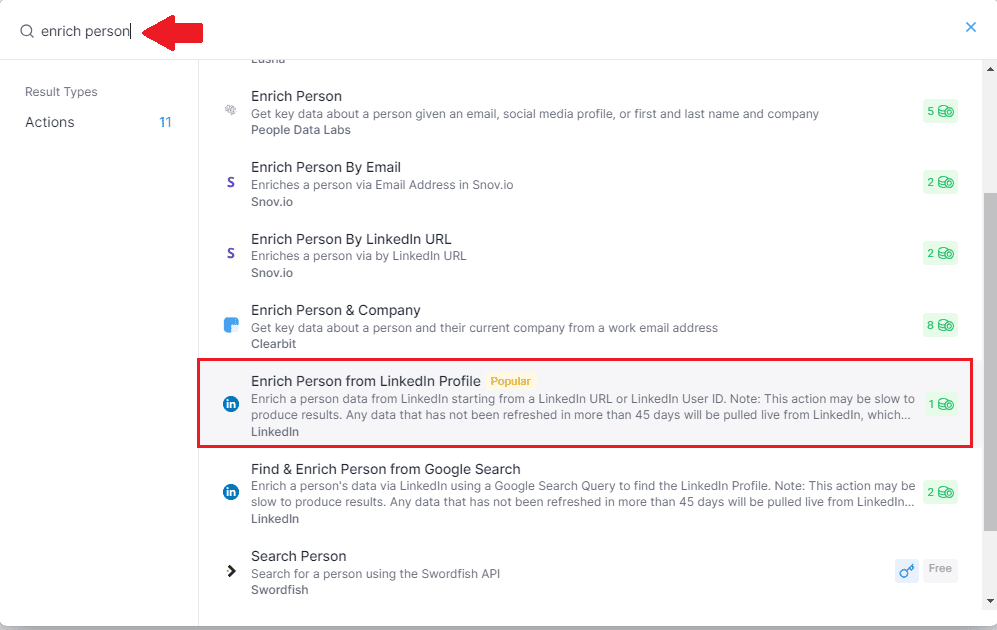
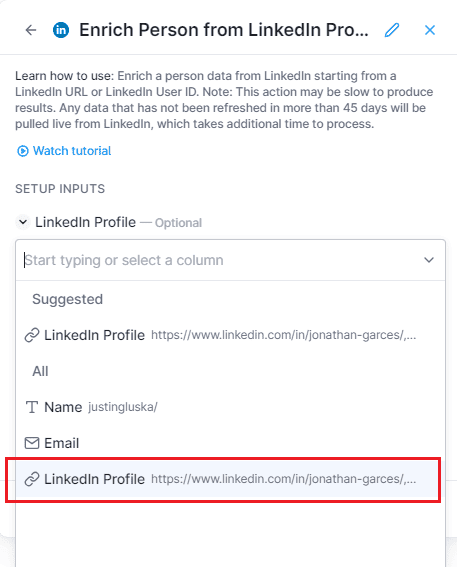
You should now see a new window with options to set up your inputs. Let’s try to add the ‘LinkedIn Profile’ of our contacts under the ‘LinkedIn Profile’ dropdown menu. This will trigger the app to fetch all our contact’s information from the LinkedIn URL.
You should now see a new column added with the contact’s full name.
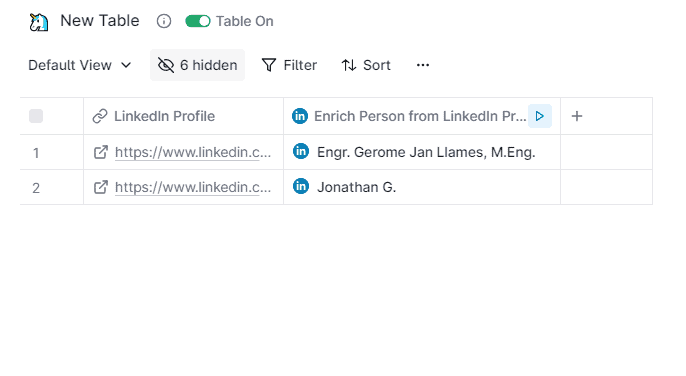
Notice that Clay might sometimes fetch names with salutations or positions included. Often, you won’t need these extra titles in your database.
Thankfully, Clay has integrated GPT4 to help you filter your contacts’ names. This is exactly what we’re going to do in the next step.
3) Use AI Prompt to Clean Contact Names
Let’s add another enrichment to our table.
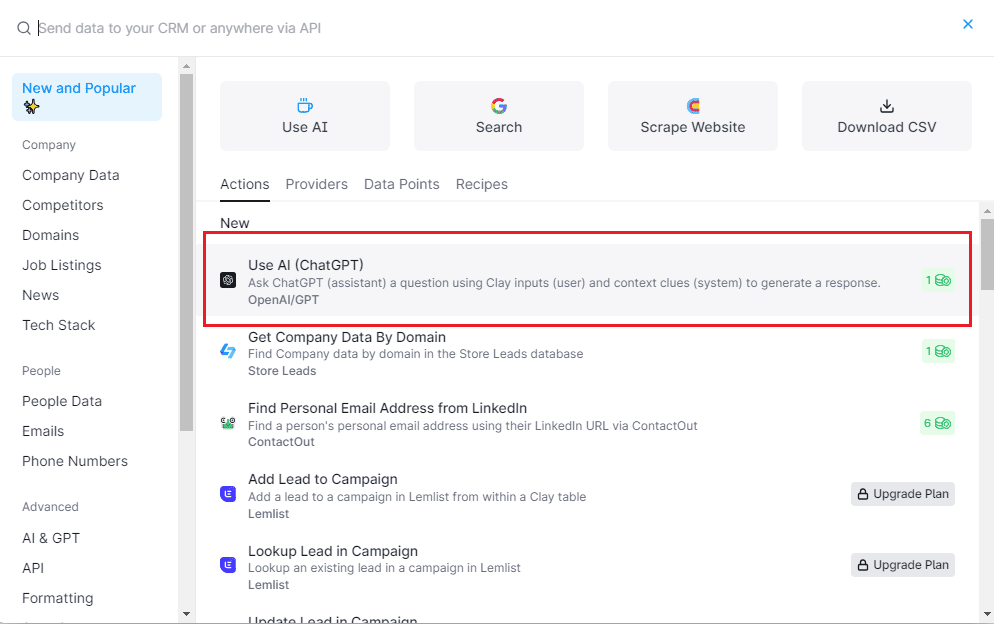
Within the ‘Actions’ tab, choose ‘Use AI (ChatGPT).’
Next, we’re going to give chatGPT instructions on how we want our contact names to be filtered. For example, I entered the following prompt:
‘Please extract the user's full name from / name and remove titles, commas, backslashes, and other special characters. Make sure to capitalize the first letter of the first name and last name of the user.’

You can also edit the name of your column to make it more descriptive, as shown in the image above.
Once you’re done, save your settings and run.
4) Add the Company Name and Domain
Next, we’re going to need our contact’s company name and domain to get their work emails.
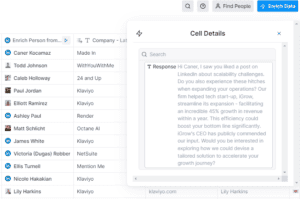
First, tap one of the rows within the ‘Enrich Person from LinkedIn Profile’ column. A new window should appear, showing all the public information about our LinkedIn contact.
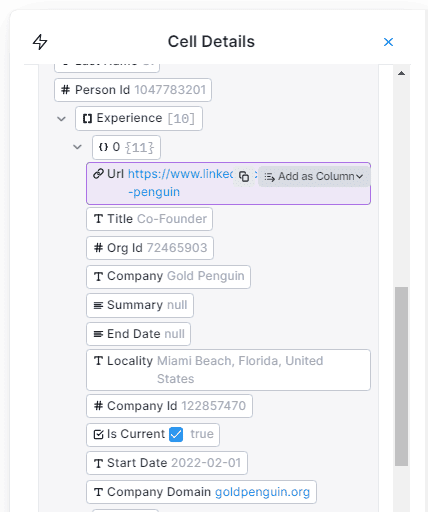
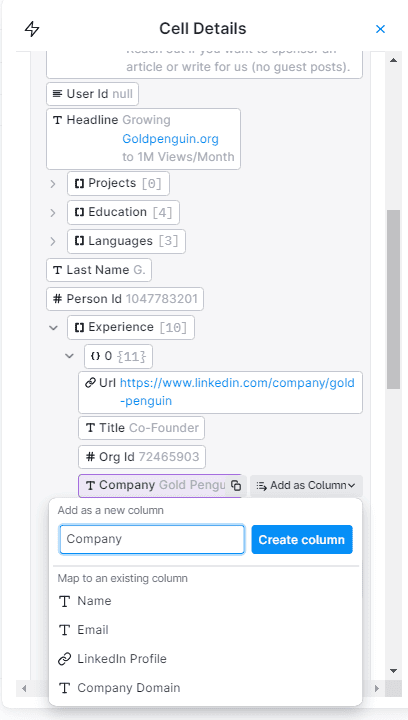
Now, scroll down to the ‘experiences’ section and tap it. Then, look for the company name and hit the ‘Create column.’
Again, go back to the experiences section and search for the company’s domain. Then, tap ‘Add as Column.’
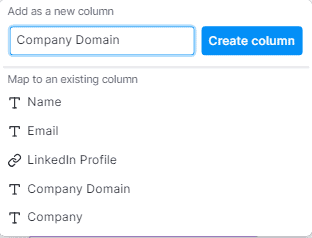
You should now see the two new columns added to your table.
5) Find Work Emails Using the Waterfall Method
Sometimes, using a single app may not be enough to find our contact’s correct email address. For this reason, Clay allows you to integrate third-party apps so you can have the options to improve your results.
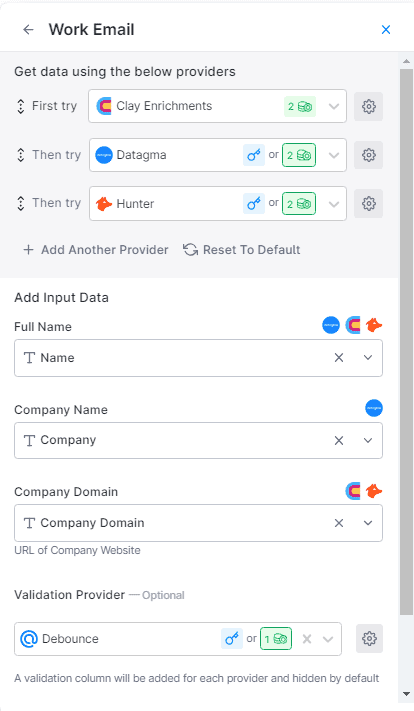
Here, we’re going to use three apps in a cascaded order and these are Clay Enrichments, Datagma, and Hunter. This simply means if the first app cannot find the information, the next app will be activated to look for the data. If it fails again, the next app will run.
So, let’s add enrichment to our table.
Then, go to ‘Data Points’ and click ‘Work Email.’
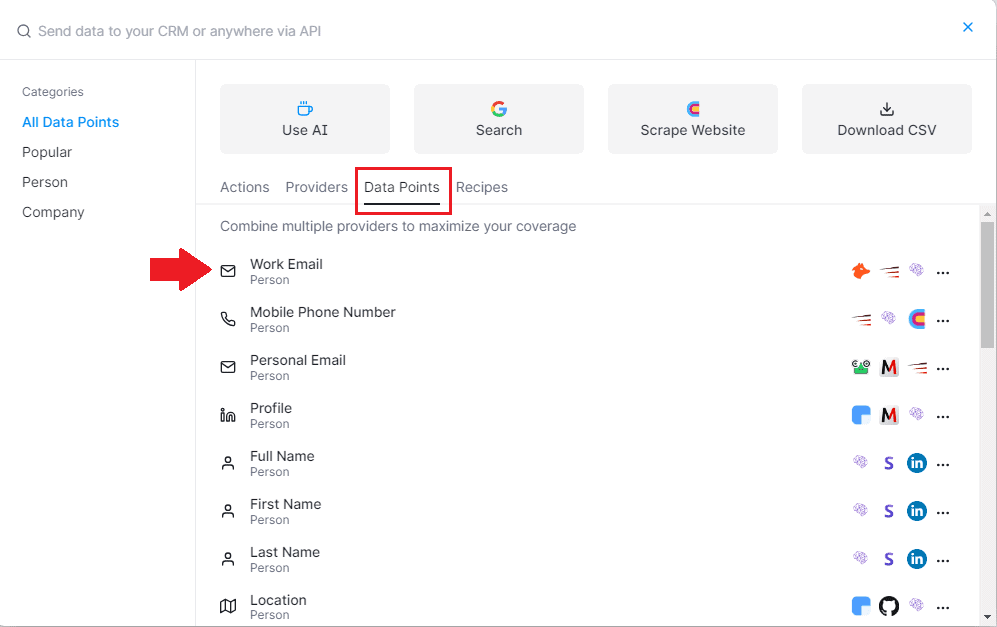
You should now see a new window containing all the options you can add to fetch your contact’s email address.
As mentioned, we’re going to use three providers. Then, we’ll need to input the contact’s name, company name, and company domain, as shown below.

At the bottom, we’ll use Debounce as our email validation provider. This plugin will help us ensure that all emails fetched are valid and active. Email validation will also help you save resources and improve the efficiency of your marketing campaigns.
Once everything is set, click save and run.
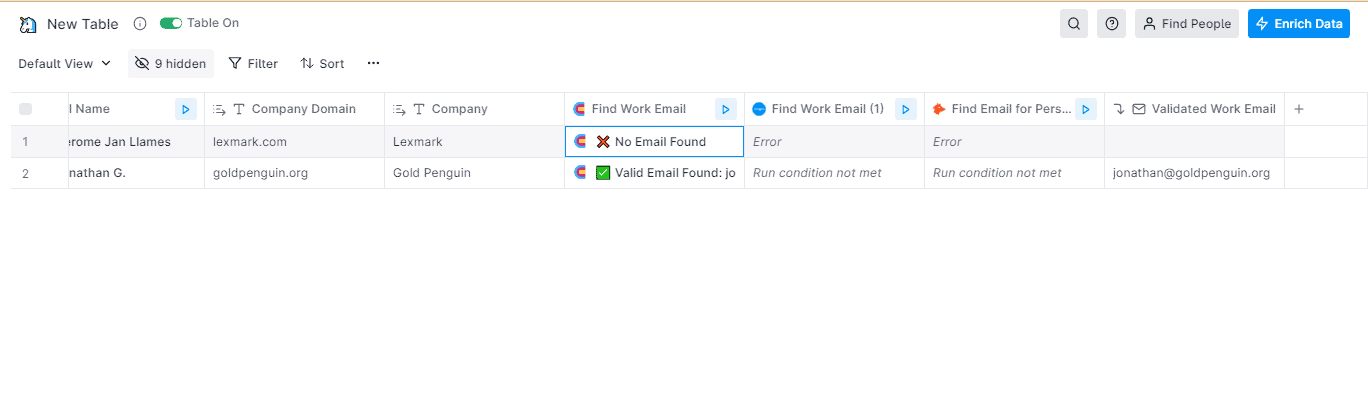
You should now see new columns added containing the work emails of your LinkedIn contacts.

What’s Next?
Getting email addresses from LinkedIn is just the beginning.
Your next focus is to create engaging and personalized emails to keep your target prospects interested. Clay also has built-in features to help you write awesome first-line messages that stand out.
For instance, you can write customized cold emails based on your leads location. With the help of Clay, you significantly boost the odds that each message you send is not only opened and read but also escapes the dreaded spam folder!
Hope you find this guide helpful. If you have any thoughts to share, please leave them in the comments below!
Want to Learn Even More?
If you enjoyed this article, subscribe to our free newsletter where we share tips & tricks on how to use tech & AI to grow and optimize your business, career, and life.