How to Use Undetectable AI's Smart Applier in 2026
Job hunting doesn’t have to be exhausting. This guide shows you exactly how to automate your applications with Undetectable AI’s Smart Applier.
John Angelo Yap
Updated June 17, 2026

An AI on a job interview, generated with Midjourney
Reading Time: 6 minutes
If job hunting has been draining the life out of you lately, you’re not alone. The endless cycle of tailoring resumes, rewriting the same career summaries, and filling out job forms that ask for your work history after you've uploaded your resume? Yeah, it gets old fast.
Use Undetectable AI to humanize resumes, cover letters, and job-search drafts before they reach a recruiter.
Enter Undetectable AI’s Smart Applier. It’s a tool designed to take the repetitive parts of the job-search process and automate them: building your profile, matching jobs, tailoring application material, filling forms, and tracking what you’ve sent.
For 2026, I’d think of Smart Applier less like a magic “get hired” button and more like a job-application workflow assistant. It can save a ton of time, but the best results still come when you review the details before important applications go out.
This article will walk you through the full setup process. No guesswork, no fluff. Just a clear, step-by-step guide to getting Smart Applier up and running.
Quick Setup Checklist
| Setup area | What to check before applying |
|---|---|
| Profile | Name, location, contact info, portfolio, LinkedIn, and work authorization details. |
| Resume | Dates, job titles, skills, metrics, and anything the AI rewrote from your upload. |
| Preferences | Target roles, salary range, remote/on-site preference, seniority, and location filters. |
| Applications | Review role fit, customized answers, salary fields, and any required open-ended responses. |
How To Automatically Apply for Jobs with the Smart Applier
Step 1: Create or Log In to Your Undetectable AI Account
First things first, head over to Undetectable AI and either sign up for a free account or log in if you already have one.
Once you're in, you'll land on the dashboard. From here, you can access all of Undetectable AI's tools, but today, we’re focusing on Smart Applier.
Step 2: Open the Smart Applier Tool
From the dashboard, look for the feature labeled Smart Applier. Click into it, and you’ll be taken to a setup screen.
This is where the real work (and magic) starts.
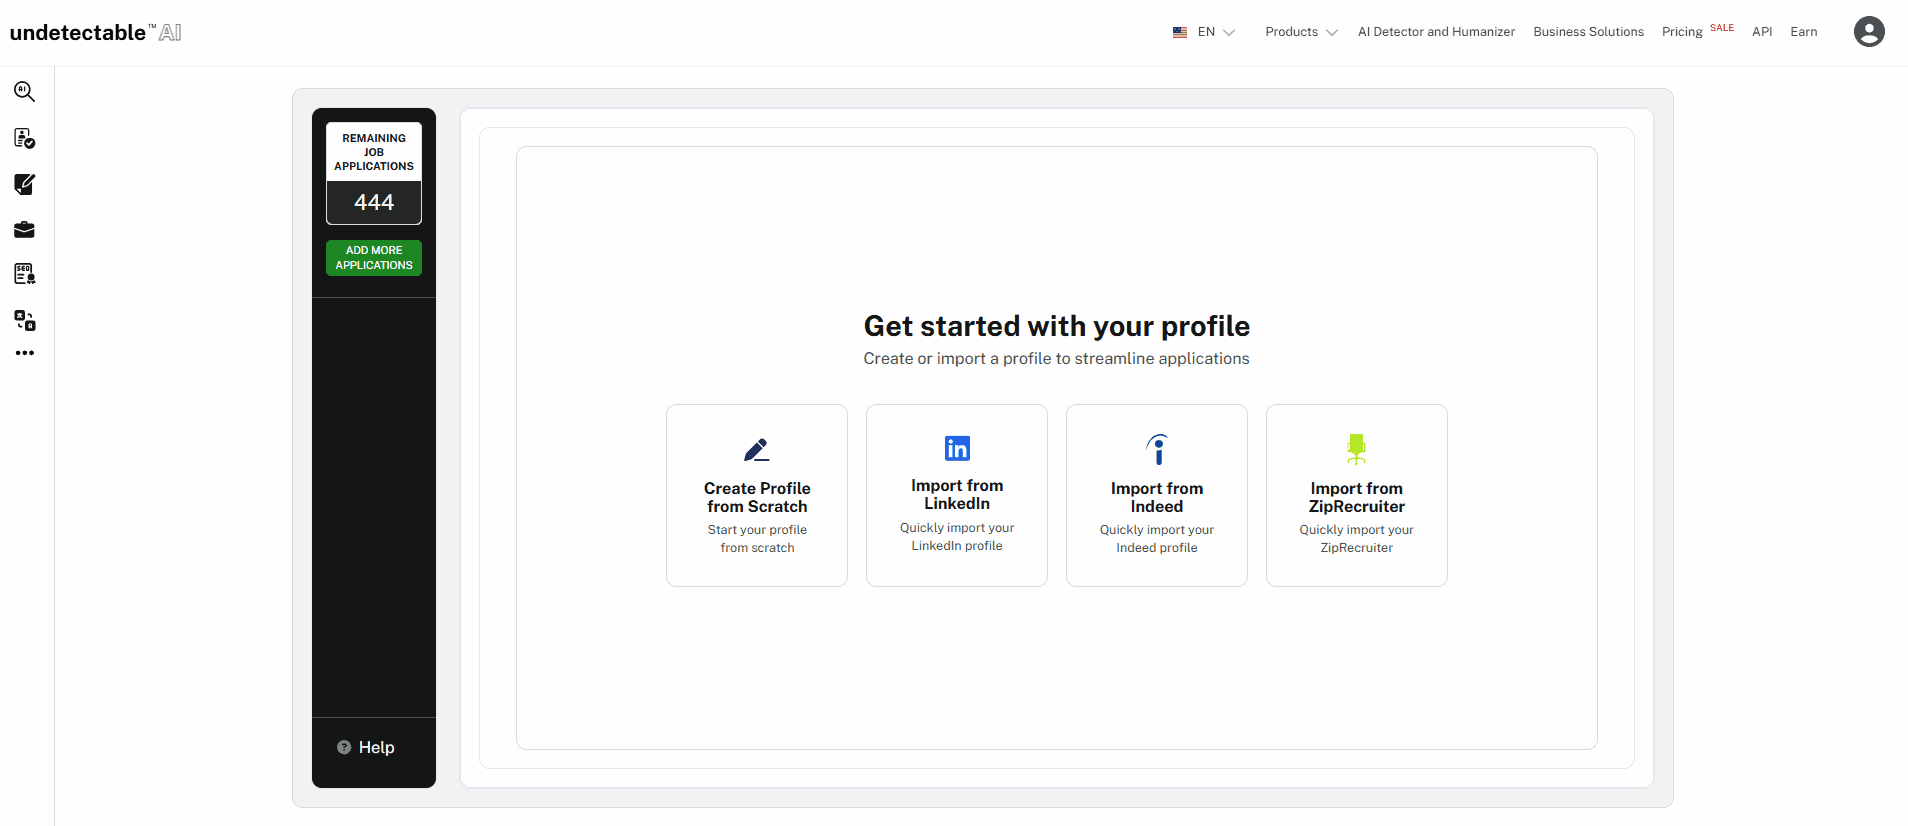
Step 3: Create Your Profile
You have two options here:
- Build your profile from scratch
- Start from a resume/profile import if available, or build manually
If you're starting from scratch:
- Add your basic details: name, email, phone, location.
- Paste links to any relevant profiles (LinkedIn, portfolio, etc.)
- Upload a resume (if you have one handy)
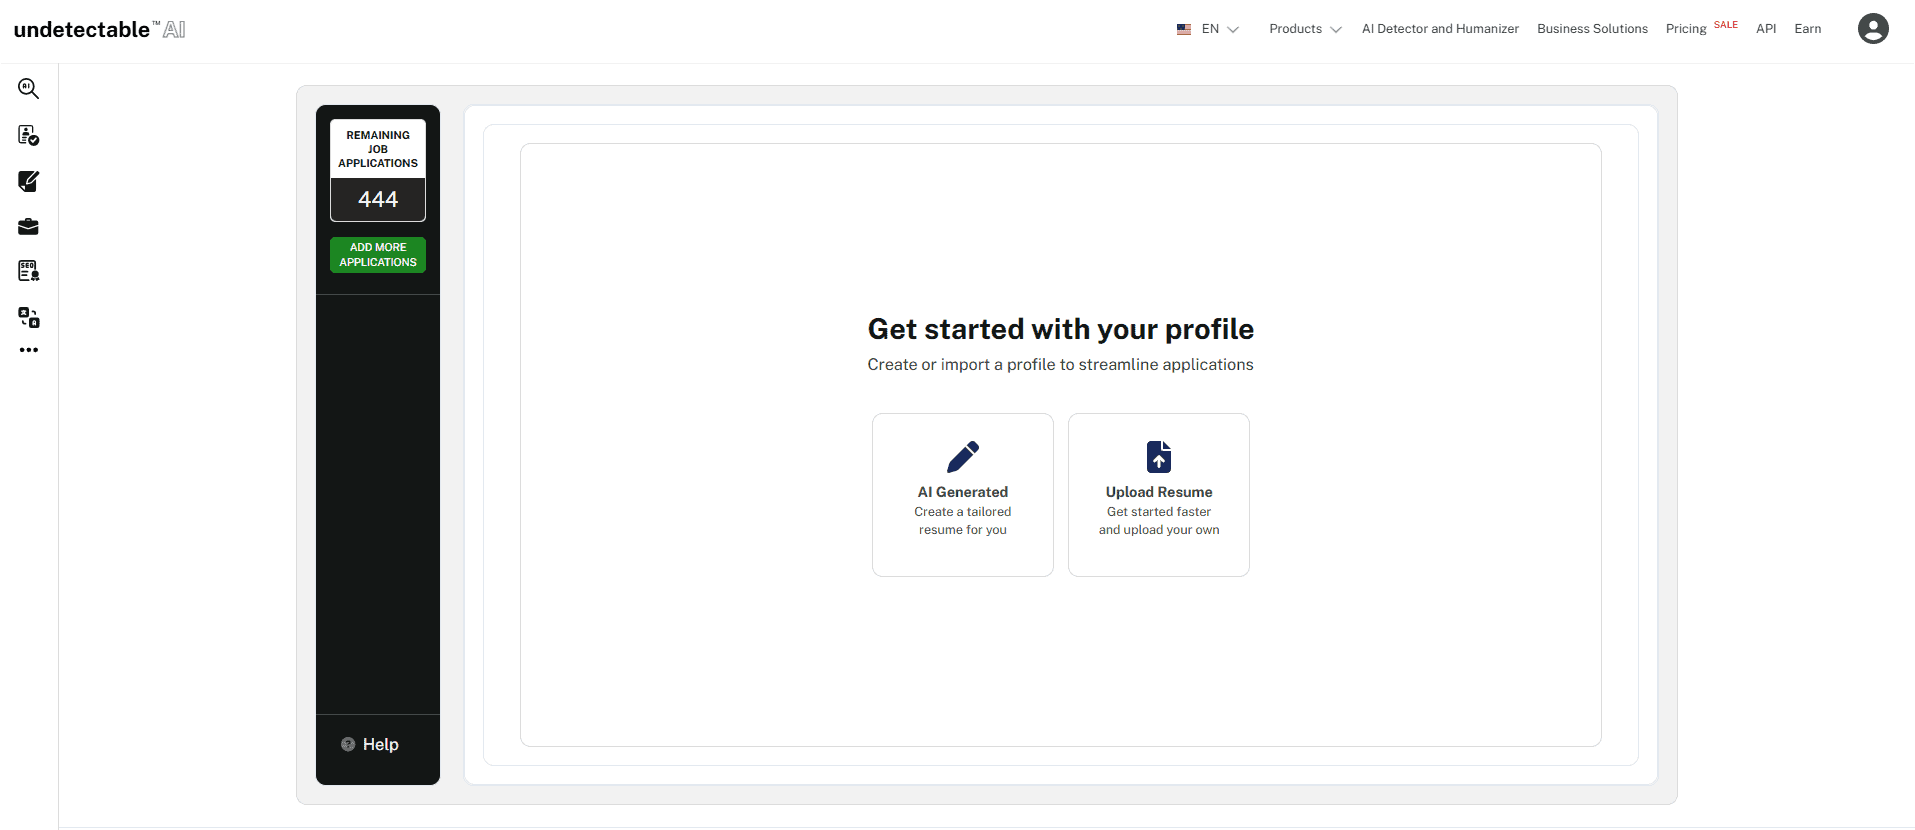
Once uploaded, the tool will parse your resume data—but don’t worry, you can edit everything manually too.
Step 4: Write Your Professional Summary
This section gives Smart Applier the info it needs to auto-generate job applications. Keep it short, relevant, and keyword-optimized.
You’ll be asked:
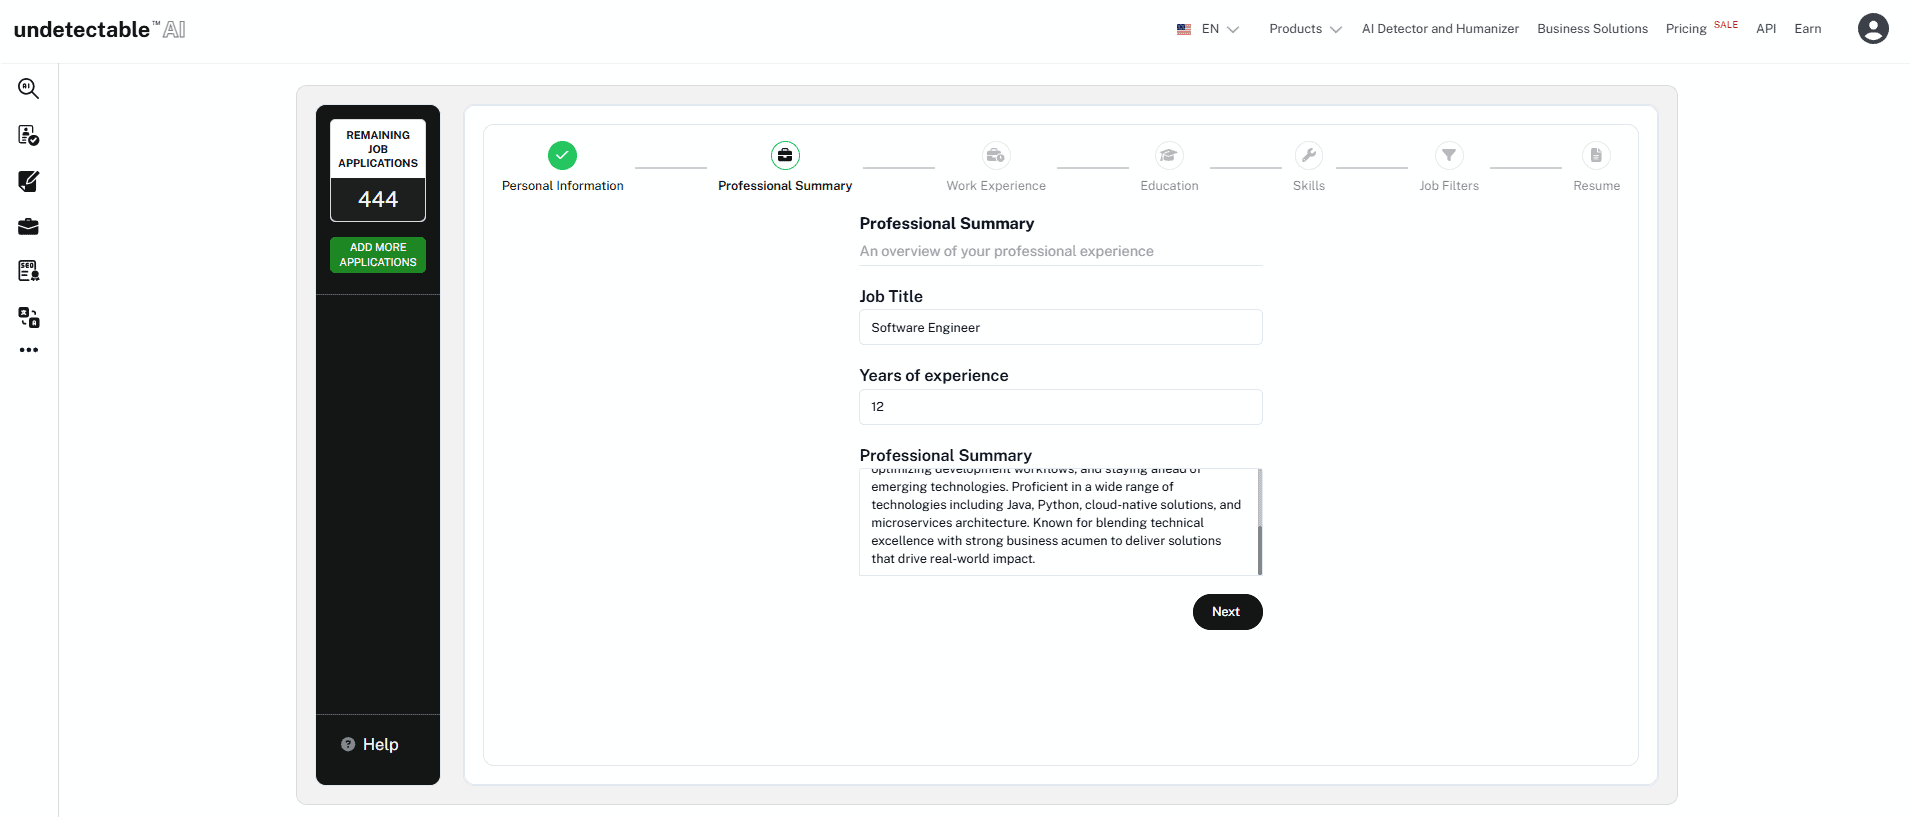
- What’s your current/most recent job title?
- How many years of experience do you have?
- What industries or roles are you targeting?
Pro tip: Be specific here. This summary will be reused across multiple applications, so treat it like a flexible baseline instead of a one-size-fits-all intro. The more precise your target roles are, the less cleanup you’ll need later.
Step 5: Add Work and Education History
Now it's time to plug in your work experience. If you uploaded a resume earlier, most of this should already be filled in. Double-check the dates, job titles, and companies to make sure they look right.
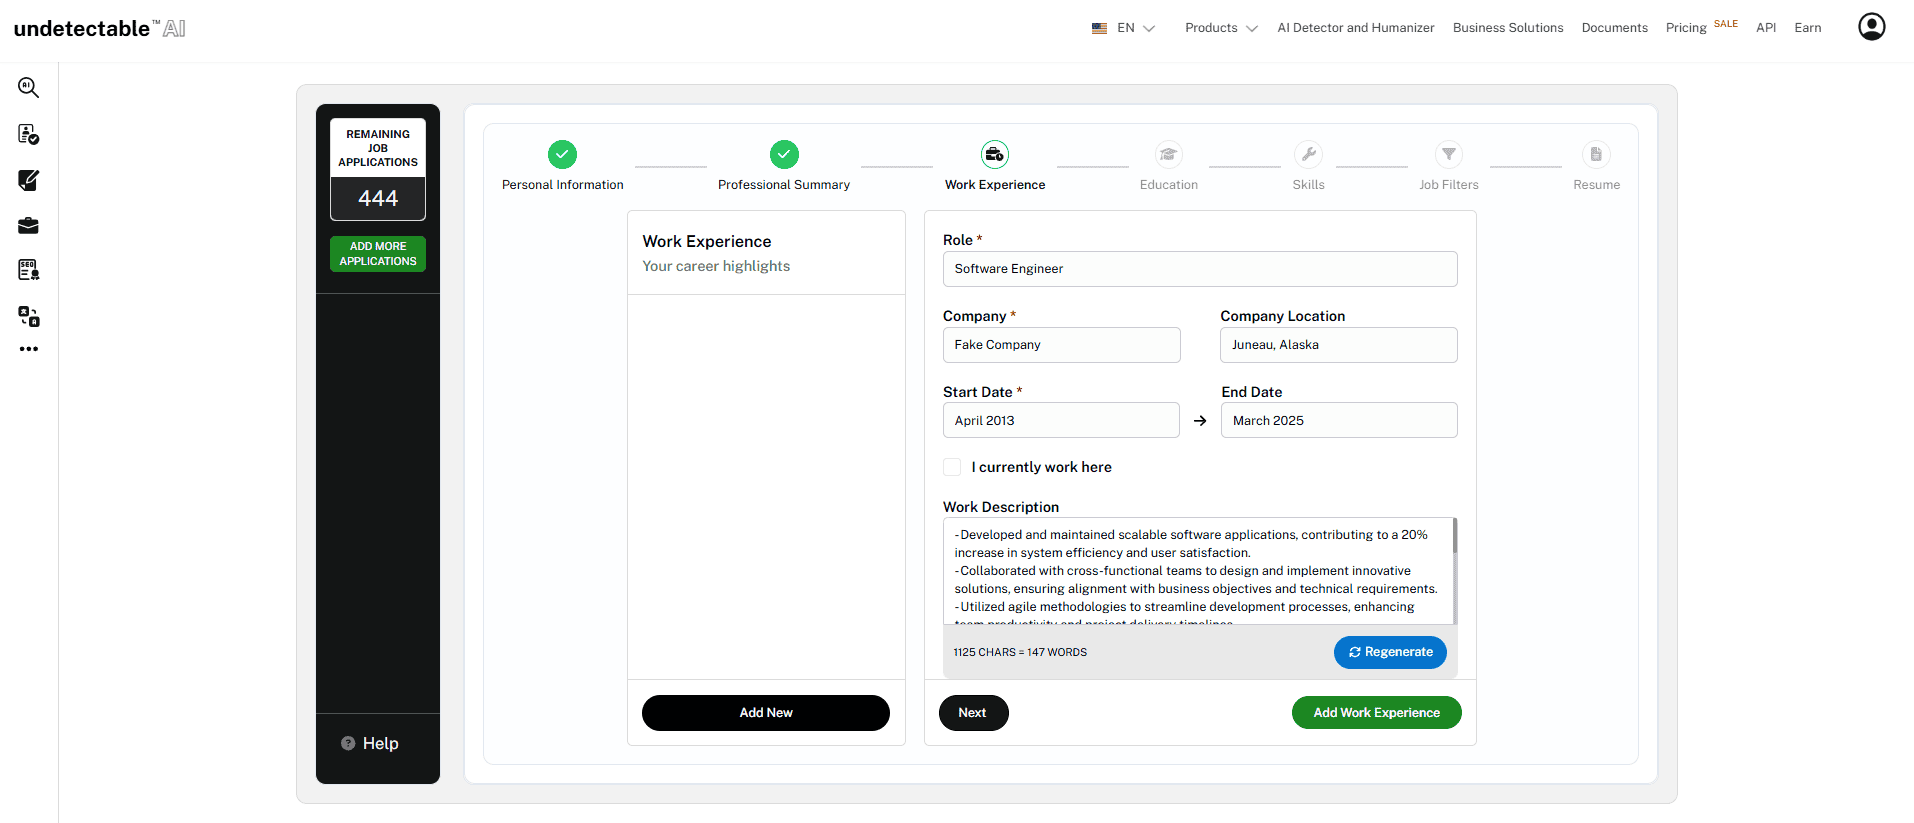
Undetectable AI also gives you a cool feature here: AI-generated job descriptions. Just type your job title and company, and it will auto-fill a solid summary of your responsibilities—which you can tweak as needed.
Next, fill out your education history. Keep it simple: school, degree, years attended.
Step 6: List Your Skills
This is where you show what you’re good at.
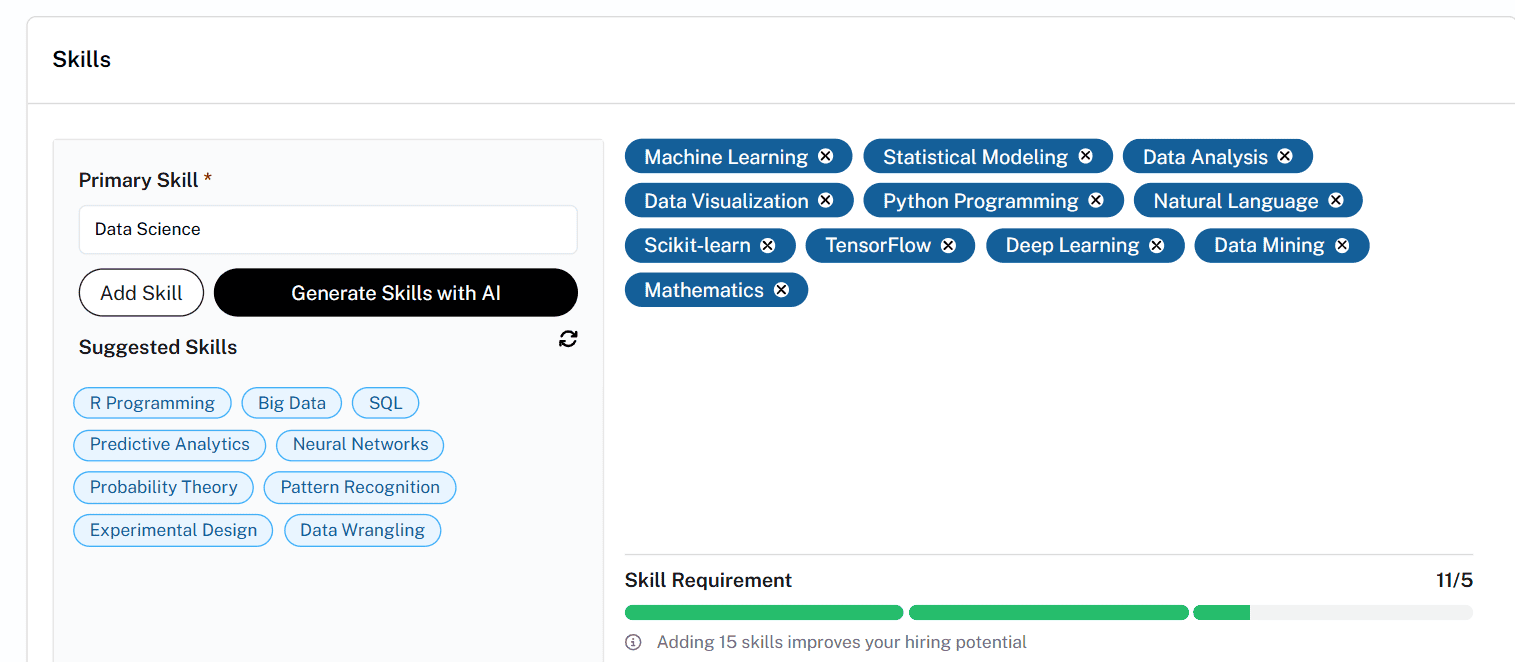
Start by picking a category like "Marketing," "Data Science," or "Software Engineering." Smart Applier will then give you a list of related skills to choose from.
Click the ones that apply to you—or type in your own if they’re not listed.
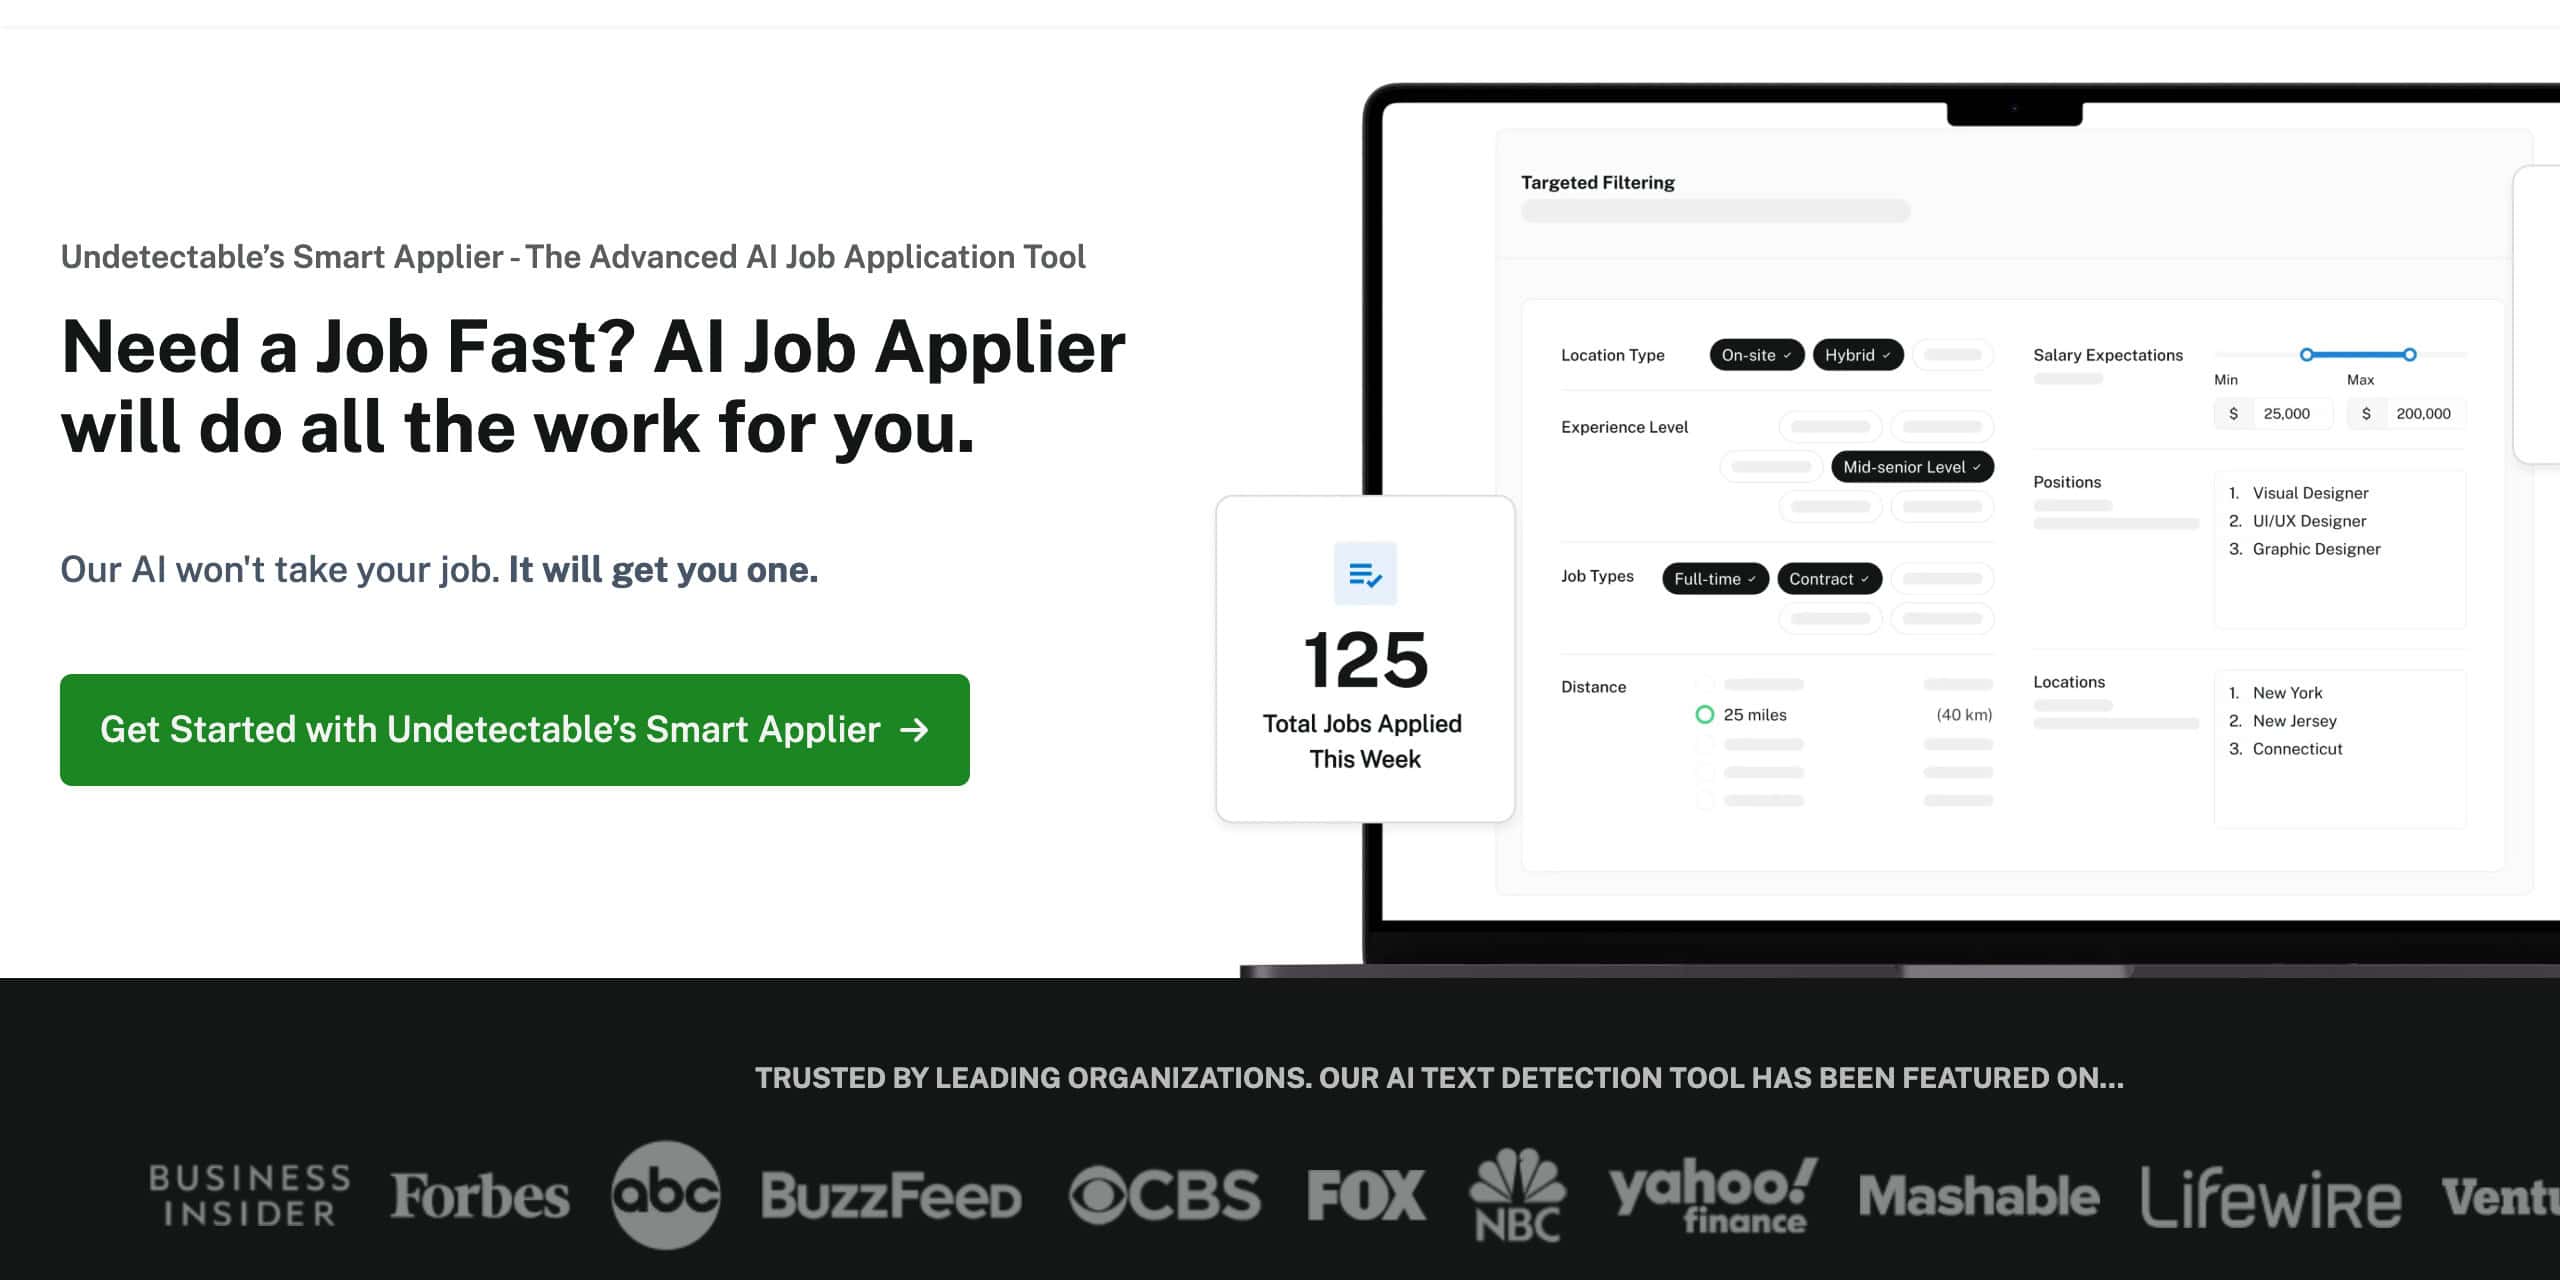
Step 7: Set Job Preferences
Tell the Smart Applier what kinds of jobs you actually want. You can customize:
- Salary range
- Location (including remote only)
- Experience level
- Industry or job title
- Job type (full-time, part-time, freelance, etc.)

This step is crucial. The more specific you are, the better your results will be.
Step 8: Install the Chrome Extension
Now that your profile is good to go, it’s time to activate the tool. Download the Undetectable’s Smart Applier extension from the Chrome Web Store.
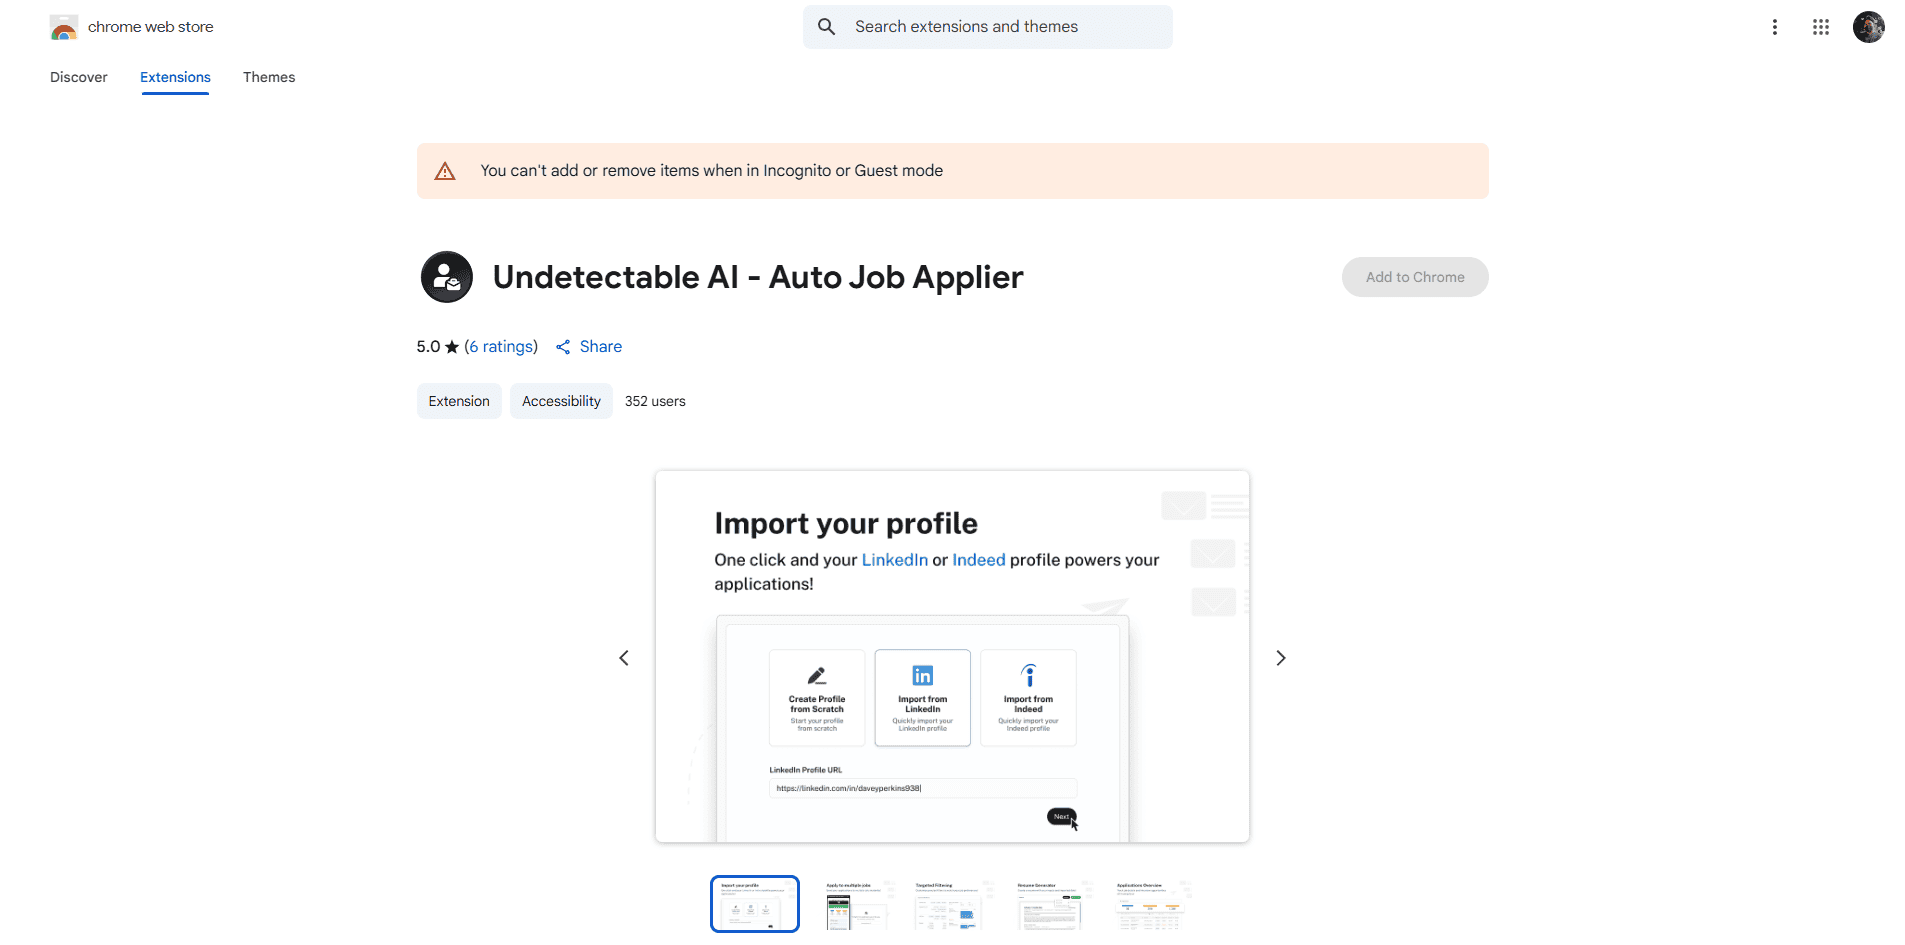
Once it’s installed, return to your Smart Applier dashboard and click Start Job Applications.
Step 9: Let It Apply For You
Your browser will open supported job listings based on your preferences, and the extension will start working through matches that fit your filters.
When it finds a match, it can help with the repetitive parts:
- Open the listing
- Tailor your resume/summary
- Fill out the job form
- Prepare or submit the application depending on the flow you choose
I’d still review important applications before they go out. Automation is great for repetitive job boards, but salary fields, relocation answers, work authorization, and short-answer questions are worth checking manually.
All jobs you’ve applied to will appear in your Application Tracker inside the Smart Applier tool.

If you’re comparing it against other job-search automation options, see our updated guide to the best AI tools for applying to jobs automatically.
Before You Let Smart Applier Run
The setup is only half the work. Before sending applications at scale, check that your profile is accurate, your resume bullets do not exaggerate anything, and your job filters are narrow enough that you are not applying to roles you would never actually take.
That matters because volume is only useful when the applications still make sense. A smaller batch of relevant, reviewed applications will usually beat hundreds of sloppy ones.
How Much Does Smart Applier Cost?
Smart Applier is priced separately from Undetectable AI's writing humanizer. Current public plans are Essential at $31/month, Professional at $64/month, and Ultimate at $89/month. Each plan includes 10 free applications, then unlocks higher application volumes depending on the tier.
| Plan | Monthly price | Application volume |
|---|---|---|
| Essential | $31/month | 10 included applications, with up to 500 more unlocked |
| Professional | $64/month | 10 included applications, with up to 1,142 more unlocked |
| Ultimate | $89/month | 10 included applications, with up to 1,714 more unlocked |
The important trust point is that Smart Applier does not have to blindly fire applications without you. You can review, edit, and approve applications before they go out, which matters when a role needs a specific tone, salary answer, or detail from your background.
The Bottom Line
And that’s it—you’re officially out of the most repetitive parts of the manual job-application cycle.
The first setup takes a little time (roughly 30 to 45 minutes), but once it’s done, you can let Smart Applier handle the boring stuff while you focus on more important things, like tightening your resume, preparing for interviews, and following up on the jobs that actually fit.
Undetectable AI’s Smart Applier makes the most sense if you’re actively job hunting and applying across a lot of similar roles. Just keep the human review step in the workflow so the applications still sound accurate, specific, and like you.
Set it up once. Let it run. And let your job search work for you for a change.
Want to Learn Even More?
If you enjoyed this article, subscribe to our free newsletter where we share tips & tricks on how to use tech & AI to grow and optimize your business, career, and life.