Add Particles.js to Oxygen Builder (2023 Tutorial)
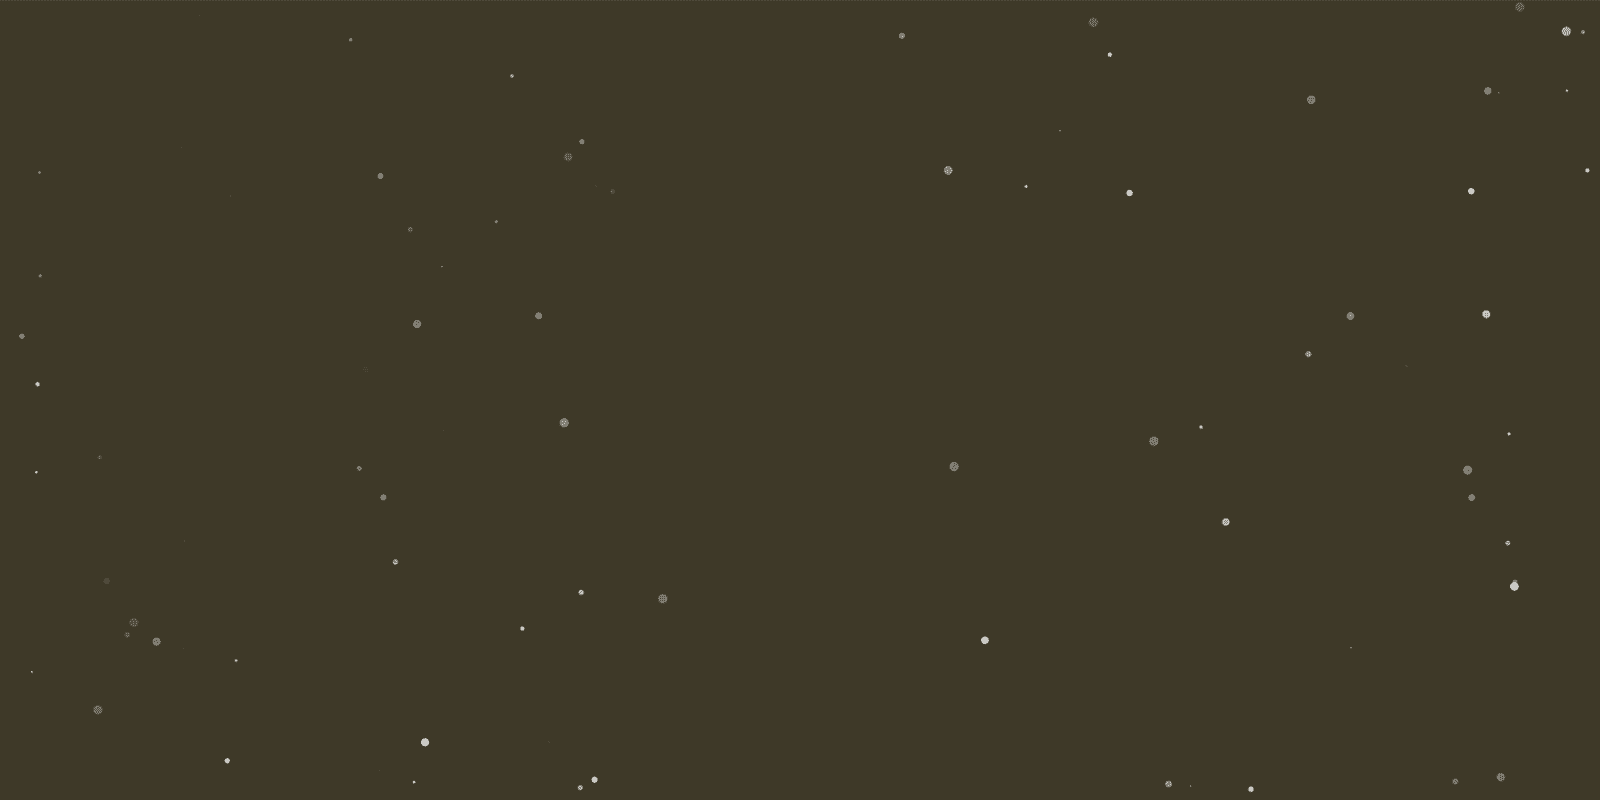
Particlesjs is a powerful, lightweight javascript library that allows you to create animated particle backgrounds for your website. We can easily use them in an Oxygen Wordpress Site
Justin Gluska
Updated January 8, 2023
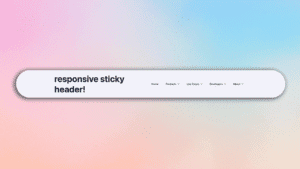
particles js example
Reading Time: 5 minutes
Particlesjs is a powerful, lightweight javascript library that allows you to create animated particle backgrounds for your website. In this tutorial, we'll show you how to use the particlesjs library on an Oxygen Builder website.
If you're not familiar with javascript, don't worry - using particlesjs is easy and doesn't require too much coding knowledge. It also has great documentation to help you get started.
Installing Particlesjs with a plugin
If you're not too concerned about bloat, the easiest way to get particlesjs set up on your WordPress site is to use a plugin. We recommend using the Particles.js for WordPress plugin.
Once you've installed and activated the plugin, head to Settings > ParticlesJS Banner to configure your settings. The plugin does all the installation work in the background yet allows you to fully customize the look and feel of your particles.
However, if you want more control over your website and don't want to add extra bloat using a plugin, you can install particlesjs manually.
Installing Particlesjs without a plugin
Using Particlesjs in Oxygen is very simple thanks to the code block element:
1) The source file
We're going to be using the plugin through it's CDN, so we don't actually have to download anything. The first thing you need to do is add a new code block element to your page or post and edit the HTML.
2) Code Block Setup
Inside the code block, we're going to add two scripts. The first one is going to initialize the particlesjs library and the second one is going to configure the settings.
You can copy and paste the following code into your code block to initialize:
<script src="https://cdn.jsdelivr.net/particles.js/2.0.0/particles.min.js"></script>
To configure your custom settings, add another script in the same code block
<script type="text/javascript">
particlesJS('stars',
  {
  "particles": {
    "number": {
      "value": 160,
      "density": {
        "enable": true,
        "value_area": 800
      }
    },
    "color": {
      "value": "#ffffff"
    },
    "shape": {
      "type": "circle",
      "stroke": {
        "width": 0,
        "color": "#000000"
      },
      "polygon": {
        "nb_sides": 5
      },
      "image": {
        "src": "img/github.svg",
        "width": 100,
        "height": 100
      }
    },
    "opacity": {
      "value": 1,
      "random": true,
      "anim": {
        "enable": true,
        "speed": 1,
        "opacity_min": 0,
        "sync": false
      }
    },
    "size": {
      "value": 3,
      "random": true,
      "anim": {
        "enable": false,
        "speed": 4,
        "size_min": 0.3,
        "sync": false
      }
    },
    "line_linked": {
      "enable": false,
      "distance": 150,
      "color": "#ffffff",
      "opacity": 0.4,
      "width": 1
    },
    "move": {
      "enable": true,
      "speed": 1,
      "direction": "none",
      "random": true,
      "straight": false,
      "out_mode": "out",
      "bounce": false,
      "attract": {
        "enable": false,
        "rotateX": 600,
        "rotateY": 600
      }
    }
  },
  "interactivity": {
    "detect_on": "canvas",
    "events": {
      "onhover": {
        "enable": true,
        "mode": "bubble"
      },
      "onclick": {
        "enable": true,
        "mode": "repulse"
      },
      "resize": true
    },
    "modes": {
      "grab": {
        "distance": 400,
        "line_linked": {
          "opacity": 1
        }
      },
      "bubble": {
        "distance": 250,
        "size": 0,
        "duration": 2,
        "opacity": 0,
        "speed": 3
      },
      "repulse": {
        "distance": 400,
        "duration": 0.4
      },
      "push": {
        "particles_nb": 4
      },
      "remove": {
        "particles_nb": 2
      }
    }
  },
  "retina_detect": true
}
);
</script>
3) Setting the Div Element
Inside the second script, we used stars as the first argument. Stars in this case refers to the ID of the div element on your page that will contain the background. You can name this anything you want, just make sure the script matches your div. On my page, I added a section with a div set to 100% inside. The particles will have padding all around thanks to the section, but will stretch across the entire screen.


4) Customize Your Settings to Create Unique Backgrounds
Once you've added the code and configured your settings, it's time to start customizing your particles. The full list of settings and options can be found on the particlesjs Github page, but you can visually style them easily using the Codepen editor.
Conclusion
Particlesjs is a great way to add an animated background to your website. It's easy to install, configure and customize, so you can create a unique look for your site. Although easy to install with a plugin, if using Oxygen, installing manually gives you more control and doesn't bloat your site. Thanks for reading and if you have any questions, feel free to leave a comment below!
Want to Learn Even More?
If you enjoyed this article, subscribe to our free newsletter where we share tips & tricks on how to use tech & AI to grow and optimize your business, career, and life.