Make a Travel Destination Website with Breakdance Builder & ACF
Breakdance and ACF are great tools that allow anyone, even a novice, to create professional websites. This tutorial guides you through setting up the fundamental elements of a travel site without coding knowledge.
Jonathan Garces
Updated October 9, 2023
creating travel website using Breakdance
Reading Time: 9 minutes
Ever thought about turning your love for travel into a business? Then, you have enough reasons to start a travel and tour destination website.
But first, you’ll need to have the know-how in creating a professional website.
In this guide, you’ll learn how to build a beautiful, user-friendly website using Breakdance.
One thing I love about Breakdance is its intuitive interface. It’s designed for everyone, both novice and advanced users. With its ready-to-use templates and compatibility with various plugins, you're already off to a great start.
We'll also touch on the ACF plugin. It's a tool I personally find invaluable for creating different types of content, such as destination features or travel reviews. You can even add specific metadata to your custom post types and have them dynamically displayed throughout your site.
By the end of this tutorial, you'll have a homepage filled with travel destinations, detailed tour descriptions, pricing, and more. Here’s a quick view of what it’s like:

What Should Travel/Tour Destination Websites Include?
Before creating a travel or tour destination website, it’s important to know what needs to go on it.
While each travel page is unique to its brand and services, some core elements need to be present to make your site use-centric.
Here's what I've found essential in my experience:
- High-quality images and videos of destinations that can instantly transport your visitors to the place.
- Detailed descriptions about destinations, what they offer, and why they're unique.
- Transparent cost breakdowns for tours, packages, or any services you provide.
- Testimonials and reviews from past travelers to add credibility to your offerings.
- An easily accessible section for inquiries and reservations.
- Search and filter options to help users quickly find destinations or tours that match their preferences.
In this tutorial, we’ll focus on creating pages for a single travel post and travel listing.
Steps to Create Travel/Tour Destination Pages in Breakdance
1) Install ACF Plugin
ACF or Advanced Custom Fields is a popular WordPress plugin that helps you create custom posts tailored for travel details, like pricing and tour info. You can also organize and represent your data in any way you want.
Traditionally, custom post types are created by adding custom codes to your theme. Thankfully, ACF eliminates this complex process to make web development easier for novice users.
To install ACF, go to Plugins > Add New from your WordPress admin dashboard. Search for ACF. Then, install and activate the plugin.
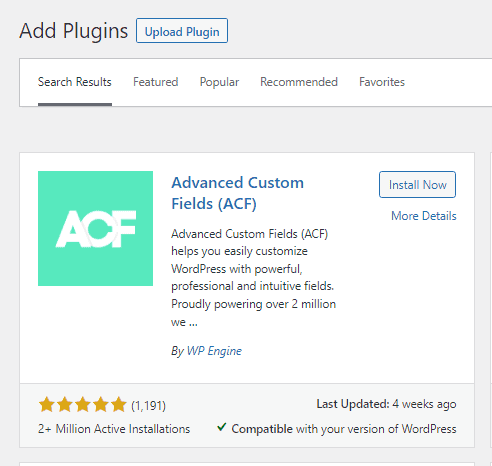
Tip: Though there's a free version of ACF, I highly recommend the premium version to enjoy all the extended features.
2) Create a New Post Type
Now, let's get your new travel post type set up.
First, you’ll need to select the ACF option found on the left sidebar of your dashboard. Then, click on Post Types.
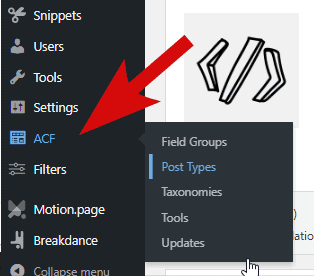
Next, click the ‘Add New’ button at the top left of your page.
Enter the names of your field labels. For example, you can add ‘Travels’ as the plural label and ‘Travel’ as the singular. Don't worry about the post type key; it‘s automatically generated once you've got the labels in.
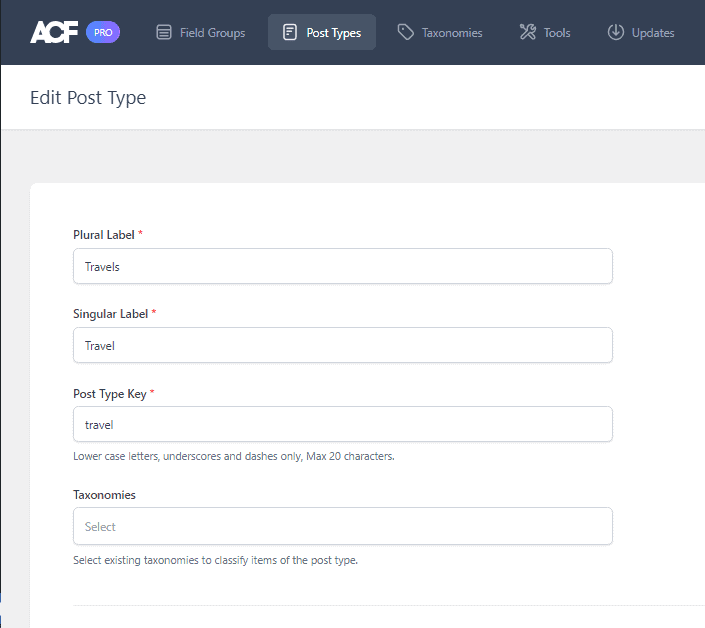
Finish up by clicking ‘Save Changes.’ You should now have the new post type displayed on the left sidebar.
3) Create a Field Group
In ACF, a 'field group' is just a set of custom fields you can add to specific pages, posts, or other content types.
To create one, just go to ACF > Field Groups and click ‘Add New.’
Now, enter a field group title on the top left of your page. I'm going with ‘My Travel’ for this example.
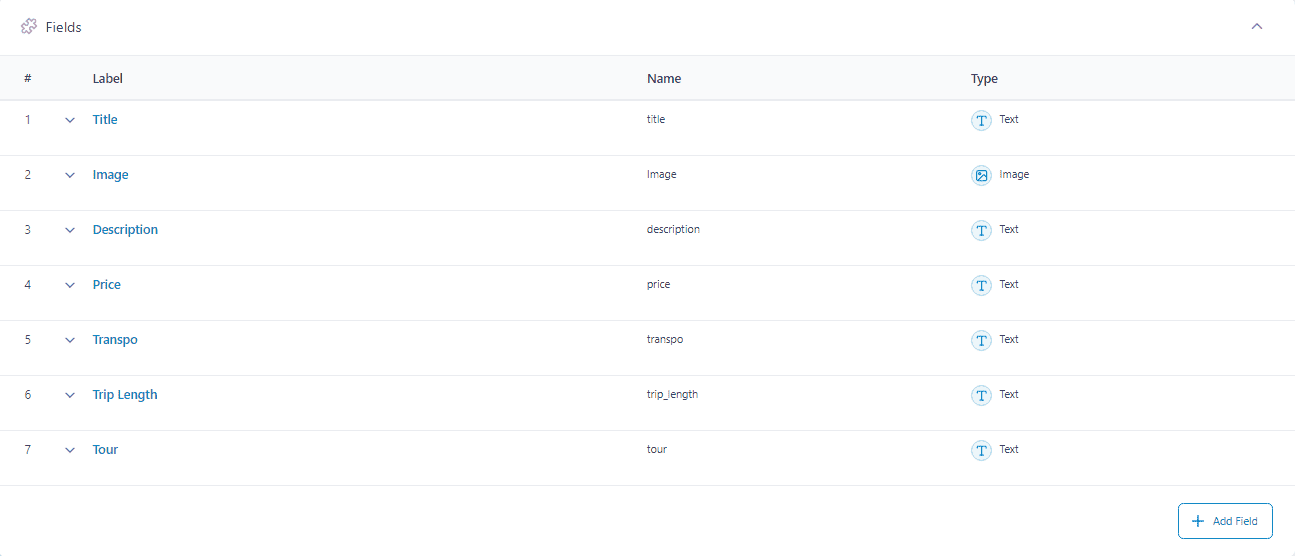
In the fields area, add your custom fields. Enter the label, name, and if you like, a default value. After you're done with one, click ‘Close Field.’ Then, click ‘Add Field’ to add more.

For this tutorial, I've added 7 custom fields, as shown below.
Once you’re done adding custom fields, scroll down on your page to set up the location rules. For our purposes, I’ve set the post type equal to ‘Travel.’
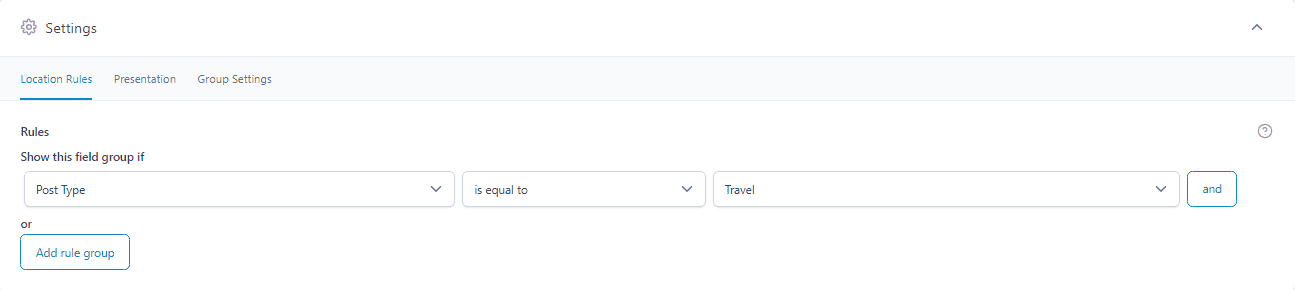
Once everything is set, click save.
4) Add a New Travel Post
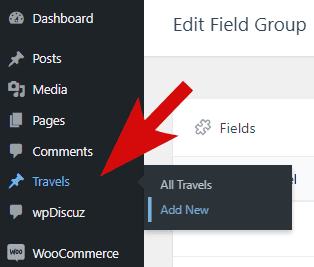
Let’s go ahead and create our first travel post. From your WordPress dashboard, go to Travels > Add New.
Add a post title and fill in all the fields, like the title, image, description, and price. Then, click publish.
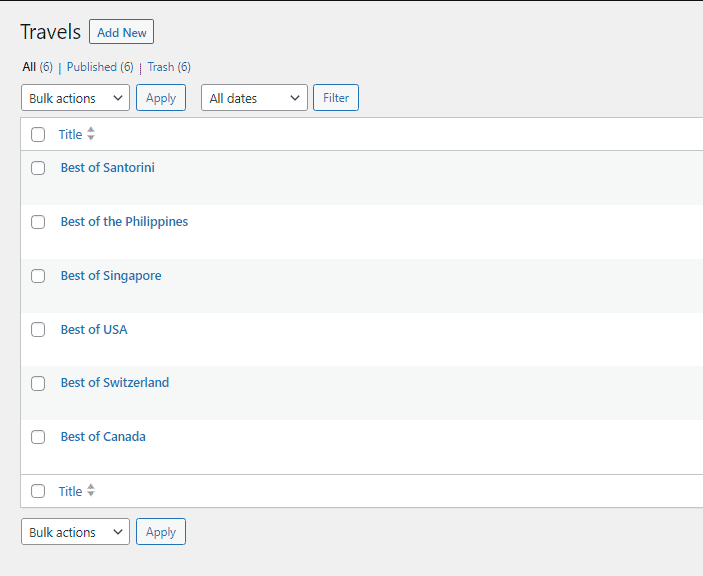
In this tutorial, I’ve created six different travel posts.
5) Create a Travel Post Template
Next, we’re going to create a post template to display each travel post we’ve just created.
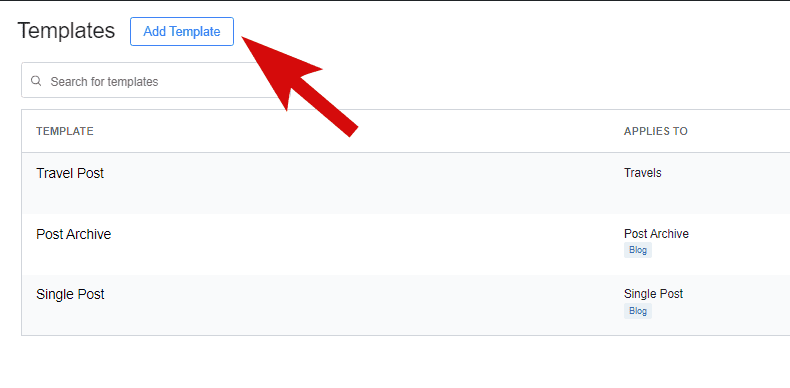
Simply head over to Breakdance > Templates. Then, choose ‘Add Template.’
On the pop-up, you’ll need to enter the title. Then, set the location to ‘Single/Travels.’ You’ll also need to set the priority number higher than the other existing post templates.
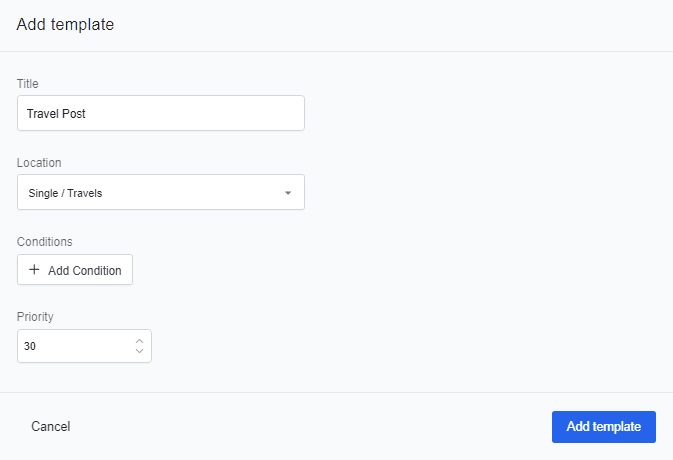
Once you’re done, click ‘Add template.’
Now, let’s style our single post template. Hover your mouse over the new template and click ‘Edit in Breakdance.’
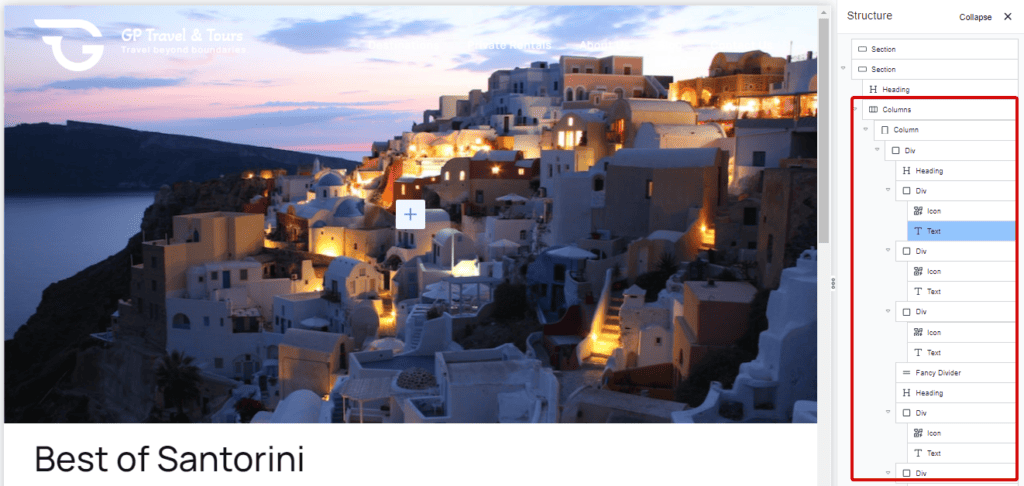
On the Breakdance editor, add the elements you want to display on the page.
In this example, I’ve added a slideshow of images and set them up as background images. Then, I’ve added a heading for the title, icons, and texts for the tour details.
Note that I’ve also used dynamic data on some elements. This means Breakdance will automatically fetch the data from your custom post types, like the title, image, and tour details.
To insert dynamic data, simply click the element and hover your mouse over the label on the left sidebar. Then, click the dynamic icon. On the pop-up, choose which data you want to fetch from the ACF field.
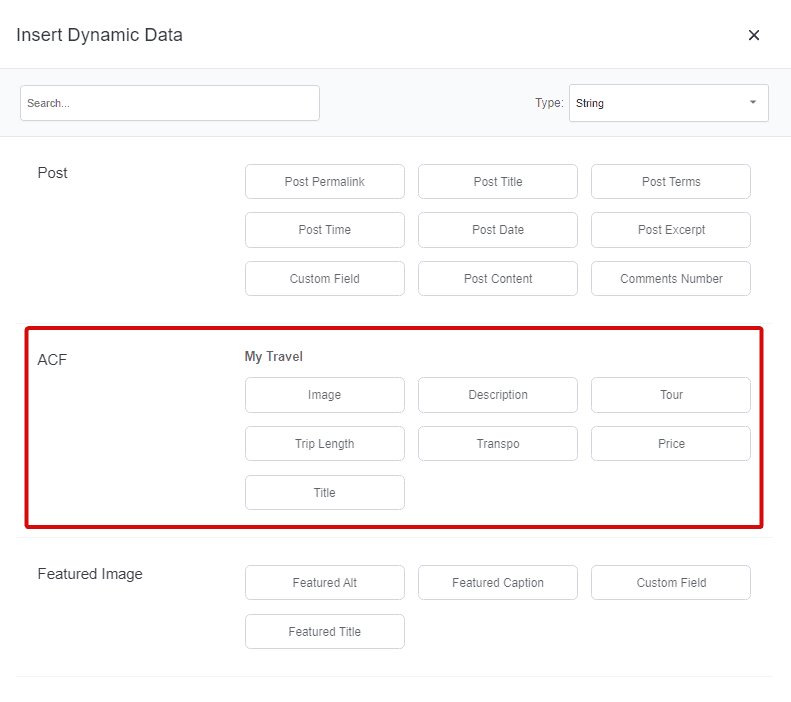
I’ve also organized my elements using columns and divs. Another option is to use a grid and set the number of items per row.
Adjust the layout, colors, and spacing to your liking. Once you’re satisfied, click the save button on the top right side of the page.
6) Create a Global Block
Now, we’re going to create a global block to contain all the elements we want to display on our travel listings page.
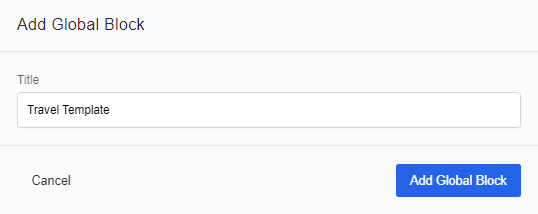
Go to Breakdance > Global Blocks. Click ‘Add Global Block’ and enter a title. Then, edit your new template on the Breakdance editor.
Next, you’ll need to add the elements for the image, title, and tour details. Then, insert dynamic data for each element.
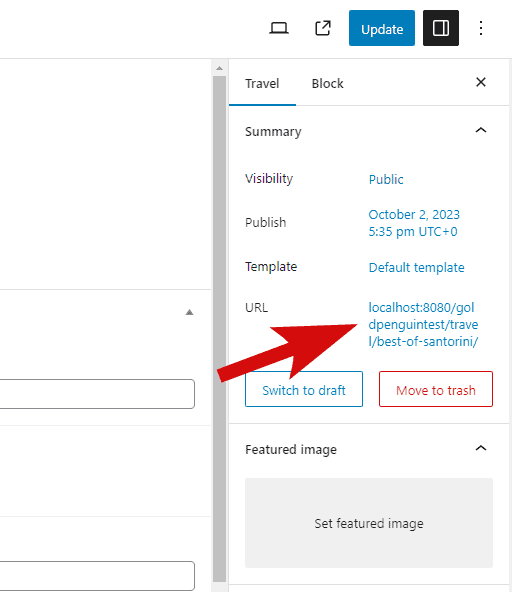
Note that I’ve also linked the pricing button to the travel post page we’ve previously created.
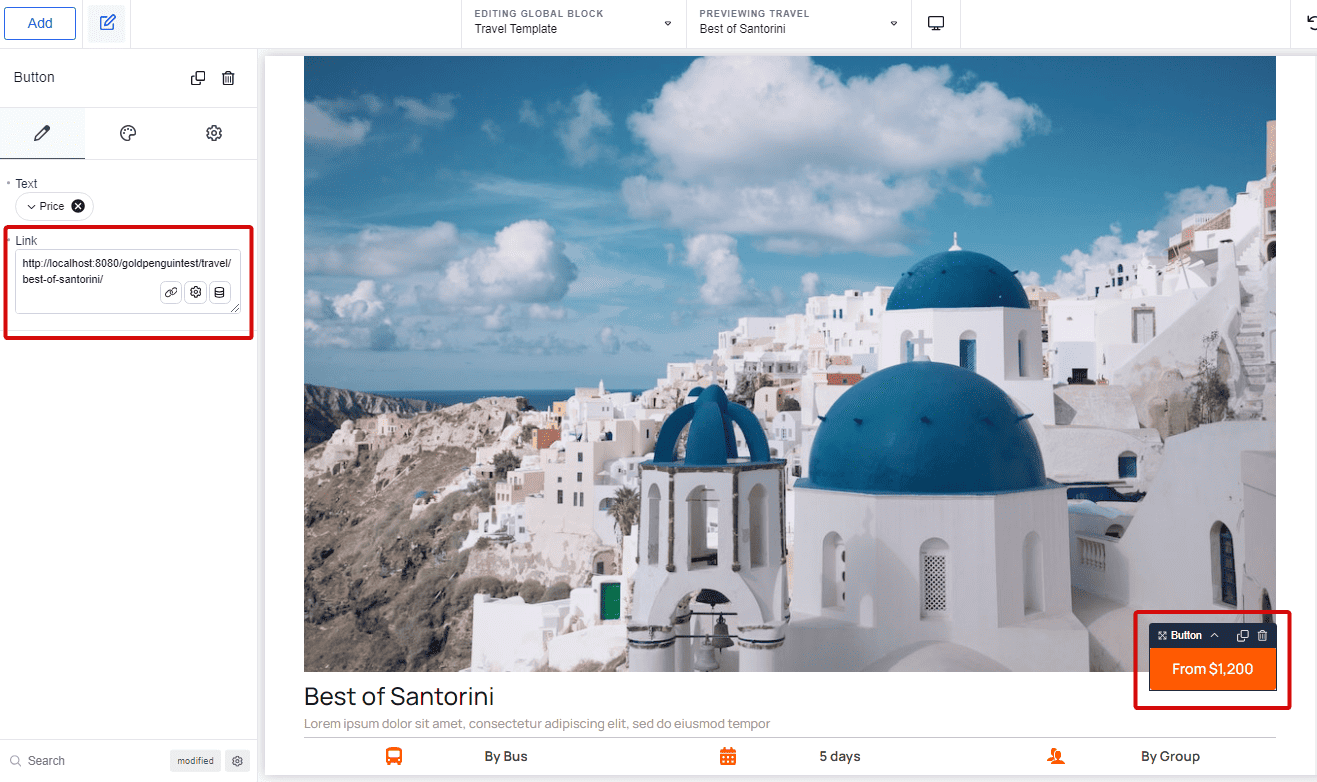
Tip: To find the page URL, open that specific page from your WordPress dashboard and copy the URL found on the settings tab on the right.
Once everything is set, you’ll need to finalize the aesthetics of your page. Then, hit save.
7) Show Off Your Travel Listings on a Page
In this guide, I’ve already designed the templates for the header and footer.
If you need more details on how to create these templates on Breakdance, I suggest you check out these tutorials:
Now, let’s create a new page to display all the travel listings. Again, from your WordPress dashboard, go to Pages > Add New.
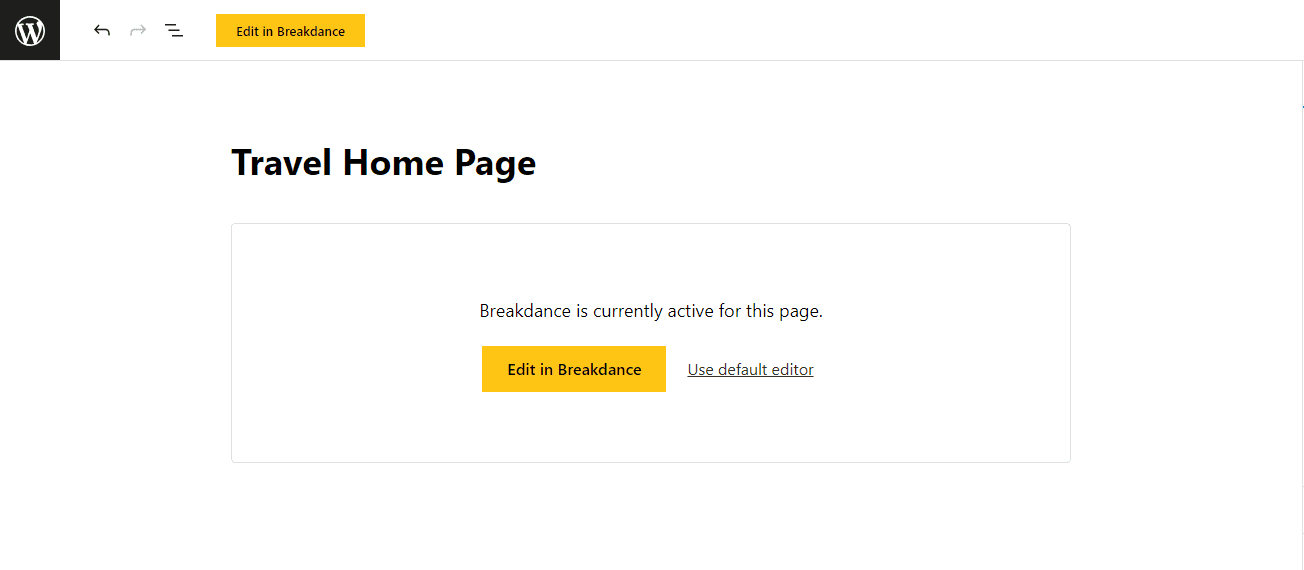
Add a page title and click publish. Then, open your new page on the Breakdance editor.
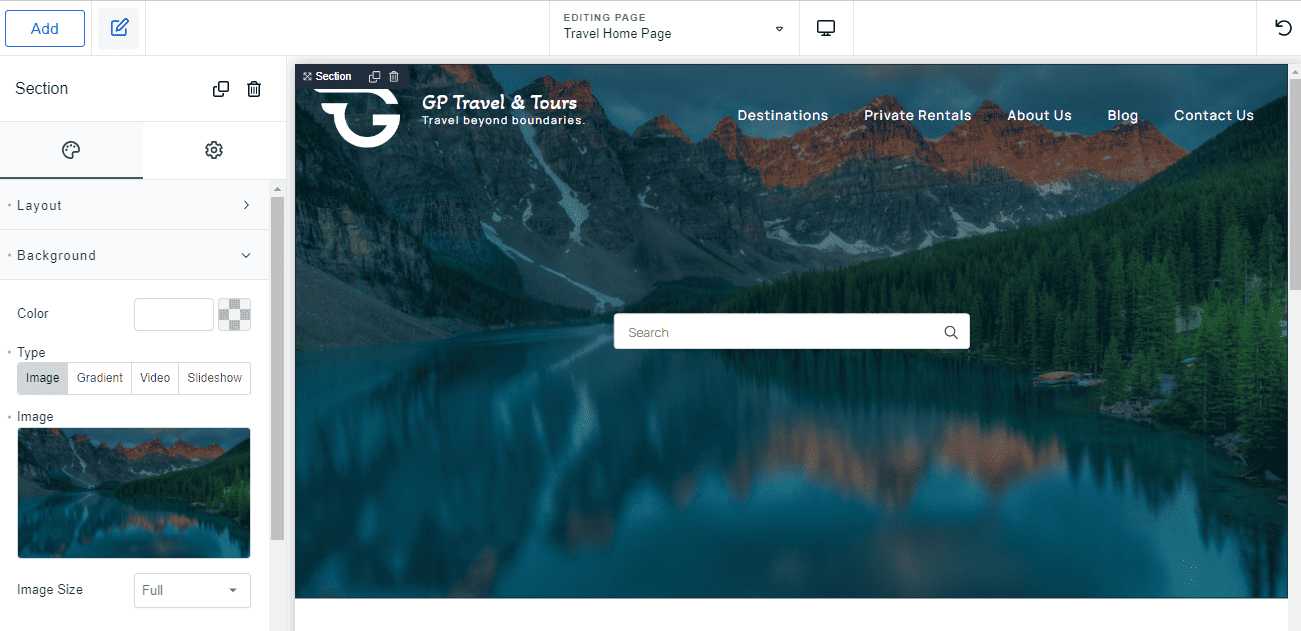
Add the elements you want to display to your page. Here, I’ve created two sections.
The first section contains a background image and a search bar.
In the second section, I’ve added a title and a description.
I’ve also added a post loop builder to display all our travel listings.
Once you’ve added this element, you’ll need to go to the settings tab on the left and add the global block template we’ve created from the previous step.
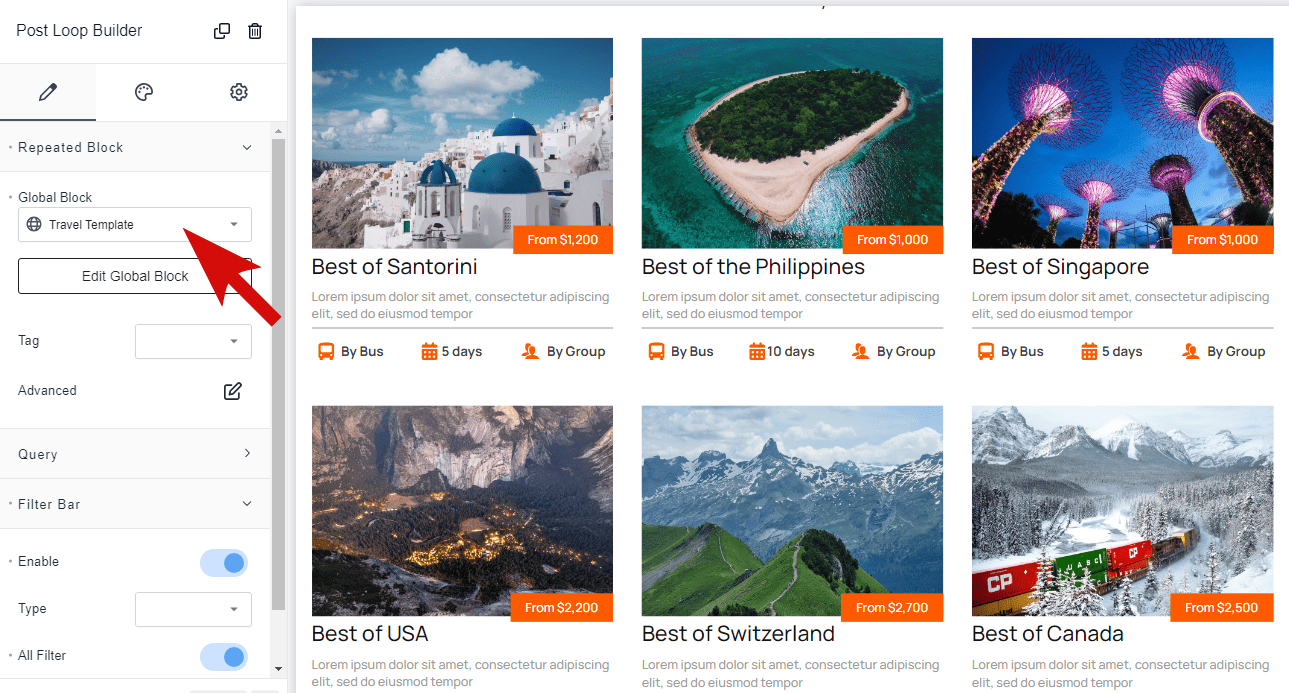
Once it’s set, it should automatically display all the travel listings we’ve added.
You can enhance the layout from the styling tab. Just click ‘Layout’ from the list dropdown, select ‘Grid,’ and then set the items per row to display on the page. Here, I've set it to three.
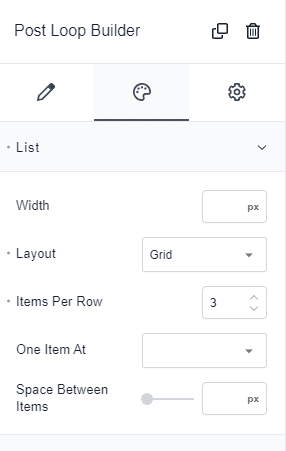
Finally, adjust the spacing between elements and save.
8) Save and Preview
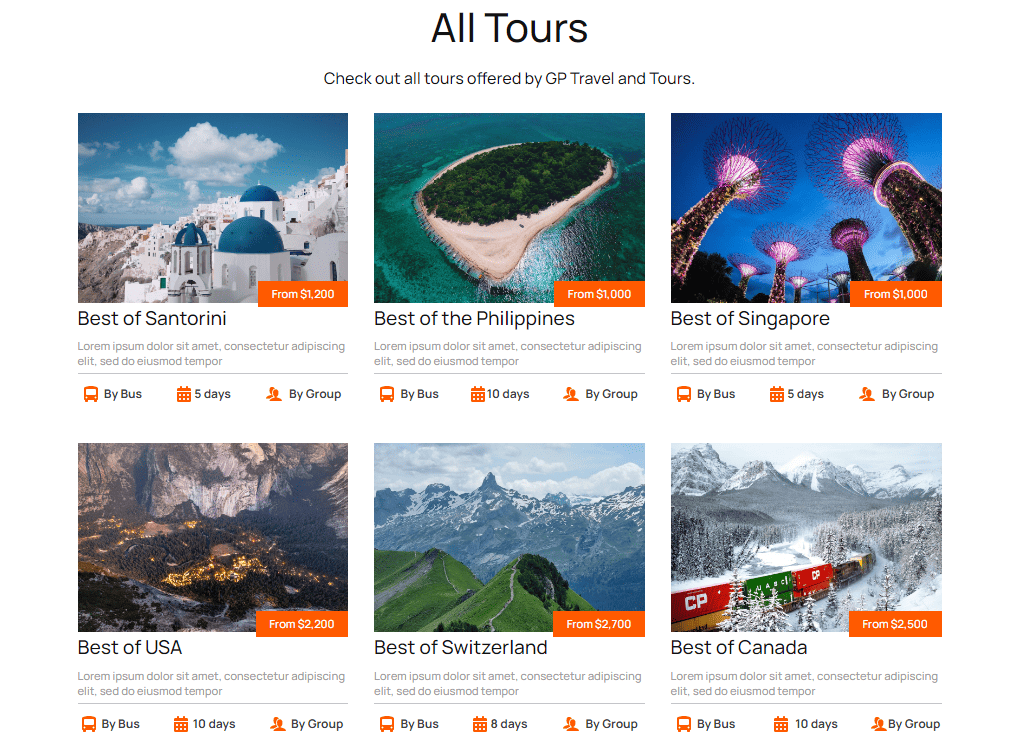
Now, finish up your page. Save all changes and then view it live.
Here’s what our final page looks like.

Once we click the pricing button, it should redirect us to the travel post page to view all the details of the tour.
Tips to Enhance Your Travel/Tour Destination Page
So far, we’ve been able to add travel posts dynamically using ACF.
To make your travel/ tour destination website better, you can add a search or filter option. This makes it easier for the user to narrow down their search based on specific attributes they’re looking for, like the price range, star reviews, and location.
Now, these features are not possible with just Breakdance and ACF alone.
Breakdance does provide a filter option for the post loop builder element, but its feature is limited. For example, when you enable the filter bar, you can only filter it based on the post type.

To extend the functionality of your site, I highly recommend using the Filter Everything plugin. It filters any post types and allows you to sort results and search by keyphrase.
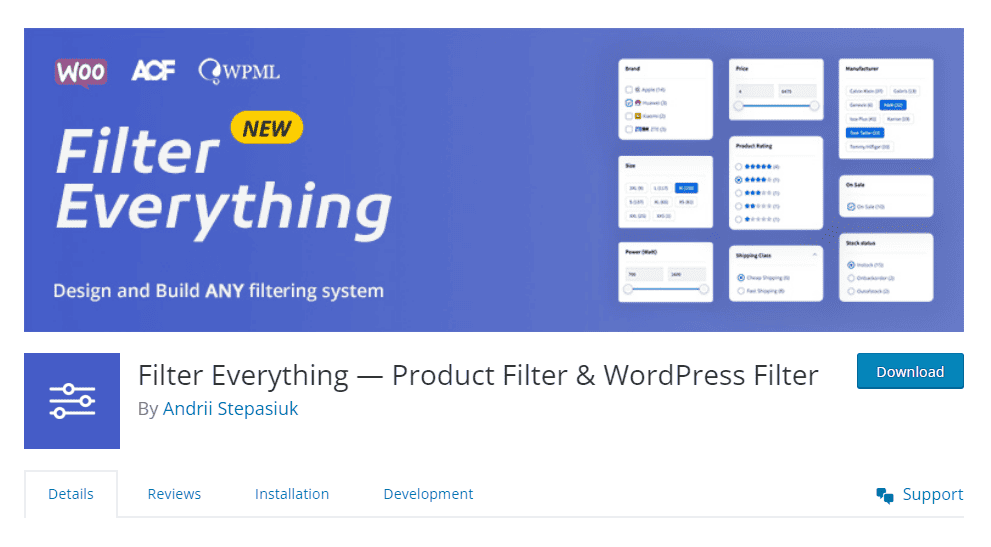
However, the free version of the plugin only works with the native WordPress loops. You’ll need to avail the premium version to use it with Breakdance.
Wrapping It Up
You’ve just learned how to create a simple travel/ tour destination website using Breakdance and ACF.
Hopefully, you’ve found all the information you need to start your travel and tour website without coding knowledge. Breakdance makes professional website creation accessible, and with its wide plugin support, the possibilities are endless.
If you want to become a pro at making beautiful websites with Breakdance, then I strongly suggest taking this Breakdance Builder intro course. Here, we’ll teach you everything you need to know in creating and deploying your sites.
You don’t need any technical experience to start this course.
And that’s it! If you have any questions or suggestions, feel free to leave a comment below!
Want to Learn Even More?
If you enjoyed this article, subscribe to our free newsletter where we share tips & tricks on how to use tech & AI to grow and optimize your business, career, and life.