Everything to Know About Post Loop Builder Queries in Breakdance Builder
Post loop builder queries provide you the freedom to customize post listings in any way you want. Read this guide to learn how to use them in Breakdance.
Christy Cañete
Updated October 1, 2023
post loop builder in Breakdance
Reading Time: 6 minutes
Imagine a system in your site where you can automatically pull a list of posts and display them on your page template.
This is made possible through the use of a post loop builder in Breakdance. With this element, you have the creative freedom to customize post listings in any manner you like. This is arguably one of the most important aspects of a WordPress website.
In this guide, I’ll show you how to add post loop builder queries to improve your web development experience. So keep reading!

What is a Post Loop Builder?
A post loop builder works like a loop - it keeps showing a series of posts that are included in your global block until there are none left to display.
But before you can use this element, there are a few things you need to configure. First, you’ll need to create a global block template.
A global block allows you to use repeated content blocks on specific pages. It’s like a blueprint used to display dynamic content.
Once you have the global block, you’ll need to add it to your post loop builder. In the settings tab, you can format how each published post data is displayed. You can add conditions, meta queries, and order. There are also options to add a filter or pagination.
With all these features, you gain more control in designing the layout and appearance of your post listings.
Creating a Global Block in Breakdance
1) Add a Global Block
Assuming you've already created posts on your Breakdance site, it's time to set up a Global Block.
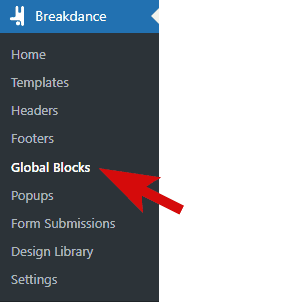
Go to your WordPress dashboard and select Breakdance > Global Blocks.
Click 'Add Global Block' located at the top left. A pop-up will appear prompting you to name your Global Block.

Save and edit your template in Breakdance.
2) Edit Global Block in Breakdance Editor
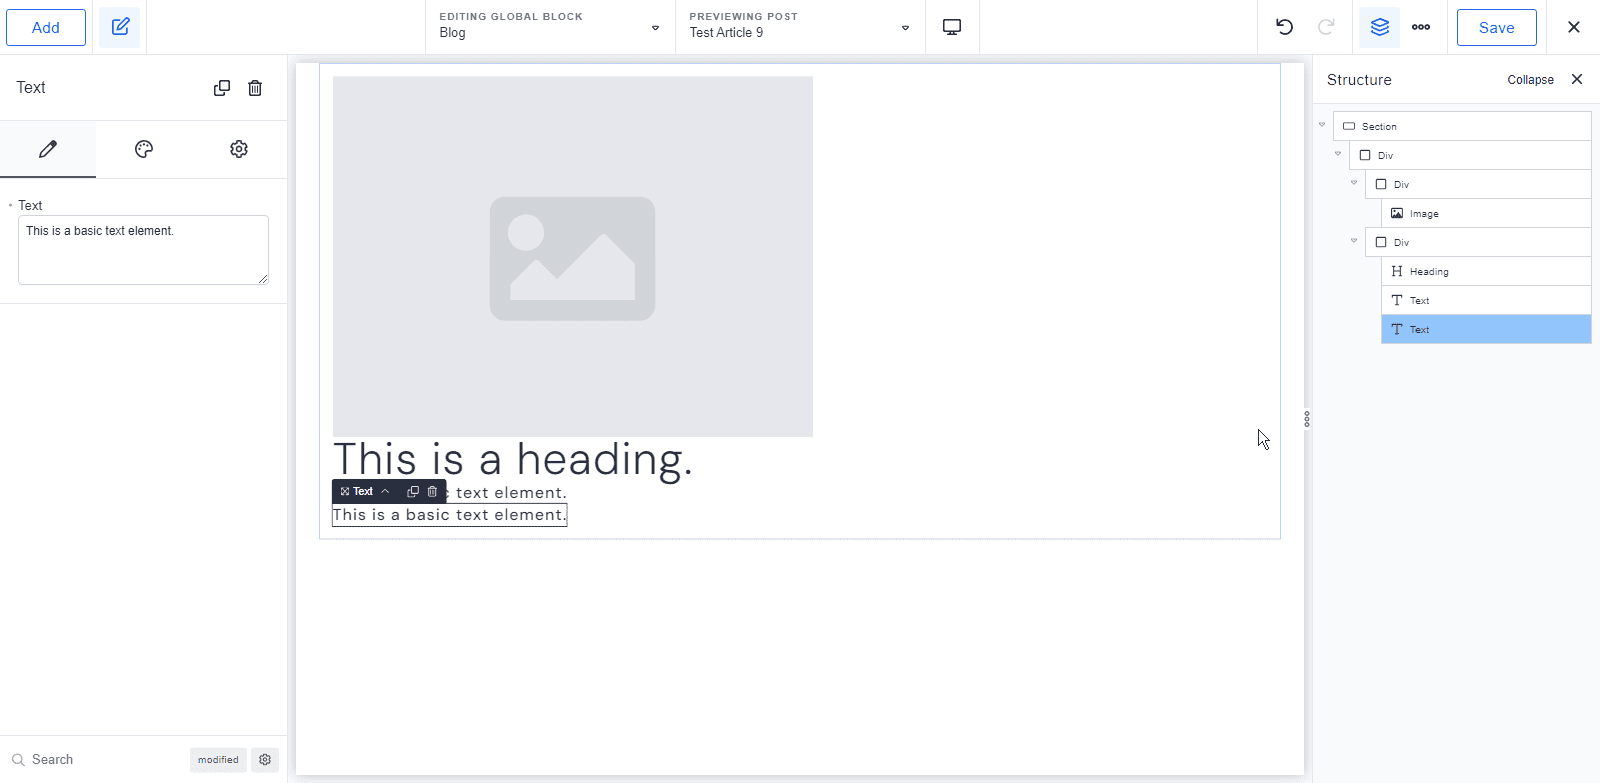
In the Breakdance editor, add a section. From here, add other elements like images, headers, and texts. How you structure them is up to you, be it within a column, div, or grid.
For this guide, I’ve wrapped the image, header, and text within a div element.
3) Add Dynamic Data to Global Block
Time to make our elements dynamic.
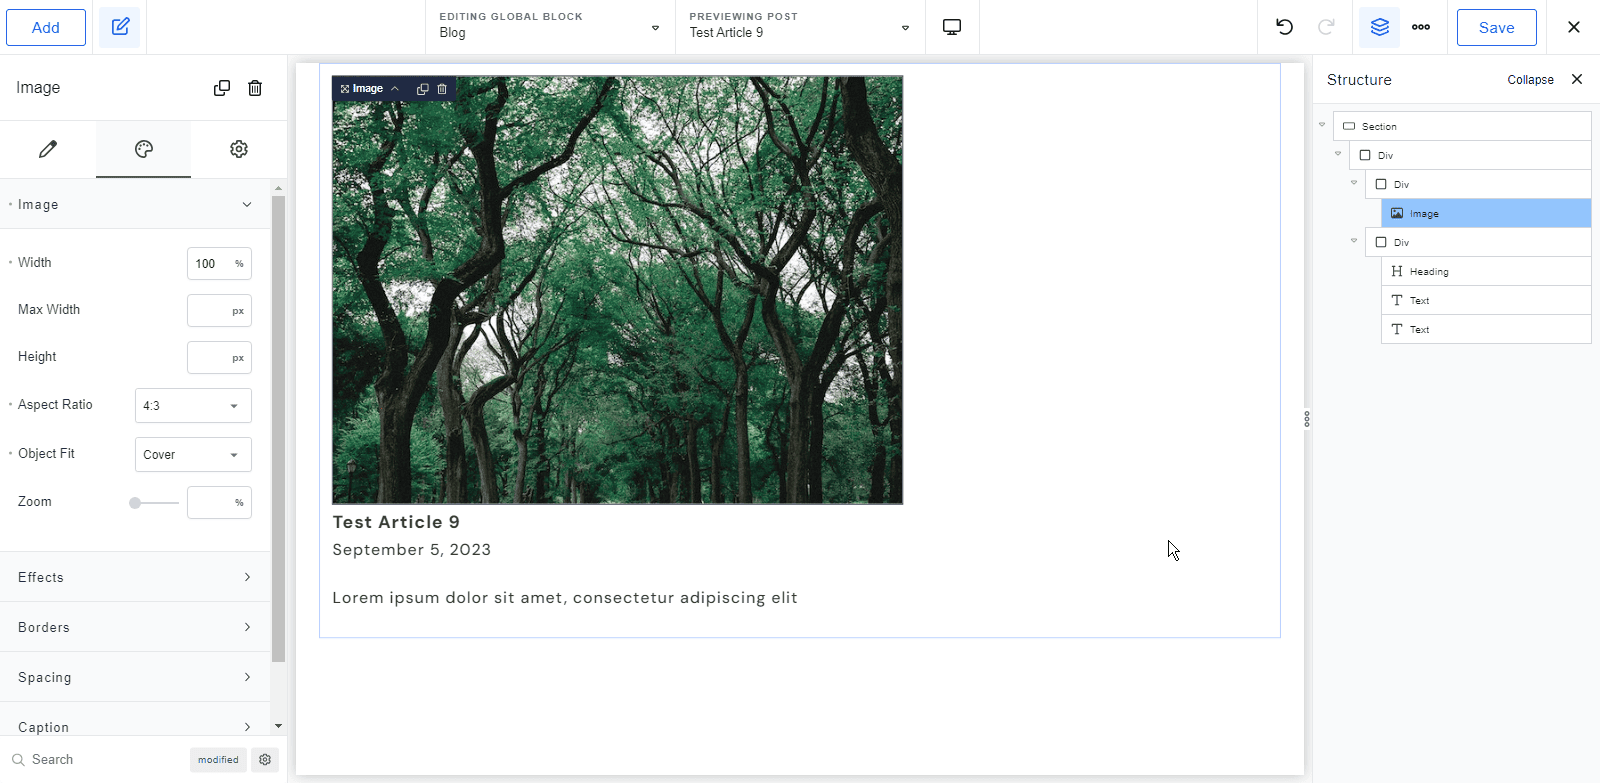
To display the featured image, click on the image. Navigate to the content tab on the left and select the dynamic icon next to the image label.
On the pop-up window, choose 'featured image' from the post section.

Repeat for the post title, date, and excerpt.
4) Style Your Global Block
For this tutorial, let’s make our global block simple.
First, select an element you wish to style, then move to the styling tab on the left. Here, you can see options to modify the element’s size, layout, and color. For the texts, you can change the font size, font style, and alignment.
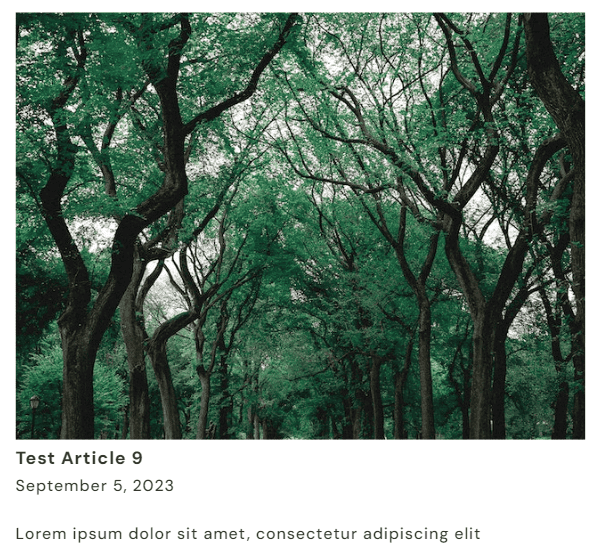
5) Save and Preview
Here’s the final look at our ‘blog’ global block template.
Adding a Post Loop Builder in Breakdance
1) Create a Page Template
In your WordPress dashboard, go to Breakdance > Templates. Click on Add Template > Add Custom Template.
On the pop-up window, fill in the details like the page template title, location, and priority number (conditions are optional).

After entering the details, click ‘add template.’ Open your Breakdance editor and begin by adding a section. Then, add the Post Loop Builder element.
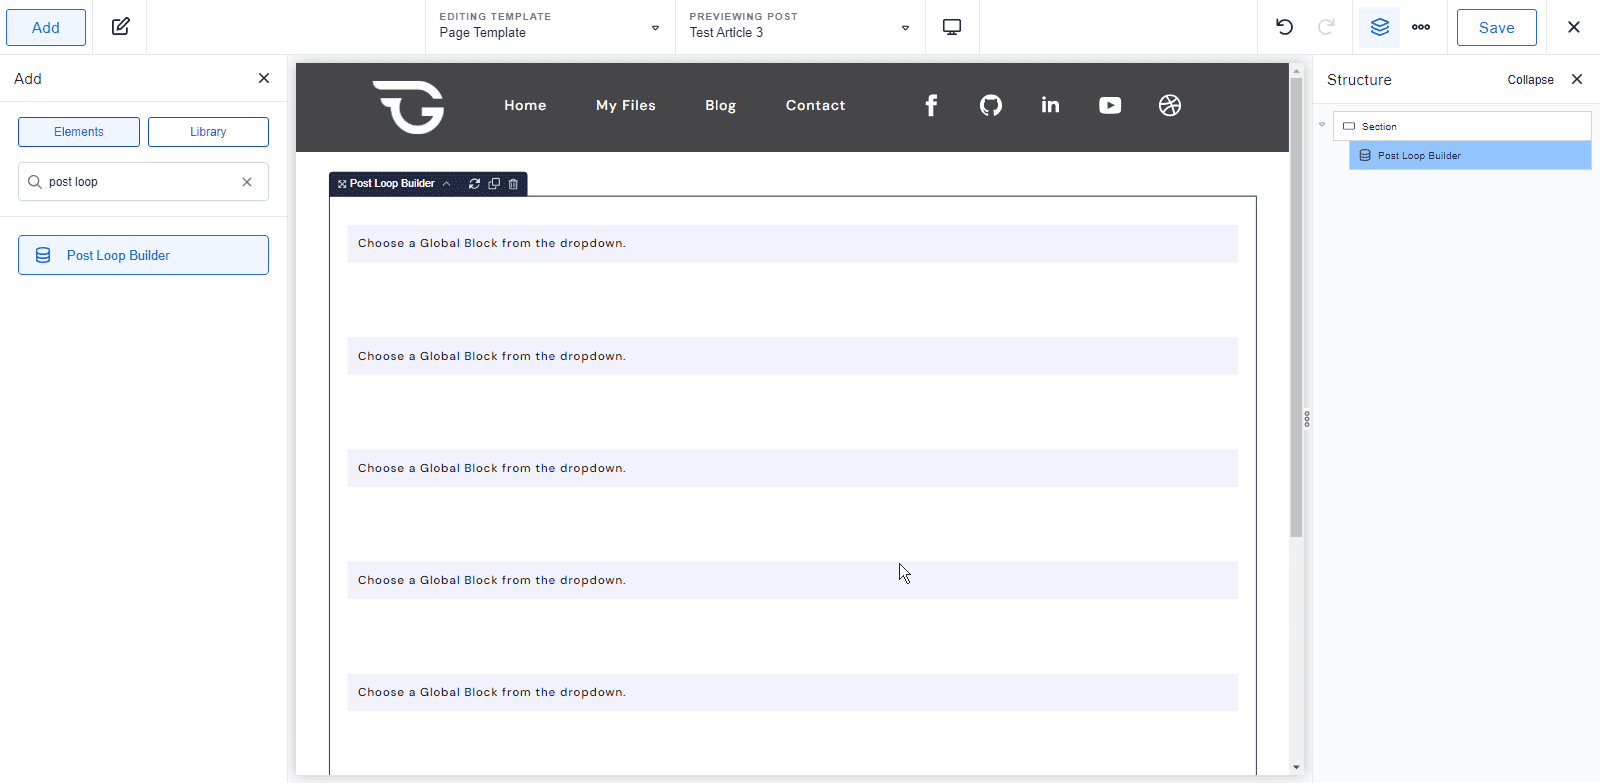
2) Edit the Post Loop Builder Query
Click the Post Loop Builder element. On the left, tap the Query drop-down and select ‘Custom.’

Click the ‘Edit Query’ button. This will open up a pop-up window, as shown below.
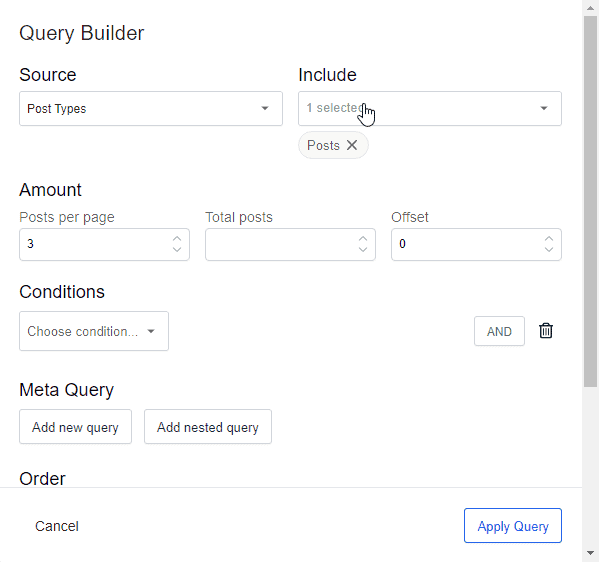
Here, you can modify the ‘Source’ and what type of posts you want to display.
This feature is very useful if you’re creating custom post templates. If you haven’t tried it, read our separate tutorial about Working with Custom Post Types. It should explain all the basics you need to know about creating custom post types.
Since we are creating a page template to display blog posts, we’ll set the ‘Source’ to ‘Post Types’ and ‘Include’ to ‘Posts.’
Next, you can set how many posts you want to display per page. Adding conditions and meta query are optional, but very useful if you want to implement complex queries. For this tutorial, let’s keep it simple and leave these settings untouched.
Scroll down further to see the Order option. Here, you can choose a descending order to display the most recent posts or an ascending order to show older posts. For this tutorial, let’s choose ‘descending.’
When everything is set, click ‘Apply Query.’
3) Enable Pagination or Filter Bar
Now you have the posts displayed on your page. The next thing you might want to do is add a pagination to limit the amount of posts displayed on a single page, or use a filter bar to organize posts by categories or tags.
Unfortunately, in Breakdance, you cannot use both features in a post loop builder.
But we’re hoping that Breakdance will upgrade this feature in the near future. For now, keep in mind that you can only choose between a pagination or a filter bar feature.
Let’s try to enable each one by one and see how they work.
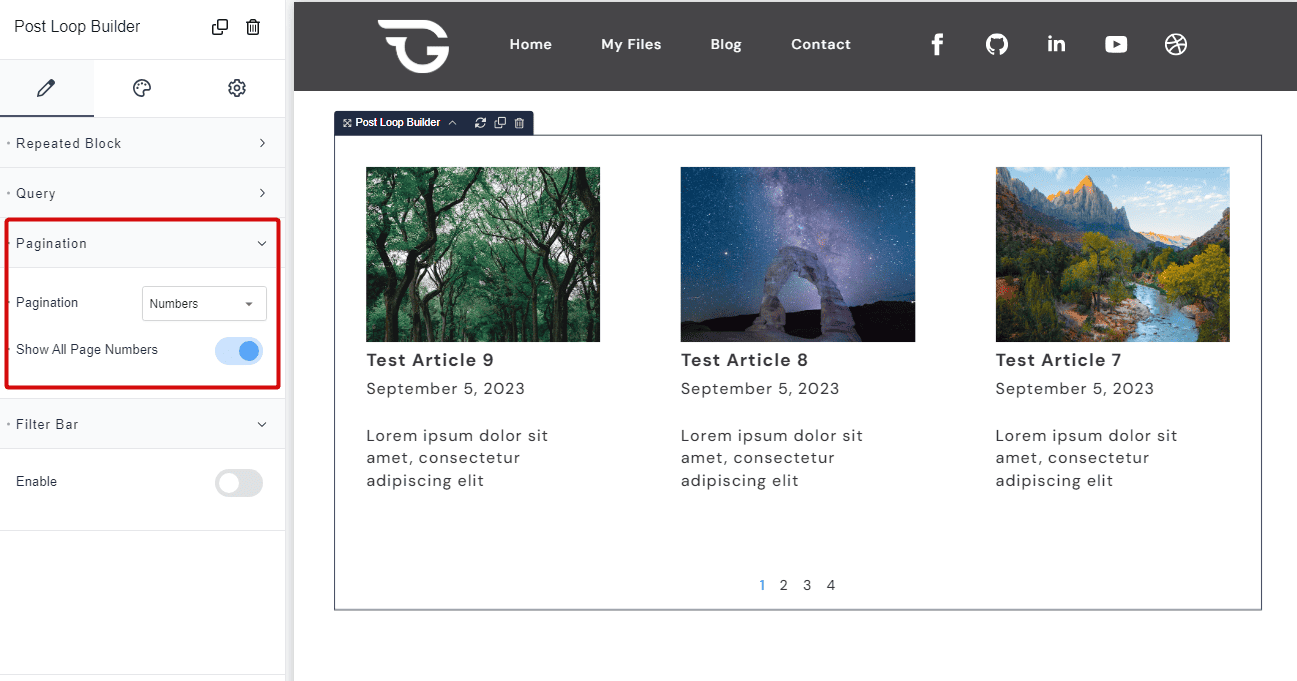
a) First, let’s enable pagination. On the pagination dropdown, choose how you want to organize your content. The most common way is to add numbers, so let’s do that.

Since we’ve set the post loop builder query to display three posts per row, you can expect to see at most three posts as you click each page number.
b) Next, let’s try the Filter Bar feature. When this is enabled, the pagination is automatically disabled.

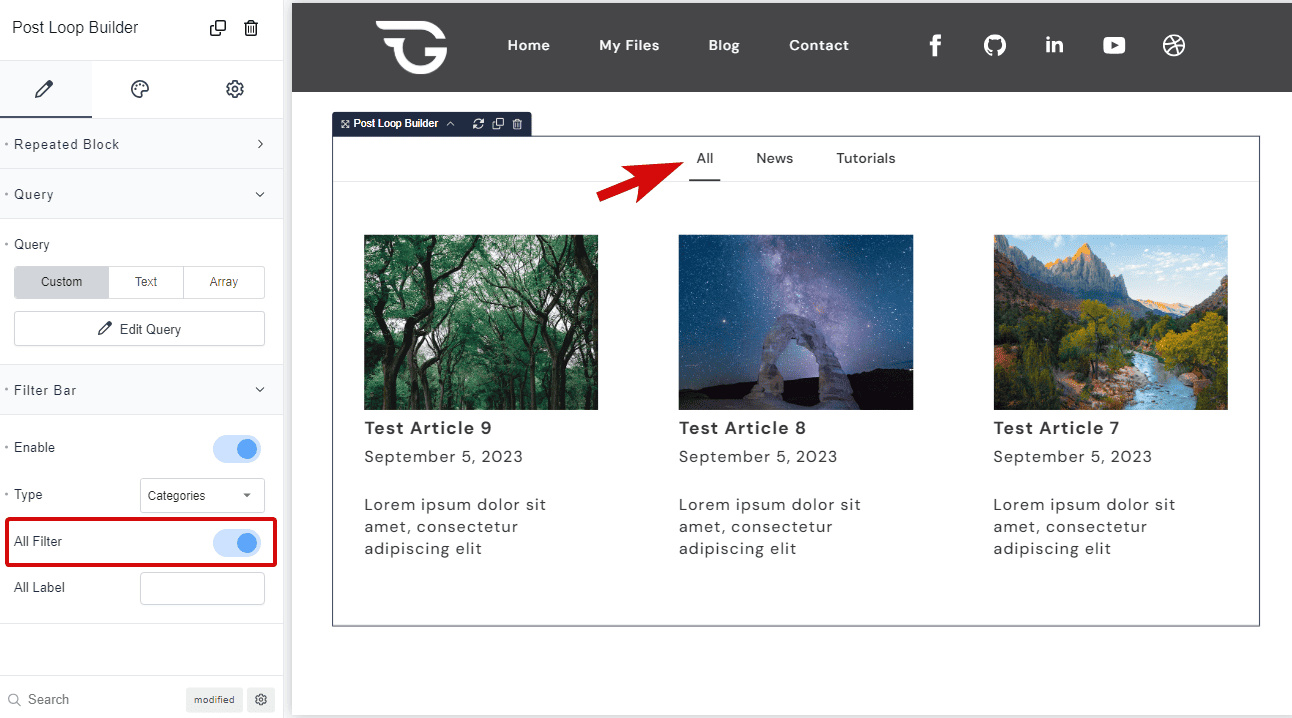
Choose how you want to organize your posts under the ‘Type’ dropdown. Here, we’re going to choose the ‘Categories.’

In the editor, you should see two category tabs displayed at the top. The post loop builder query displays three posts per row but will appear in different category tabs.
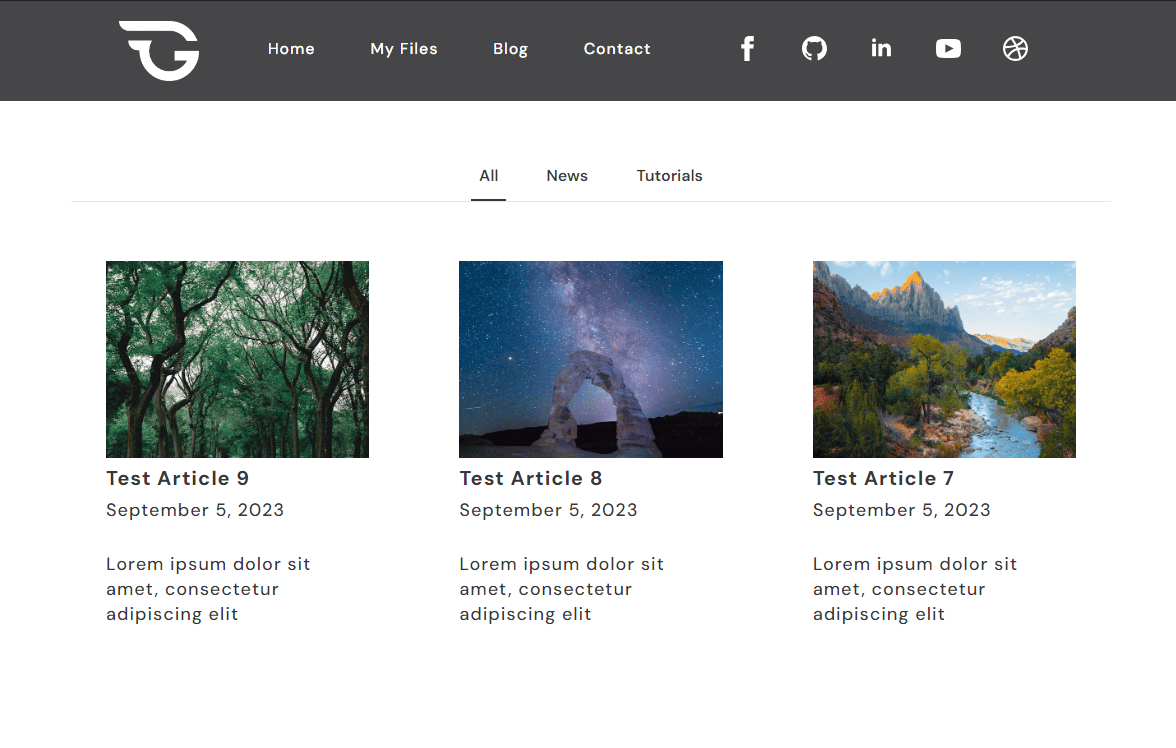
Activating the ‘All Filter’ consolidates all three posts into one tab, as shown.
Here’s what our final page looks like with the Filter Bar.

That’s a Wrap!
Breakdance currently restricts users from adding both pagination and filter bar within the post loop builder query. But this website builder is still quite young.
With further updates, we remain optimistic about the addition of this feature in future releases. I’m pretty sure this will enhance the flexibility and functionality of the post loop builder element.
Want to Learn Even More?
If you enjoyed this article, subscribe to our free newsletter where we share tips & tricks on how to use tech & AI to grow and optimize your business, career, and life.