Creating an Individual Blog Post Template in Breakdance Builder
Want to create a unique blog template in Breakdance that suits your branding style? Follow these easy steps in our tutorial to help you get started!
Christy Cañete
Updated September 2, 2023
Reading Time: 15 minutes
Breakdance comes with beautifully designed post templates that you can use right out of the box.
But sometimes, these generic templates don't always capture the unique style or branding we want for our blog.
Perhaps, you want to establish a strong brand identity for your blogging business. You want to add event-specific posts. Or you just want to create different templates for your diverse content types, like new articles, tutorials, and personal product reviews.
Creating custom blog post templates can help address these specific use cases.
This guide aims to help you have a good starting point in creating your custom template in Breakdance. I’ll explain the step-by-step process and introduce additional plugins you might find helpful in your journey.
By the end, you should be able to create a professional-looking blog template in Breakdance - complete from the header to the footer.

Let’s get started!
How to Create an Individual Blog Post Template in Breakdance
1) Create a Header
In this guide, we’re going to create a simple header that displays a logo, navigation menu, and CTA button.
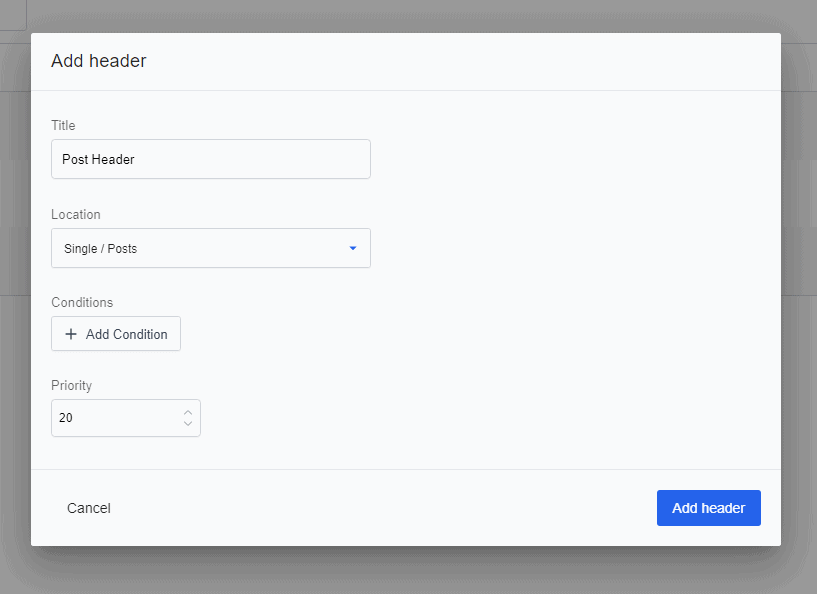
Navigate to your WordPress dashboard. Select Breakdance > Headers. Click 'Add Header.’ Provide a name for your header template. Set it to posts and enter a priority value (it must be higher than the other header templates you have, if any). Then, click ‘Save.’
To edit, click ‘Edit in Breakdance’ beneath the header name.
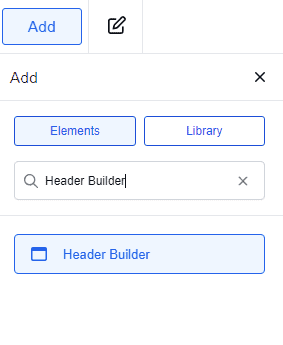
On your Breakdance editor, add a ‘Header Builder’ element. Note that you don’t need to add a section here.
Our header will contain three parts - first for the logo, second for the menu, and third for the CTA button. There are many ways to create a layout for your header. But in this tutorial, I’m going to use three Divs to house each element.
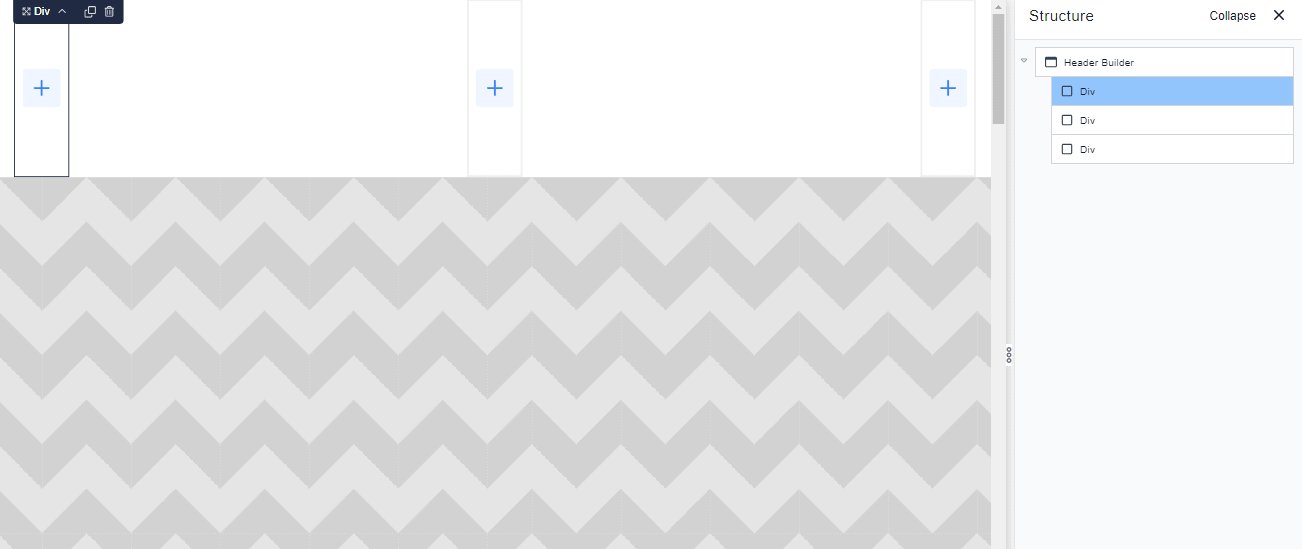
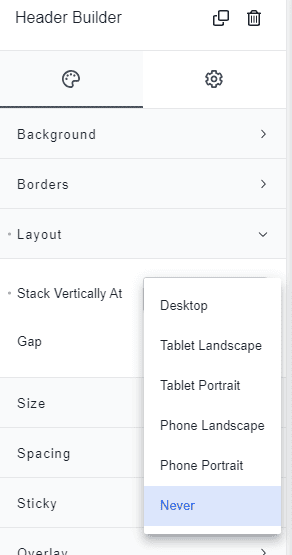
Now, we want the Divs to display horizontally next to each other and not stack up vertically. To fix this, click the ‘Header Builder’ element and go to the Style tab > Layout. On the ‘Stack Vertically at’ dropdown menu, tap ‘Never.’
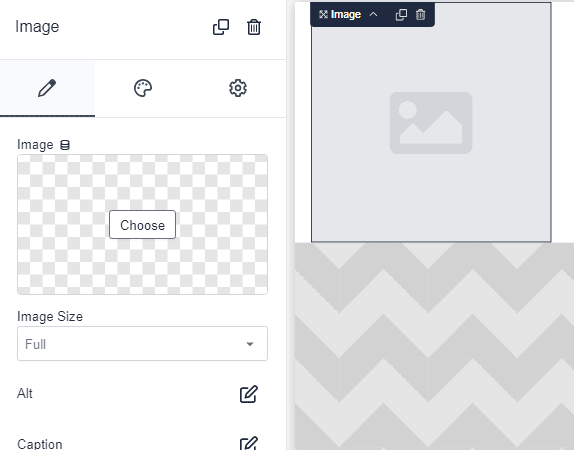
Let’s now add a logo to our header. Click the first ‘Div’ element, add ‘Image,’ and tap ‘Choose.’
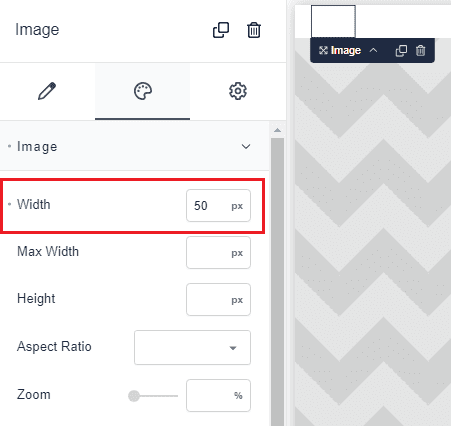
At first, you might find the image too large for your header. Go ahead and adjust the size as desired. Tap the Style tab and then Image. Enter the image width in px.
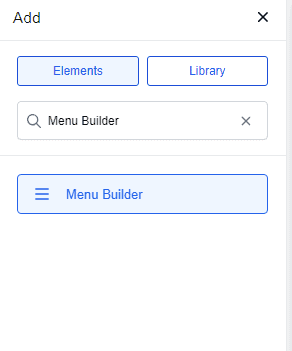
Next, add a ‘Menu Builder’ on the second element.
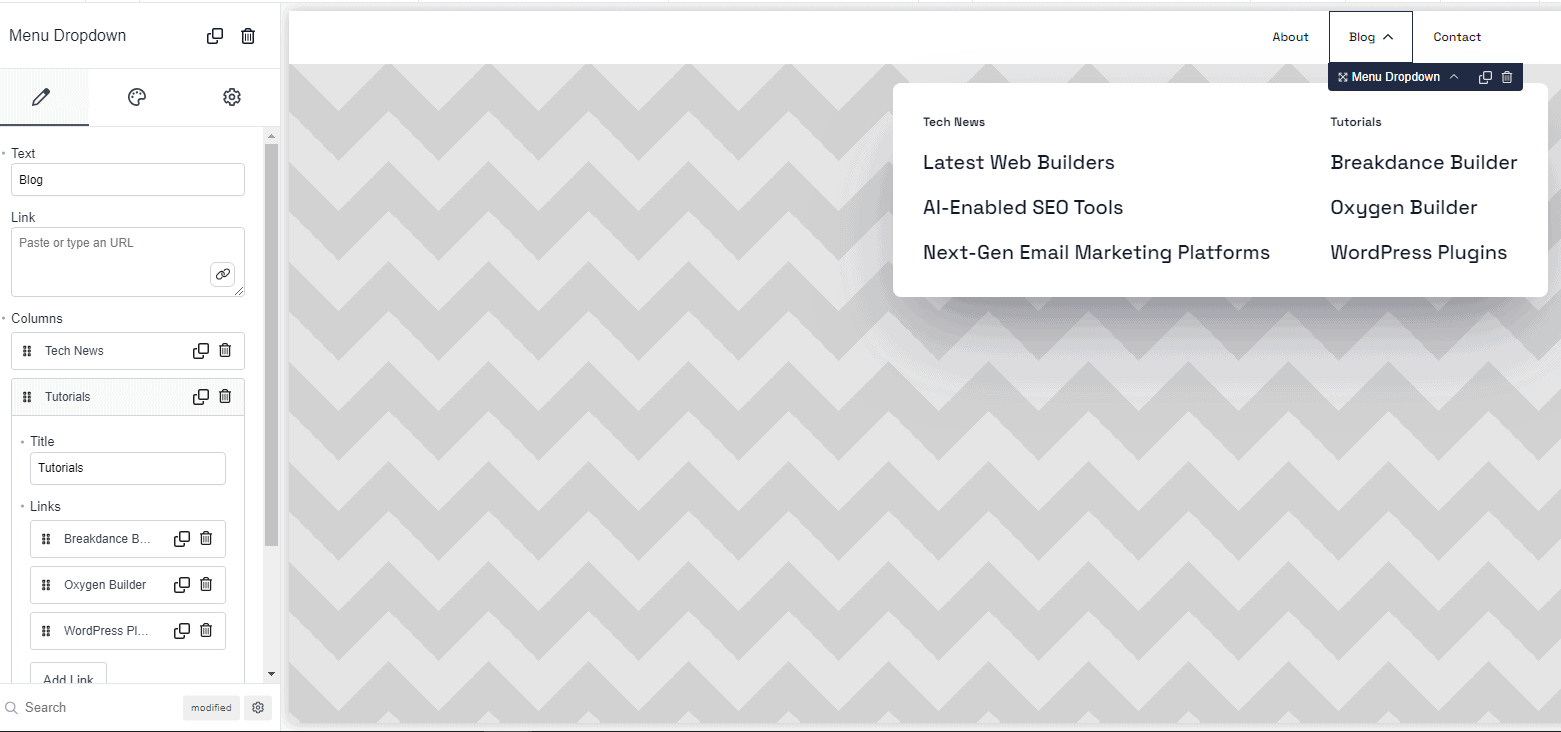
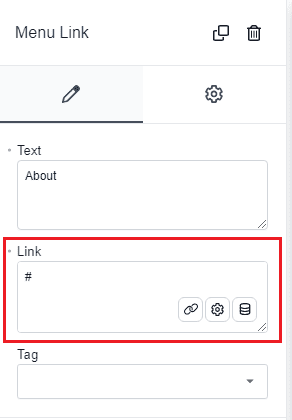
Edit the text links and remove the rest that you don’t need. Here, we only added the About, Blog, and Contact links as these are some of the basic elements of a header. But feel free to add more as you like.
Let’s add a button on the third ‘Div’ element. Here, I used a ‘Glue Button’ from Elements Hive because it allows me to add a simple animation on my CTA button.
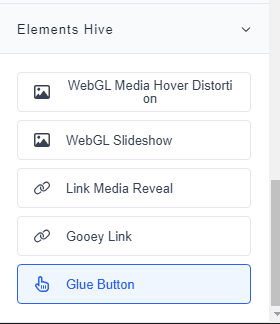
Elements Hive is a Breakdance extension. We’ve created a separate tutorial about this, so check this out if you want to learn more. But if you prefer not to install this plugin, you can just use Breakdance’s native button element.
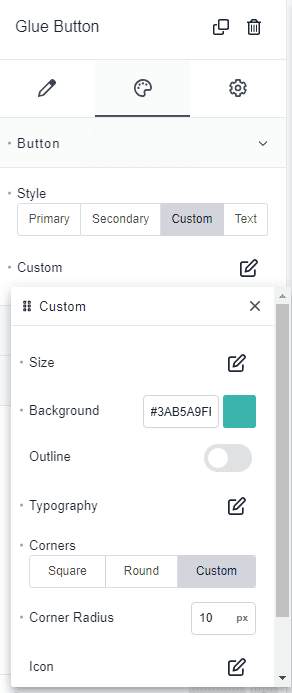
Once you have your button, click the element and edit the text, size, and style.
For example, I want a simple square button with rounded corners. To do this, navigate to the Styling tab. Click Button > Custom and tap ‘Custom.’ You should see other options here to modify the button’s attributes like the size, background color, typography, etc. Within the ‘Corner’ section, tap ‘Custom’ and enter a ‘Corner Radius’ value.
Now, you’re almost done with your header! But let’s add some styles to make it look nicer.
First, you can start by changing the header’s background color. In this example, I used a dark gray background and adjusted the opacity.

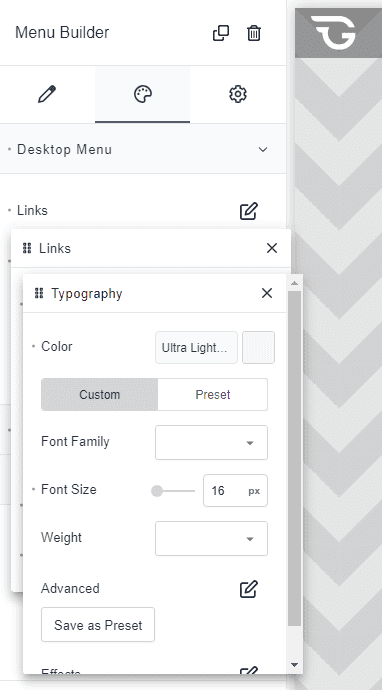
Then, I changed the font color of the text links to white.
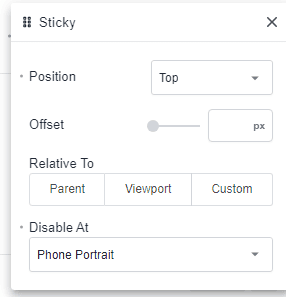
I also want the header menu to stick on the top as I scroll down. This is optional. But if you want to add this effect, navigate to the Settings tab > Animations and tap ‘Sticky. Choose a position to stick your header (here, I’ve chosen ‘Top’).

Note that you have the option to disable your sticky header on other screen sizes. For example, I disabled it in the ‘Phone Portrait’ view, as shown.
Once you’re satisfied, you can finalize the layout of your header.
Adjust the width and spacing of your Divs as desired. Make sure that they look nice on different screen sizes. Tap the screen icon on top of the editor to view your header on different devices. On the left side, adjust the spacing and sizes to your liking.

Note that we didn’t add any links to our logo, menu text links, and button yet. Let’s leave it as is and come back to it later when you have the other pages to link to your website.
Finally, save your header.
A website footer contains information and links that are relevant to your entire website, depending on your site’s purpose and design.
Here, we’re going to create a simple footer that includes your business information, links to the main sections, sitemap, newsletter signup, article categories, copyright information, legal pages, and social media icons.
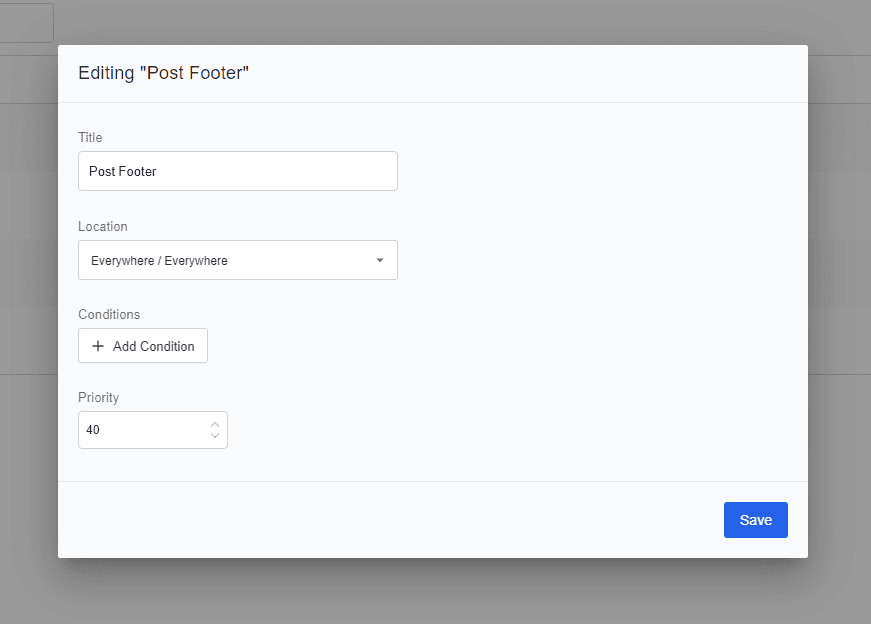
Just like the header, we’re going to create a new footer template on Breakdance. Go to Breakdance > Footers and tap ‘Add Footer.’ Set it to posts and enter a priority number.
Then, edit your new template in Breakdance. Start with a new section. Here, we’ll add two parent Divs - one for the blog information and another for the copyright section.
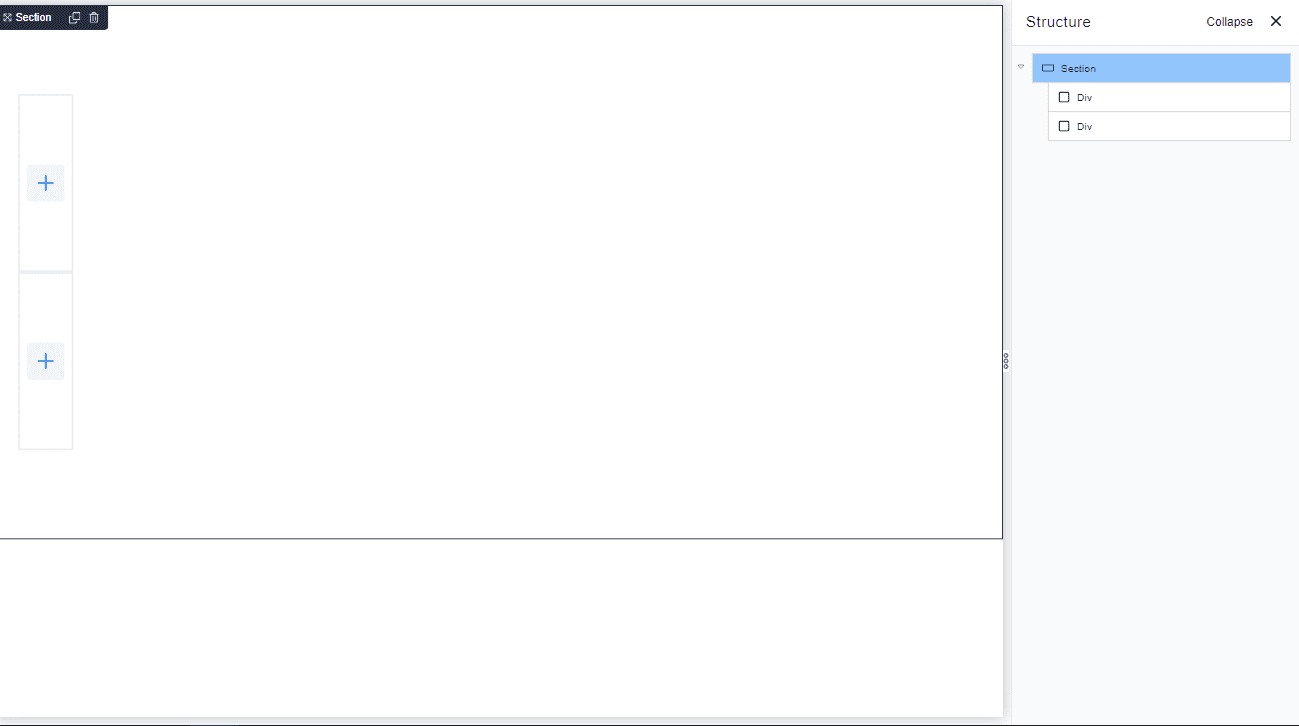
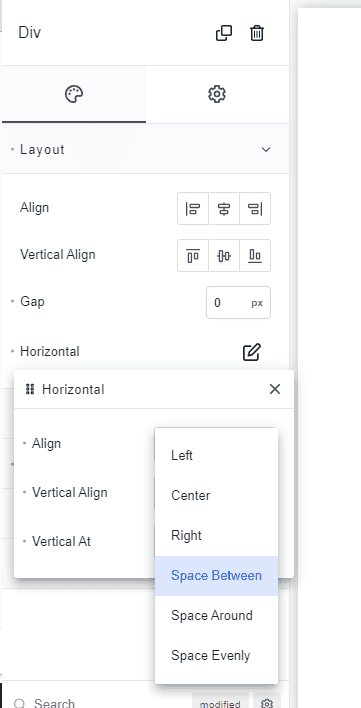
On the first Div, I’ll add four Div children for the brief blog information, links to the site’s main sections, blog categories, and community. Set the parent Div’s horizontal alignment to ‘Space Between’ so the children Divs are displayed horizontally next to each other.
Let’s go ahead and add the logo, blog name, blog’s brief description, and social media icons.
You can follow the hierarchy I’ve made. Below the first child Div, I added another grandchild Div to wrap the logo and blog name. I find this easier to control the alignment of my elements.
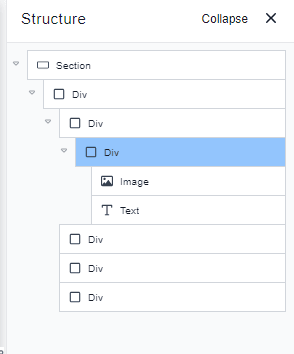
Then, I entered some dummy texts in the description. I also added the social media icons. You can do so by searching ‘Social Icons’ on the search bar, and then click to add the element.

Style the elements on the first child Div as desired. Adjust the size, layout, and colors.
Here, I changed my social icons to a dark gray base color and a background to white. I also adjusted the size, padding, space, scale on hover effect, and opacity. Feel free to experiment with your own styling.

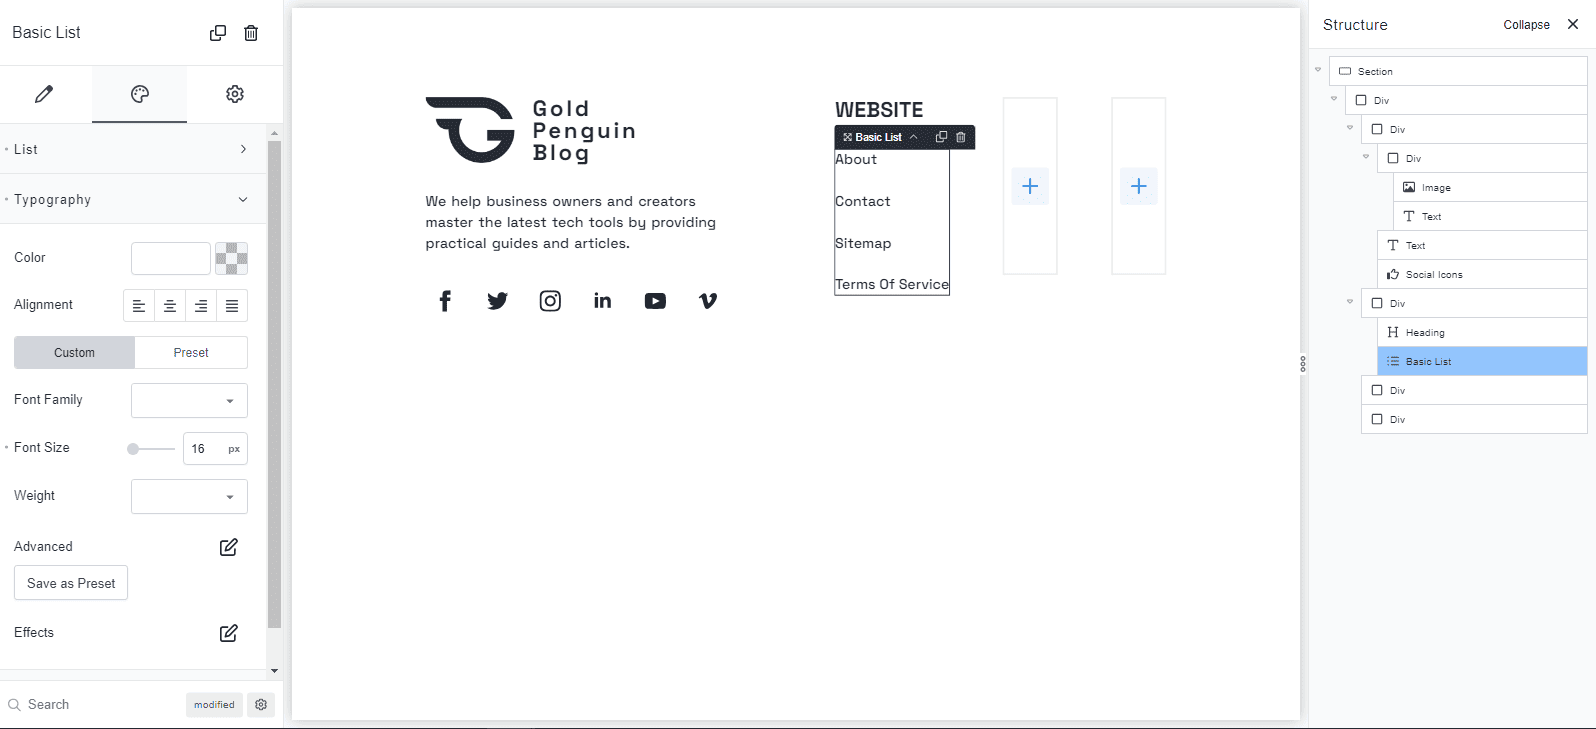
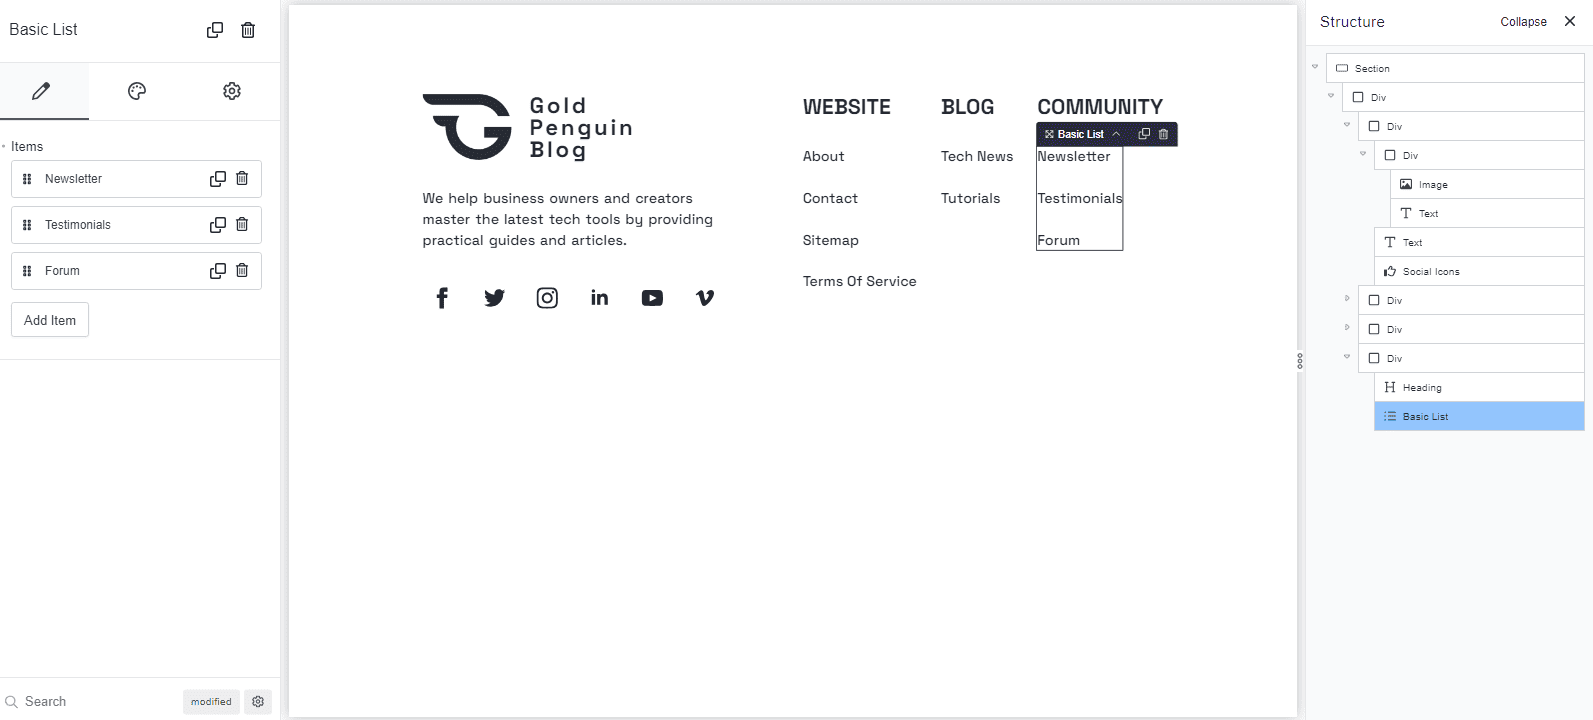
Next, populate the second child Div with a section title and text links. Here, I’ve added a ‘Heading’ and ‘Basic List’ element. I edited the title and content. I also modified the font size and spacing as shown below.
Now, we’ll do the same for the third and fourth child Divs.
Note that Breakdance allows you to copy the elements and its styling so you won’t have to add everything all over again. Just right-click the element to copy and paste it anywhere you want.
So, go ahead and copy the second child Div and paste. Then, edit the title and text links, as shown.
Finally, let’s add the copyright information on the lower parent Div. A copyright section can vary but it commonly looks like this:
© Your Website Name. All rights reserved.
In our Breakdance editor, we can simply add a text element and enter the information above. Then, edit the style as we want. Here, I’ve also added a ‘Fancy Divider’ element to separate the copyright section from the other footer content.
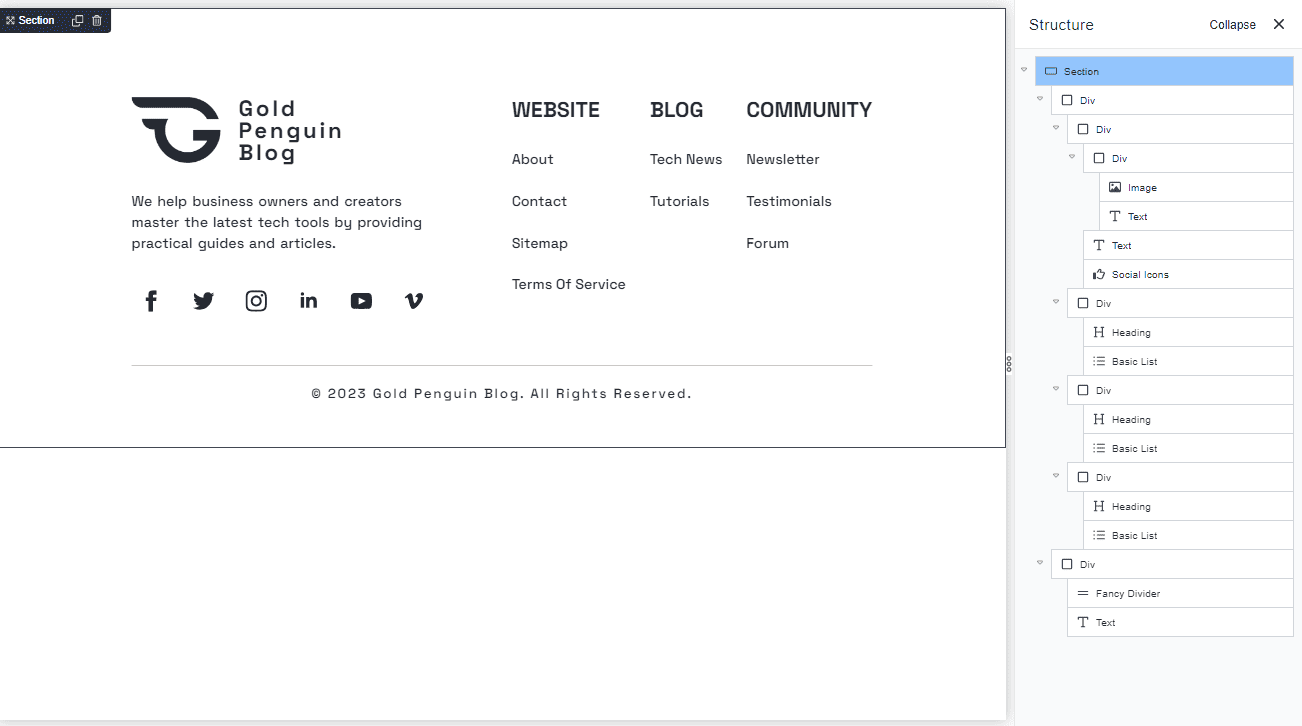
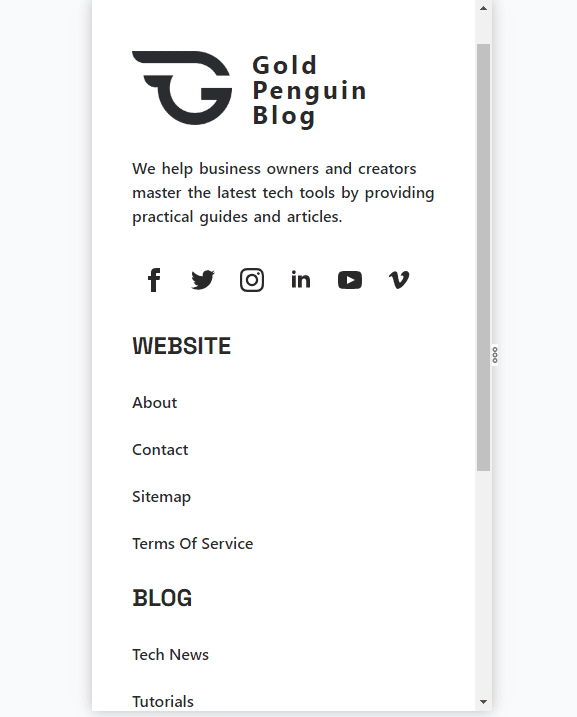
Make sure to adjust the space and size of your elements to look nice on different screens.
Once you’re satisfied with the overall appearance of your footer, click ‘Save.’
3) Create a New Post Template in Breakdance
A blog post template can have several key components, depending on how you want to structure and organize your content.
In this guide, we’ll create a single post template containing these elements:
- Blog title
- Featured image
- Blog body
- Section for the author’s name and date the article is written
- Table of content
- A short bio section about the author
- Comment section
- A section containing other related content
- Subscription box
- Share buttons
Let’s go through the step by step process of creating each section below.
a) Create a section for the blog title and featured image.
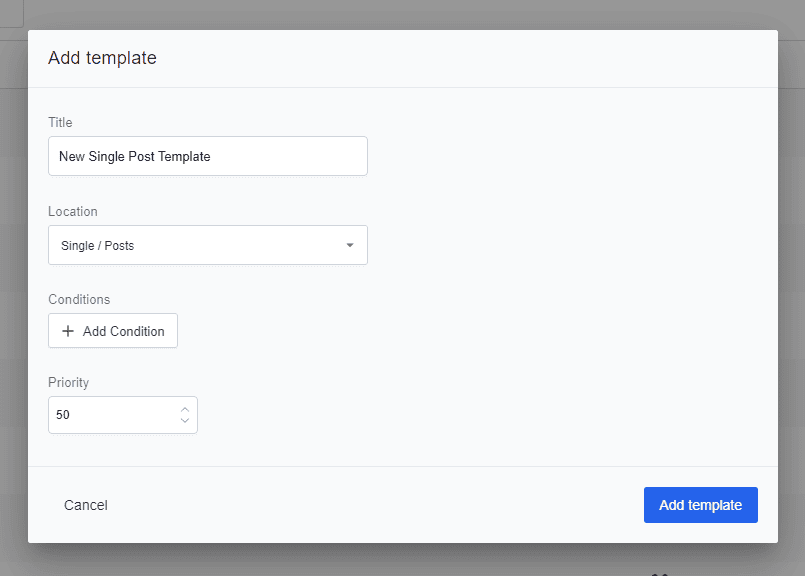
Create a new template by navigating to Breakdance > Templates > Add Template. Enter the name of your template, choose ‘posts’ and enter a priority number.
Let’s say we want to overlay the blog title on a featured image. To do so, we can click the section element and add the featured element as the background. Go to the style tab and click ‘Background.’
Instead of choosing a color, we’ll tap the image within the ‘Type’ section. We want Breakdance to dynamically fetch the featured image of our blog posts. So, go ahead and tap the ‘dynamic’ icon beside the image label.
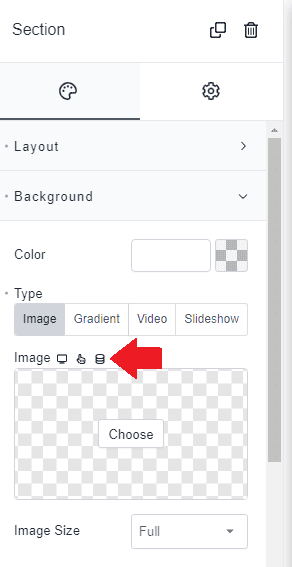
On the pop-up window, choose ‘Featured Image’ under the ‘Post’ option.

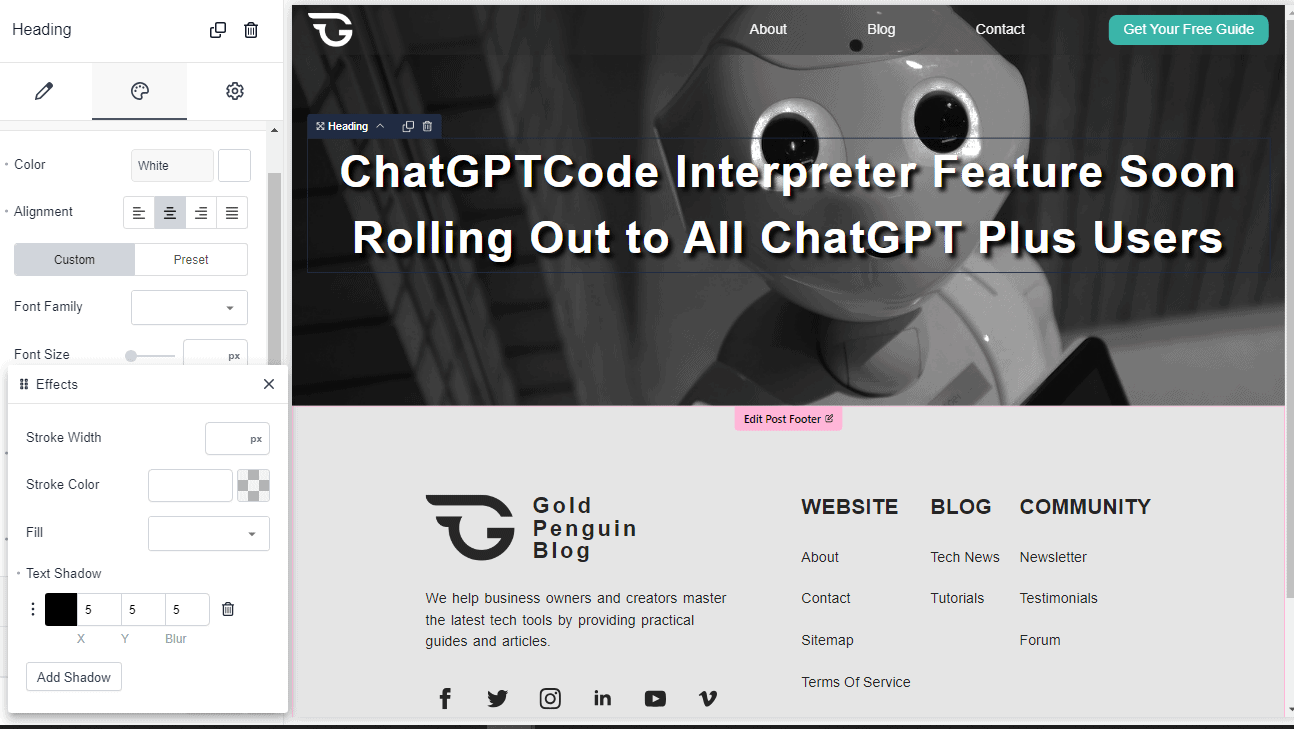
Next, add a ‘Heading’ element for the blog post title. Again, we want this to be dynamic, so click the little icon beside the text label and choose ‘Post Title.’

Again, feel free to style the heading to your liking. For instance, you can add text shadows as I did to differentiate the text from the background, as shown below.
b) Add a section for the blog content.
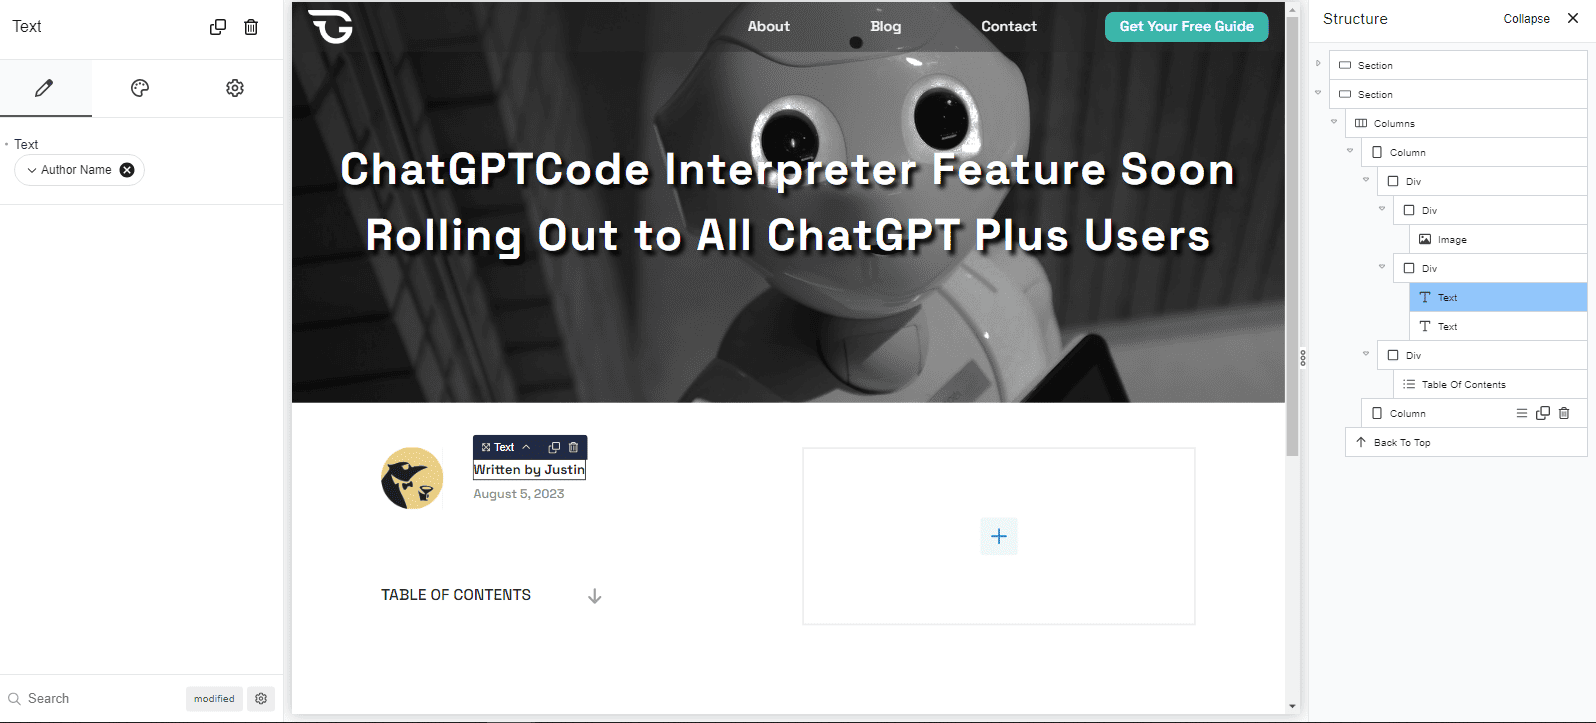
Instead of a single column, we’ll divide this section into two parts. The first part will wrap the author’s name, date written, and table of contents while the second part will have the blog’s content.
To implement this layout, I added two columns to the section.
In the first column, I’ve wrapped the author’s avatar on a Div. I also did the same for the author’s name and the date written. Note that all of these are added dynamically.
I added another Div to house the ‘Table of Contents’ element. Doing it this way would be easier to control the layout of my elements. But feel free to explore other options to organize your elements.
Then, I changed the width of my columns, making sure that the second column gets most of the space to display the blog content.
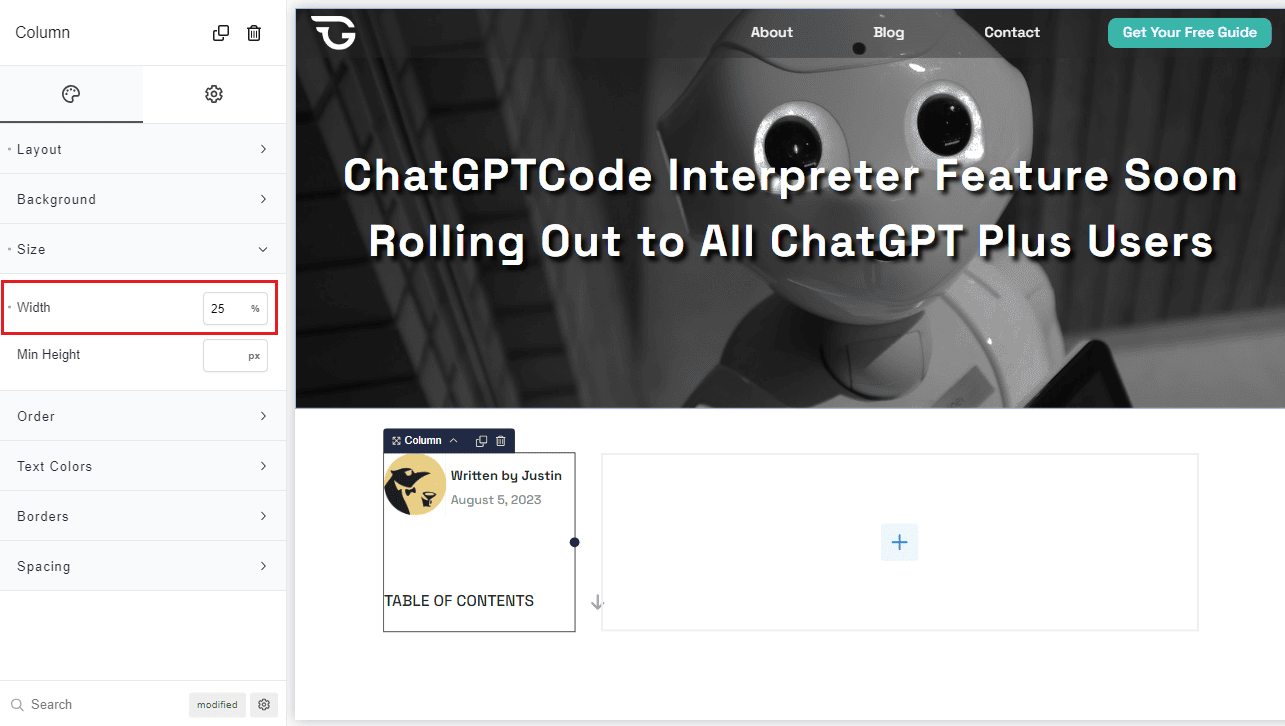
It’s time to fetch our blog content. On the second column, simply add the ‘Post Content’ element. Don’t forget to save your work.

Adding an author’s bio section to your blog post can have a lot of benefits. It establishes credibility and authority, building trust among your readers. So, let’s go and create one.
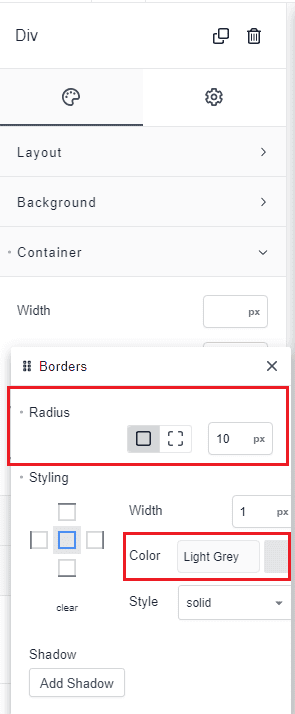
First, you’ll need to add a new section. I wanted to add a light-colored border around my author’s bio, so I added a Div. I’ve set the color to light gray and the corner radius to 10 px. You can experiment with other styling options for your container, as shown here.
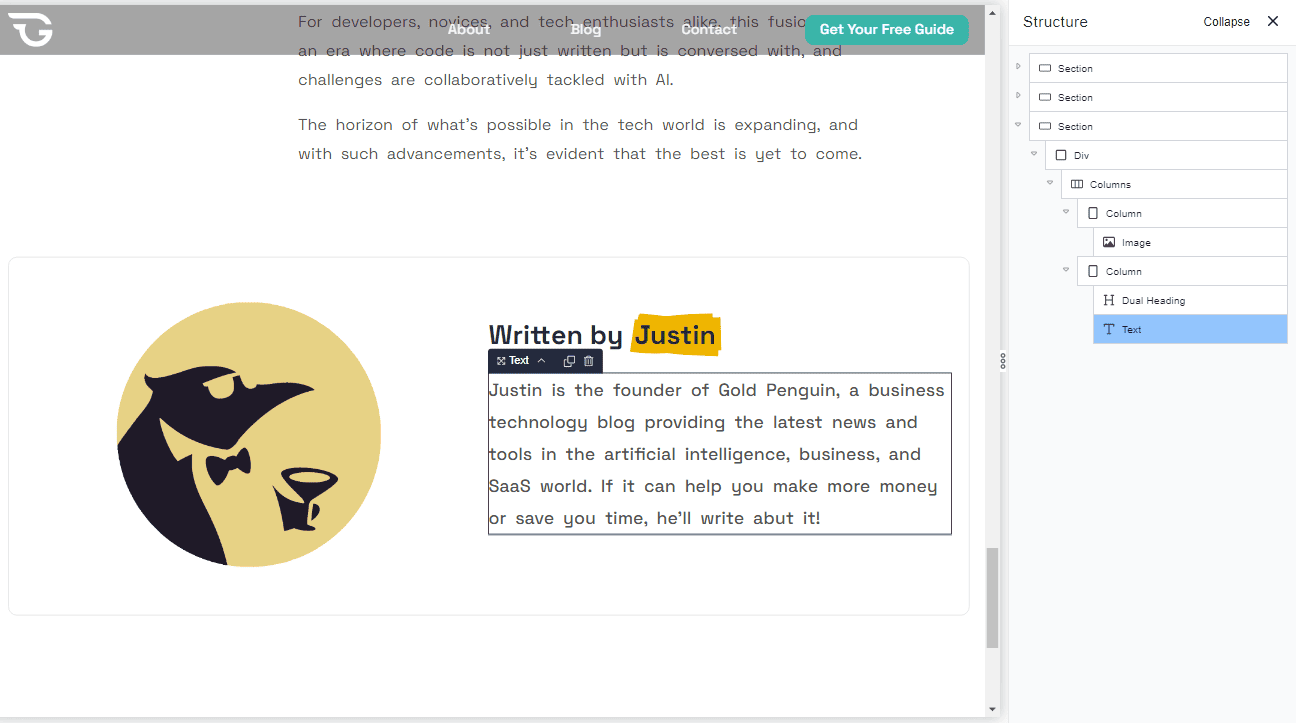
Within the Div, a added two columns to wrap the author’s image, name, and a short bio. You’re free to add any styles you want here.
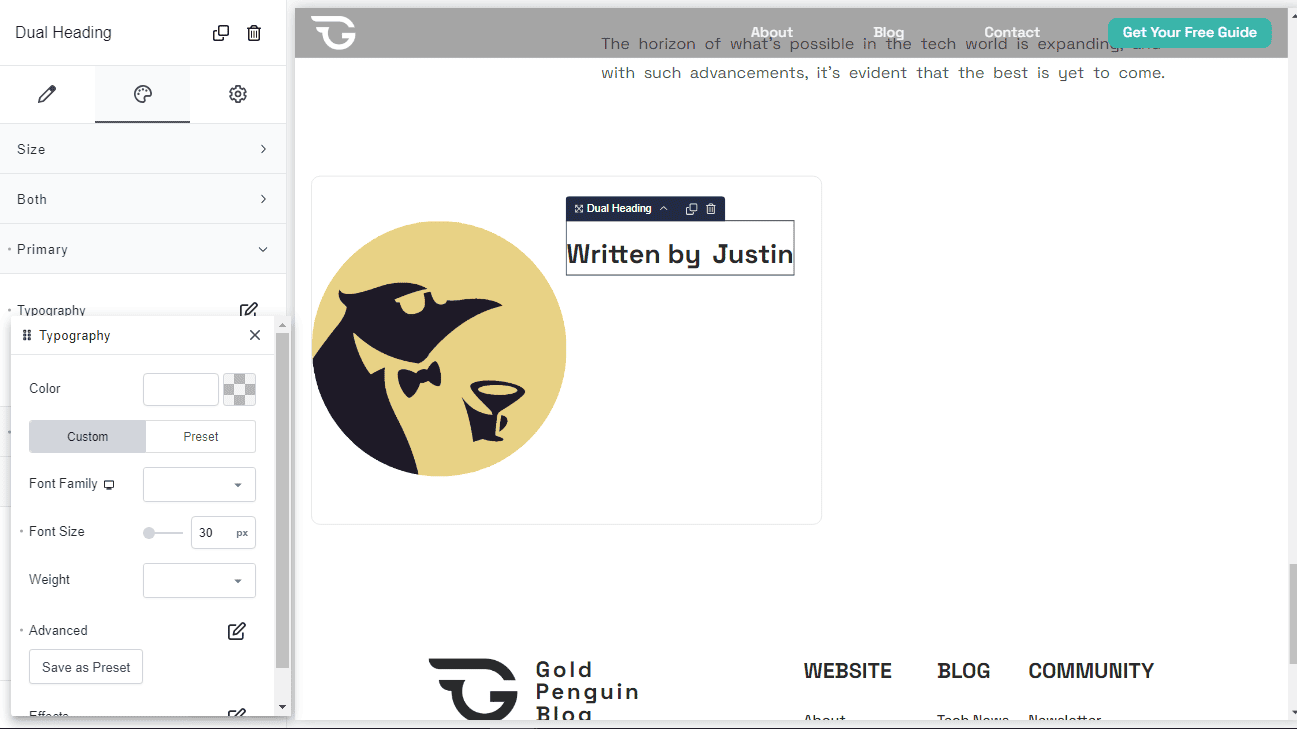
For instance, I used a ‘Dual Heading’ for the author’s name title. Here, I modified the primary and secondary texts to achieve this look.
The short bio should be an easy one. Just add a text element and insert dynamic ‘Author Bio’ data. Adjust the layout, text, and color to your liking. Save your work and you’re done.
d) Add a comment section.
Breakdance provides a comment form that you can easily integrate into your blog page. It comes with all the basic functions you’ll need for your comment section.

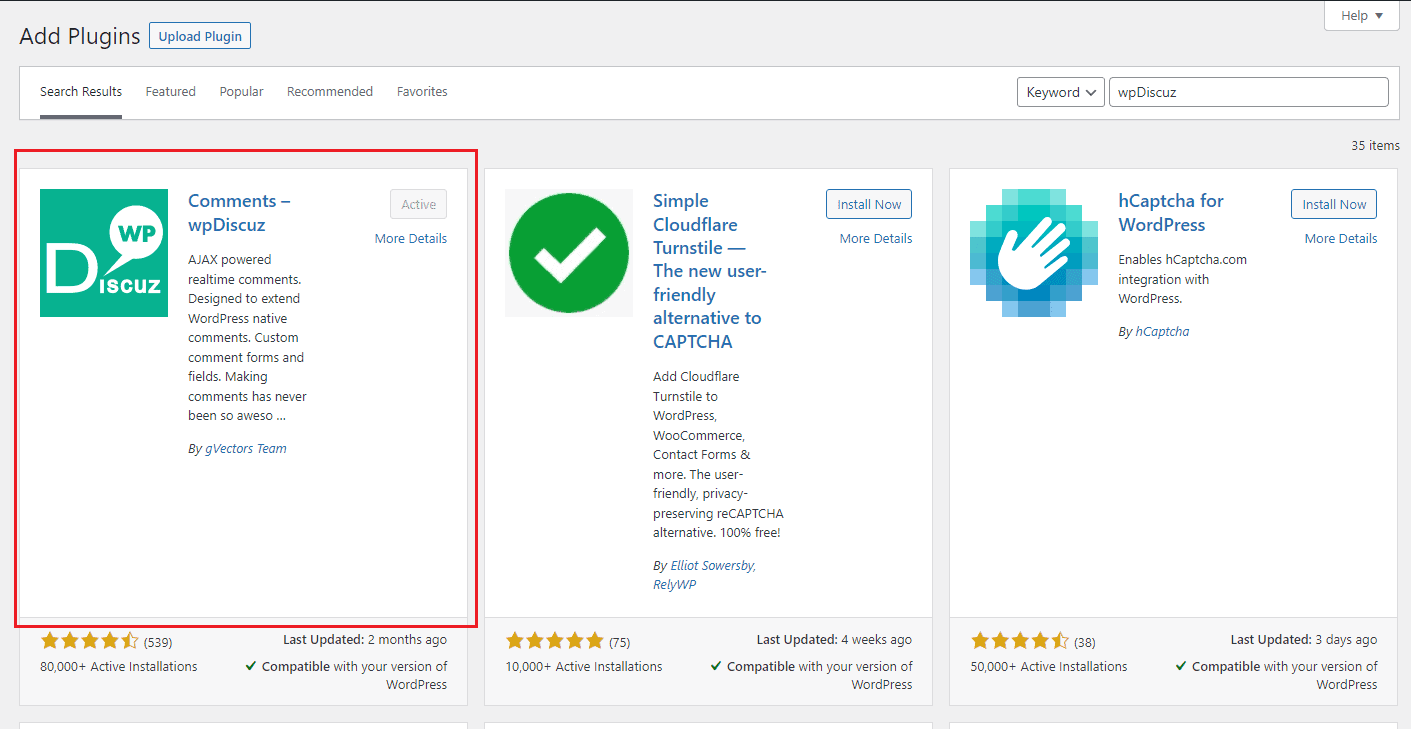
But let’s level this up a bit. Here, we’ll use the popular wpDiscuz plugin.
I highly recommend wpDiscuz if you want to:
- implement a more engaging commenting experience for your users
- have lots of customization options
- want your comment section to support threaded and nested comments
- integrate social media login options
- maintain the quality of comments and avoid spam
- moderate and control permissions
To install wpDiscuz, navigate to Plugins > Add New and search for the plugin. Then, click to install and activate.
The installation process should lead you on how to set up the plugin, from choosing a style to adding extra functionalities.
Save your options and come back to the settings later if you decide to modify anything on your comment form.

Once the plugin is active, we can now integrate it into our Breakdance site. The easiest way to do this is by using shortcodes.
But first, let’s add a custom function to our theme.
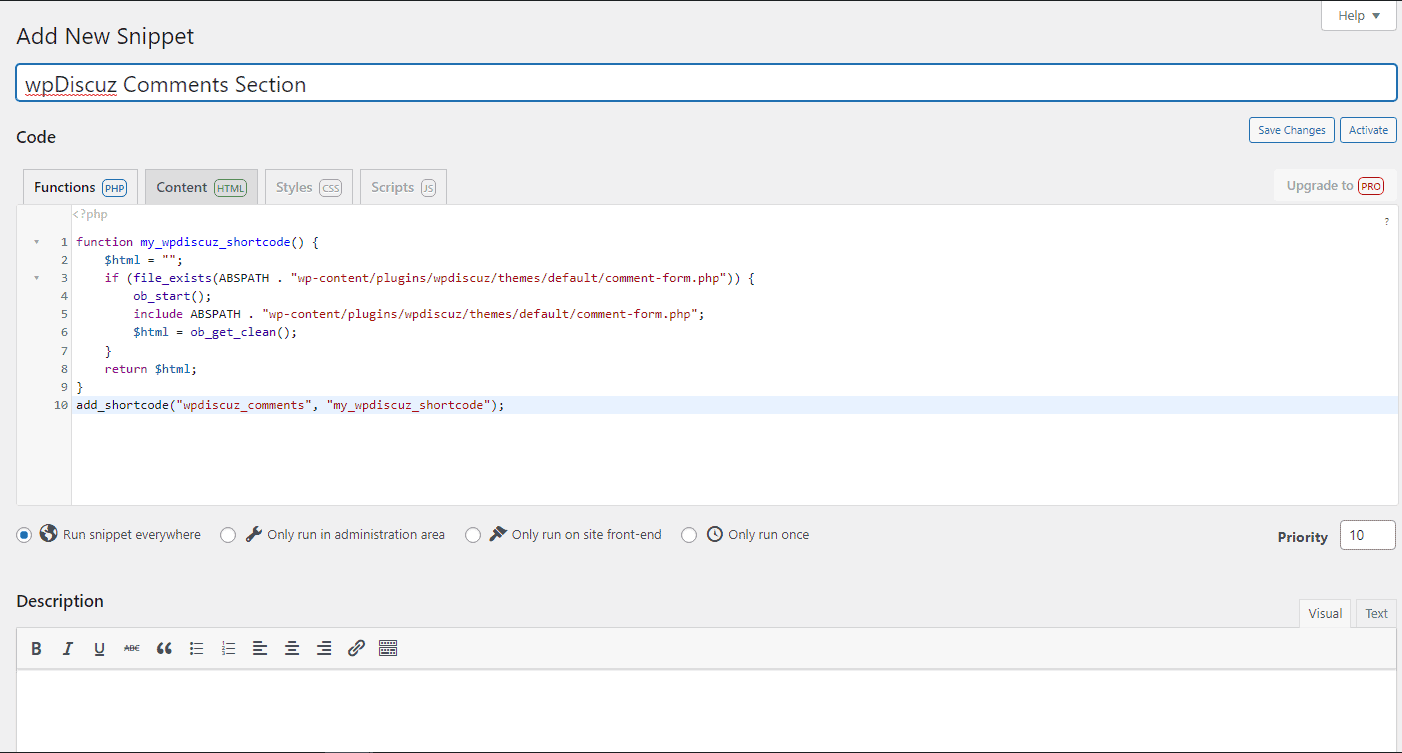
I highly recommend using the Code Snippets plugin as this is the safest way to manage custom code more effectively without the risk of breaking your site. Once you have installed and activated it, head over to Snippets > Add New.
Enter a title for your code snippet. Tap the ‘Functions PHP’ tab and paste the following code:
function my_wpdiscuz_shortcode() {
    $html = "";
    if (file_exists(ABSPATH . "wp-content/plugins/wpdiscuz/themes/default/comment-form.php")) {
        ob_start();
        include ABSPATH . "wp-content/plugins/wpdiscuz/themes/default/comment-form.php";
        $html = ob_get_clean();
    }
    return $html;
}
add_shortcode("wpdiscuz_comments", "my_wpdiscuz_shortcode");
Below the editor, choose ‘Run snippet everywhere’ and save.
Back to your Breakdance blog post template, add a new section and a shortcode block. Then, paste the following shortcode:
Subscribe
0 Comments
Most Voted
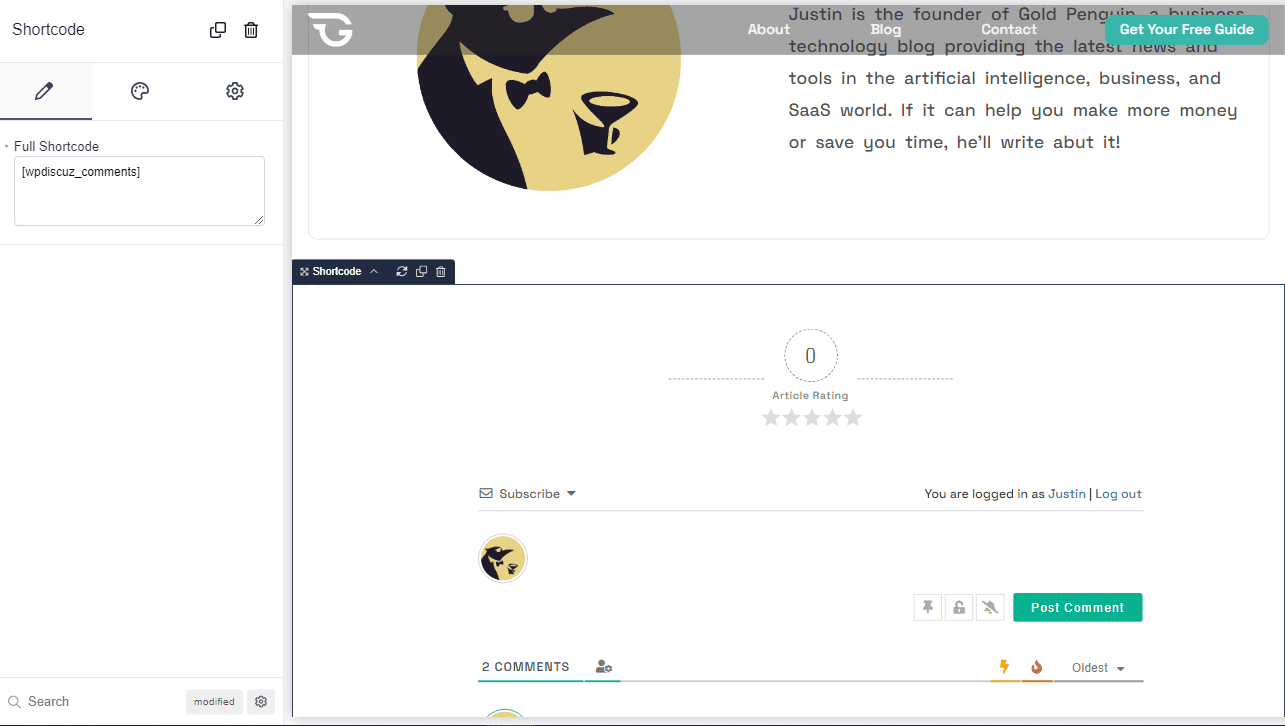
You should now see the WPDiscuz comment form on your page.
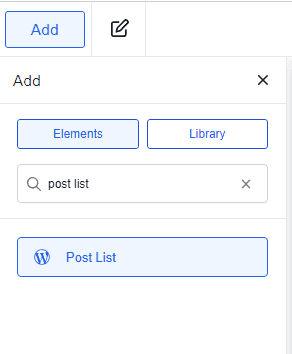
e) Add a ‘Related Posts’ section.
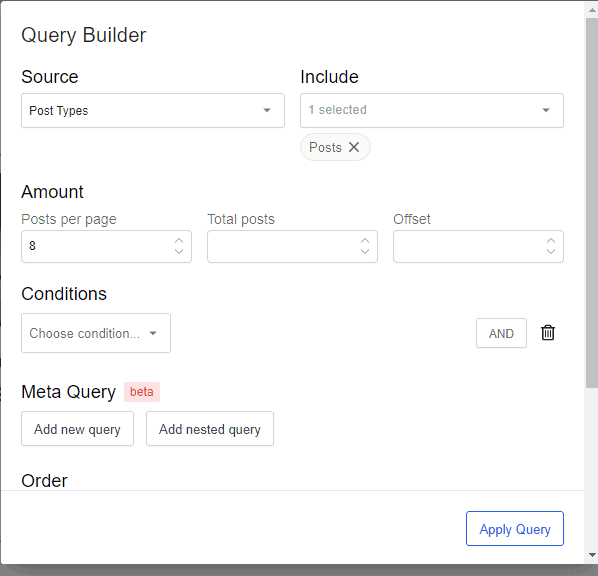
Related posts help your readers explore other content on your site that they might find interesting. Adding this section to your Breakdance page is a straightforward process. You’ll only need a heading for the title and a post list element to display a preview of your other articles.
Once you’ve added these elements, you can style the layout on the left-hand panel.
In this example, I just want the featured image, blog title, and date displayed. So, I disabled the taxonomy and content.
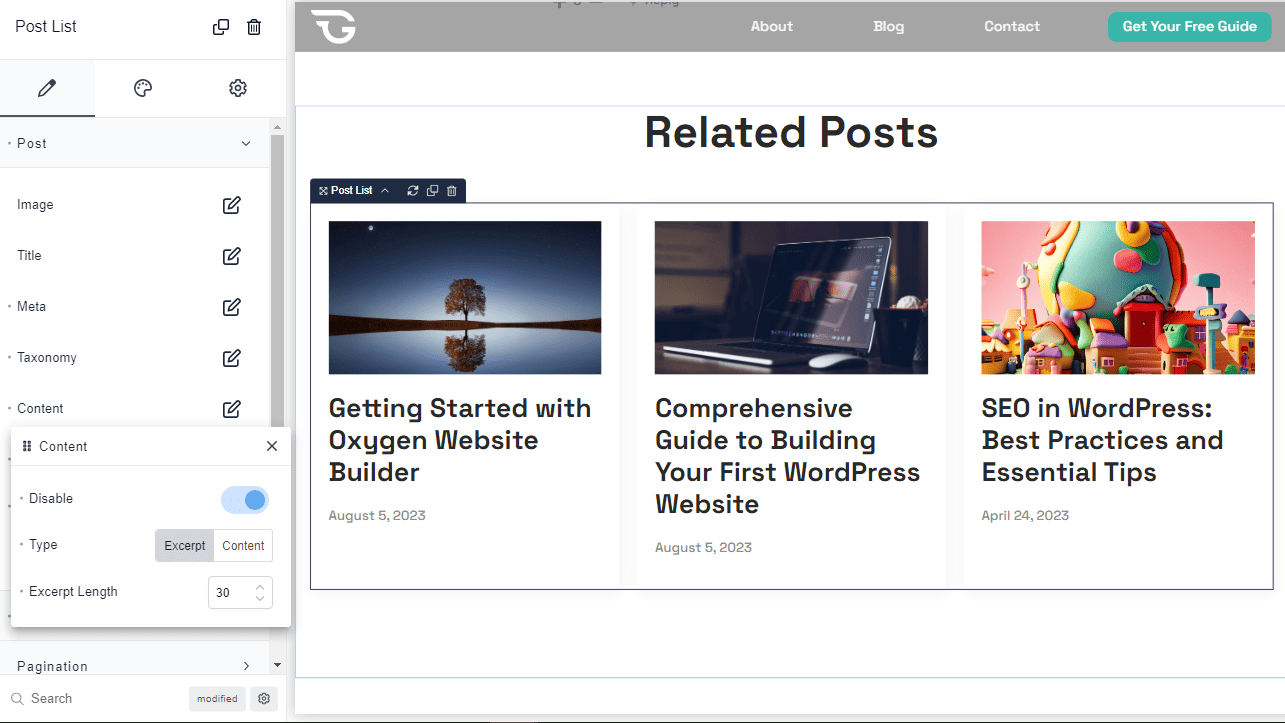
Then, I modified the query to display only 8 articles at a time.
7) Add a subscription box.
Subscription boxes are one of the best ways to grow your blog’s audience. Here’s how you can create one.
Add a new section to your page, then insert a heading, text for the description, and a form builder element.

Edit the fields of your form. As much as possible, limit your form to up to two fields - one for the name and the other for the email. You don’t want your reader to spend a lot of time filling up your form.
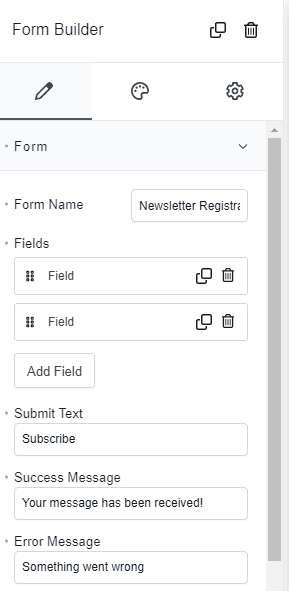
Then, change the background color, field size, labels, and submit button to your liking.

Notice that you also have options to add actions after the form submission. This is where you can integrate other third-party apps to manage form submissions.
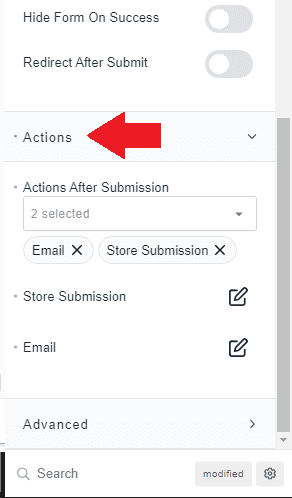
We have created a separate tutorial for adding apps like Slack, ConvertKit, ActiveCampaign, Drip, and MailerLite. So be sure to check them out.
Social media share buttons allow your readers to easily share articles they love on your site. This word-of-mouth promotion is incredibly useful in boosting your organic traffic without advertising expenses.
Click the section that wraps the content of your page. Then, on the left side, search for the ‘Social Share Buttons’ and add.
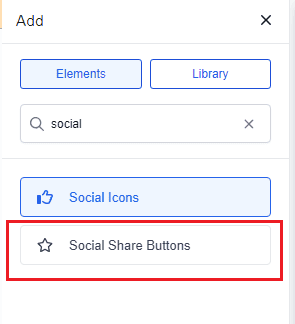
Next, edit the social media buttons you want to add. Here, I’ve added Facebook, Twitter, LinkedIn, Email, and Pinterest buttons.
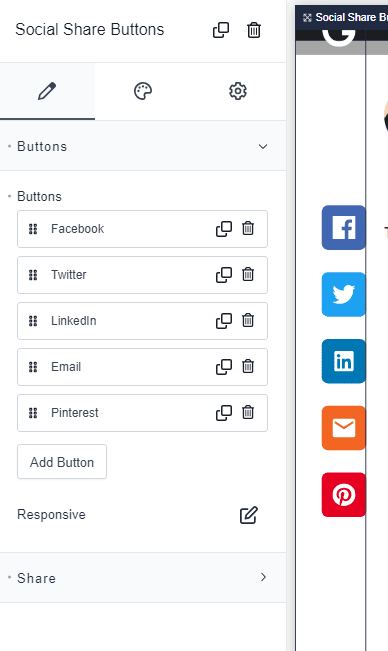
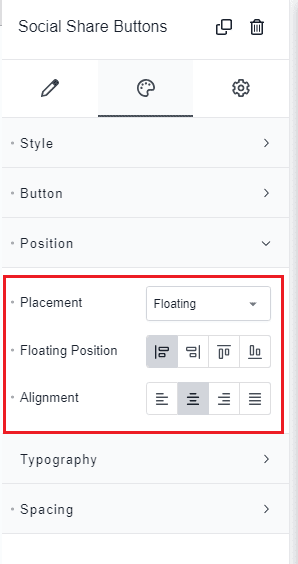
Let’s now go to the Styling tab > Position and modify the placement to ‘Floating.’ Then, choose the left alignment for the floating position. This will keep our buttons displayed on the left side of the page as we scroll down.
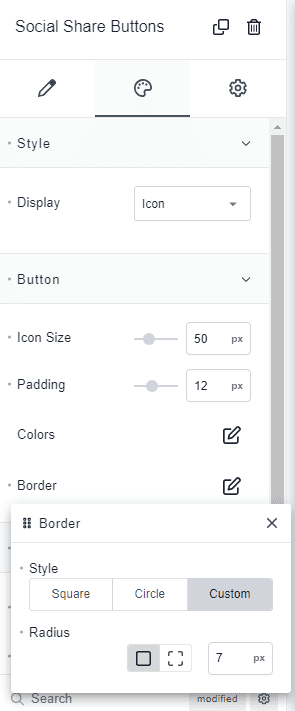
Note that I’ve also modified the display and shape of the buttons. On the style tab, tap ‘Style’ to change the display. To achieve a square button with rounded corners, choose ‘Button,’ tap Border > Custom, and enter a radius value.
Once everything is set, click ‘Save.’
Tap the section that wraps your content. Then, search for ‘Back to Top’ and click to add.
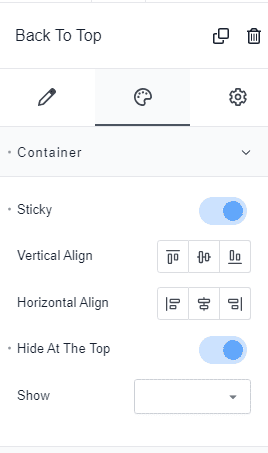
On the left panel, feel free to modify the style of the button. Here, I’ve changed the icon and its background color.
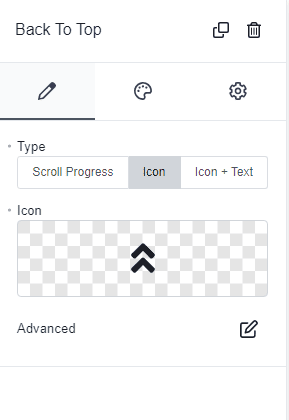
Then, I enabled the ‘Sticky’ and ‘Hide At The Top’ attributes.
Save your work. And you’re done!
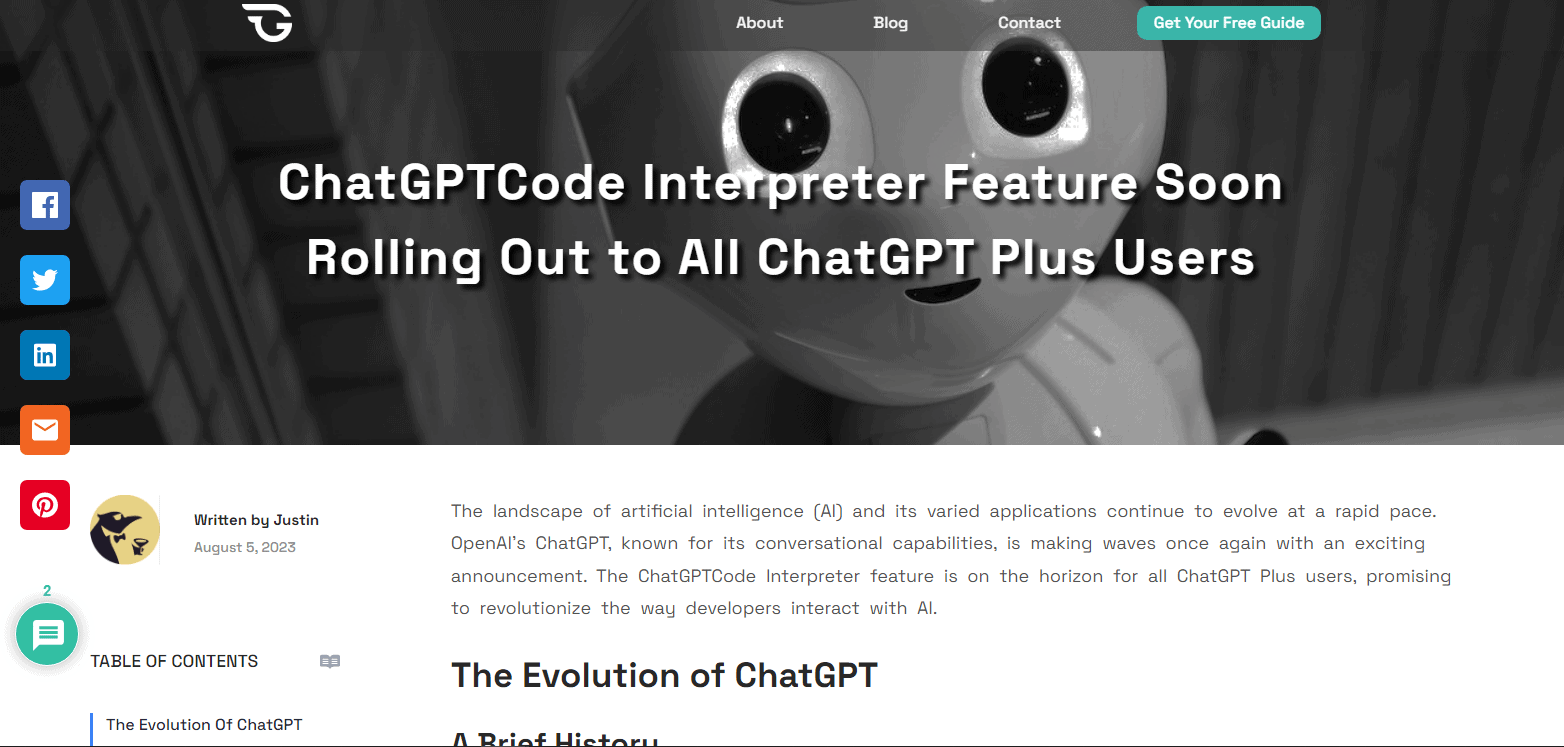
Your final blog post template should look a bit similar to the one I’ve created below.

Here's what our blog page looks like in smaller screens.

That’s a Wrap!
Congratulations - you’ve just created your first custom blog post template in Breakdance!
Keep experimenting with Breakdance’s awesome features. Who knows, you might come up with unique template designs worthy to be shared with the Breakdance community.
Feeling lost in any of the steps above? Drop a comment below - we’re here to help!
Want to Learn Even More?
If you enjoyed this article, subscribe to our free newsletter where we share tips & tricks on how to use tech & AI to grow and optimize your business, career, and life.