Creating Custom Events Page in Breakdance Builder Using Meta Box
Meta Box is a Breakdance-compatible plugin that allows you to create custom fields and post types for your events page. Follow this guide to learn how you can use this powerful plugin to create a custom events page with zero coding knowledge.
Christy Cañete
Updated October 1, 2023
create a custom events page in Breakdance
Reading Time: 9 minutes
Do you want to build a custom events page on your Breakdance site?
A well-designed events page can help you get more conversions. And this can be easily done with Meta Box.
In this guide, I’ll walk you through creating a custom events page where users can view events and buy tickets. You’ll also learn how to configure Meta Box to create your events page in Breakdance.
Here’s what you can achieve by the end of this tutorial:

Why Use Meta Box?
Meta Box is a powerful WordPress plugin designed to help users create custom fields and custom meta boxes with ease. If you’re familiar with the ACF plugin, you might find Meta Box a bit similar. It lets you add extra information to your posts, pages, or custom post types.
Here are some of the features I love about Meta Box:
- Creates custom fields into groups to better organize your content
- Allows unlimited repeatable groups and cloning
- Allows reordering with clone sorting option
- Supports multi-level nested groups
- Groups are collapsible
- It’s lightweight, ensuring your website remains fast and responsive
- For those who want more, Meta Box offers extensions to enhance its functionality
If you’re creating an events page, then this is one of the best plugins I strongly recommend. With Meta Box, you can easily add custom fields for specific details like date, location, or guest speakers.
Plus, you don’t need to fiddle with code. I've found that using Meta Box speeds up the process of setting up an events page so you can focus on your content.
Now, let’s learn how to set up this plugin with Breakdance.
How to Create Custom Events Page With Breakdance and Meta Box
1) Install Meta Box
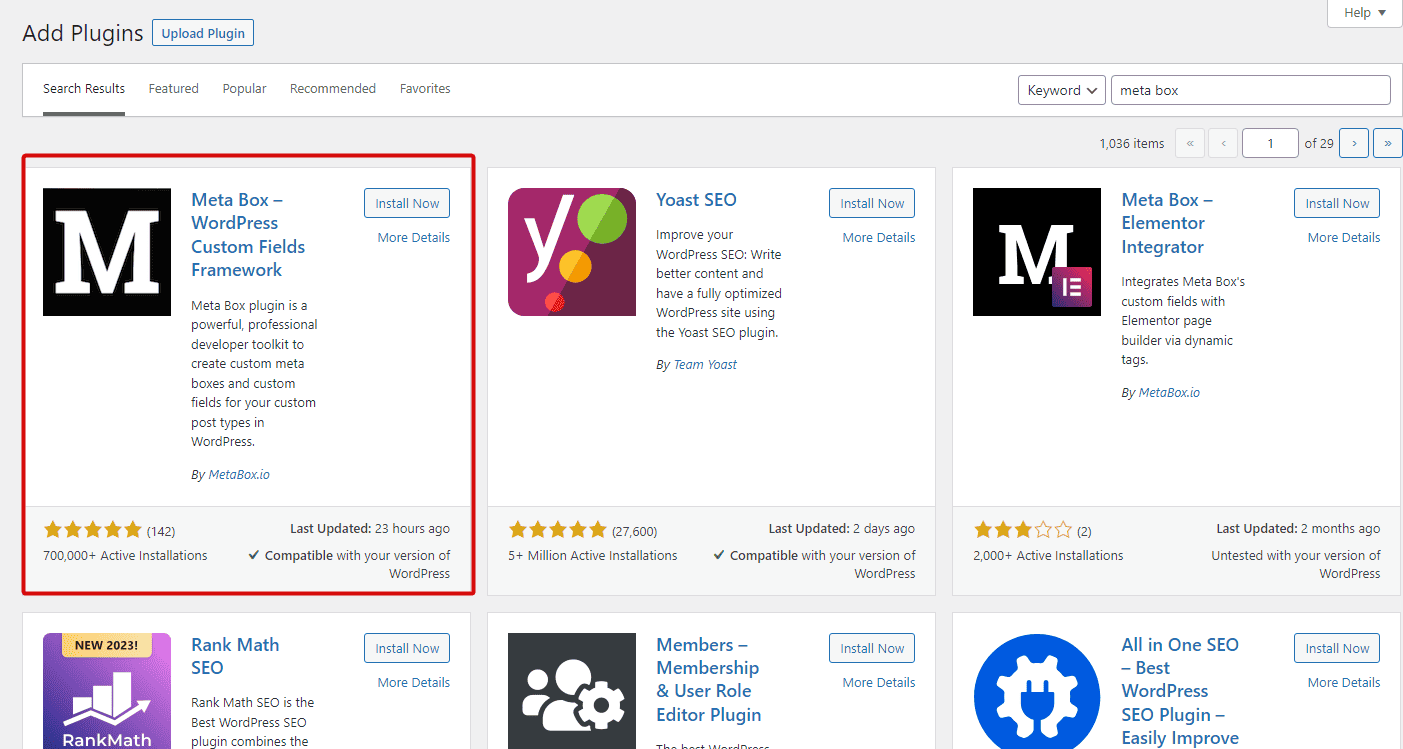
First, log in to your WordPress account. Go to Plugins > Add New. Look for the Meta Box plugin. Then, click to install and activate.
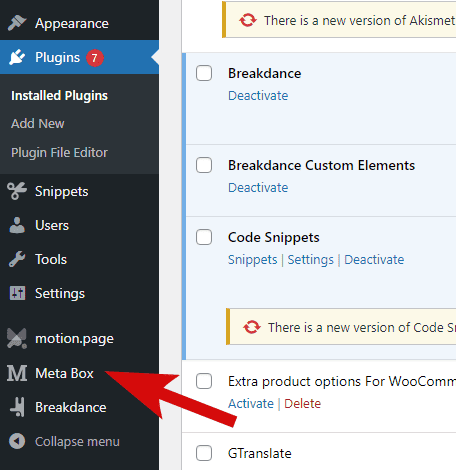
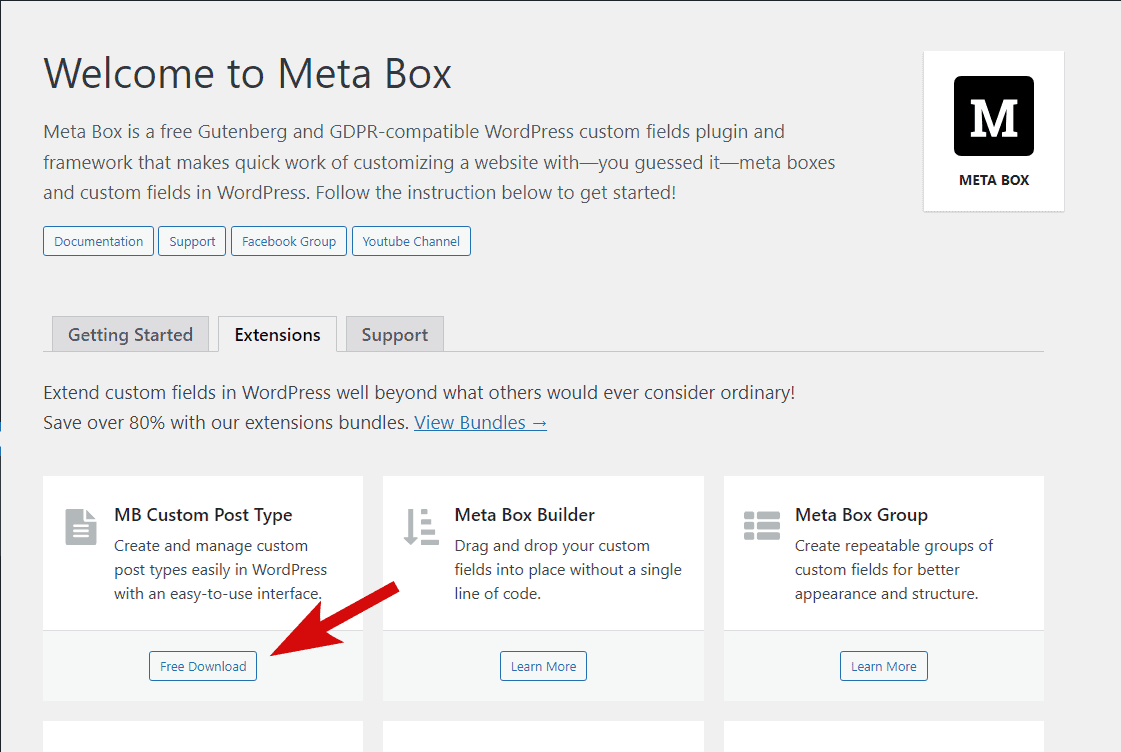
Once activated, you’ll be redirected to the welcome page. Notice also that, after activation, you’ll see the ‘Meta Box’ plugin on the left navigation bar.
On the setup page, you’ll see the different extension options available to make your site more powerful. Most of these add-ons are only available in the pro version.

For this guide, we’ll use the plugin’s free version.
Now, click the extensions tab and download the ‘MB Custom Post Type.’ We'll tap into this later for creating and managing custom post types.
2) Add A New Post Type
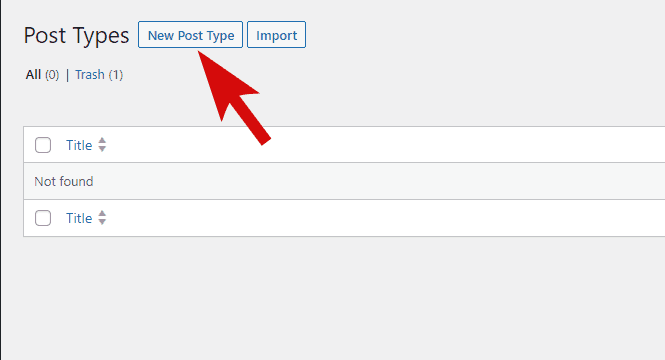
Let’s now create an event post type.
Head over to Meta Box > Post Types. Then, click ‘New Post Type.’
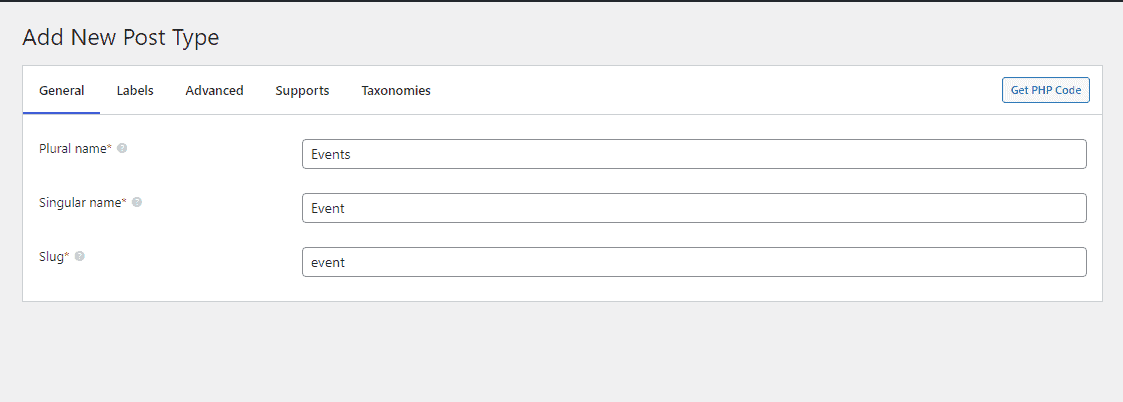
Under the ‘General’ tab, enter the plural and singular names of your new post type. In this case, let’s enter ‘Events’ and ‘Event.’ The slug is automatically generated, but you can change this to other names you want.
The ‘Labels’ tab allows you to modify the default labels for each item on your custom post type. We’ll keep these unchanged.
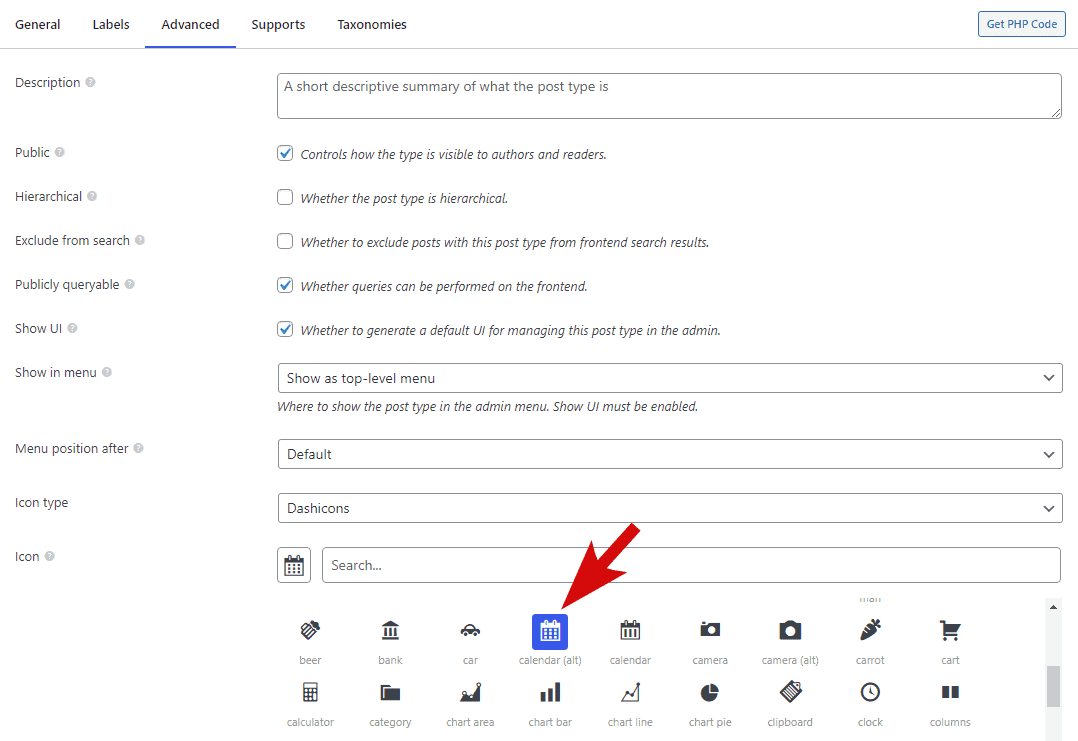
Next, go to the ‘Advanced’ tab. Here, you can:
- Add a description
- Control the post type’s visibility
- Exclude posts having this post type on front-end search results
- Set whether queries are allowed on the frontend
- Configure the UI, menu, and icon
For our purposes, let's just adjust the icon. Set the icon type to ‘dashicons’ and pick a calendar icon. The other settings can remain unchanged.
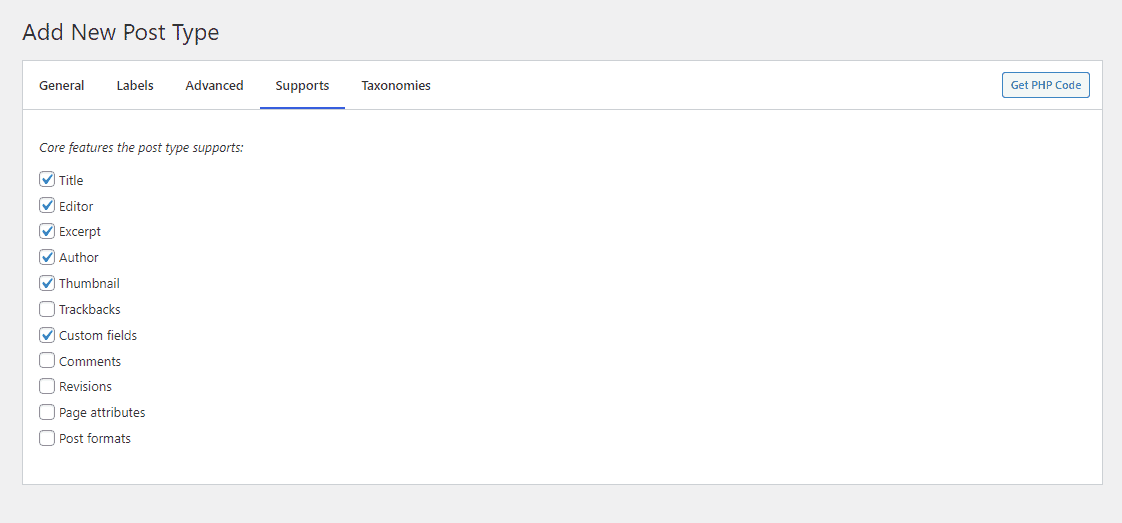
Next, go to the ‘Supports’ tab and select which features you want to use with your post type. Here, I’ve selected the title, editor, excerpt, author, thumbnail, and custom fields.
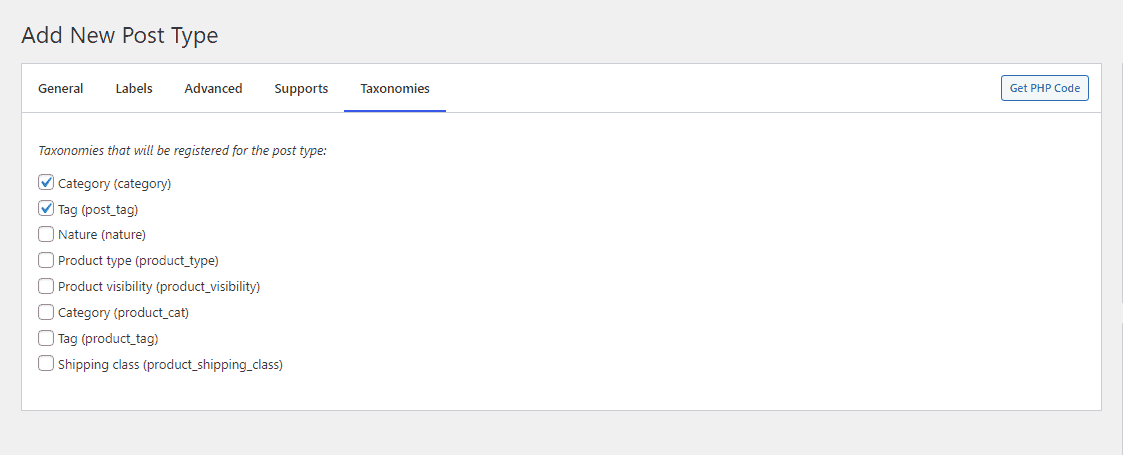
Under ‘Taxonomies,’ select which taxonomies you want to register for the post type. Note that you can also add more taxonomies to your post types via Meta Box > Taxonomies > Add New. But we’ll skip this for now.
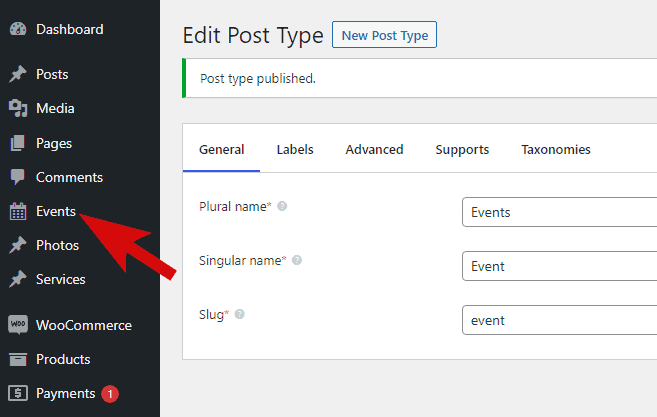
After finalizing your choices, click ‘Publish.’ Your new post type will now be visible on the left menu.
3) Add Field Groups
Let's organize our custom fields with field groups. For our events post type, we want to capture details like event title, date, time, description, and location. A field group is perfect to house these details.
There are several ways to do this. If you’ve purchased Meta Box’s pro subscription, you can easily add field groups with this plugin. Visit their tutorial page to learn more.
You can also add custom code if you’re an advanced developer. You can check their separate tutorial to learn how to do this.
However, for this tutorial, we'll stick with the free plugins. I'll guide you on using another plugin, ACF, to add custom field groups. There are other freemium plugins available on WordPress, but ACF is a solid choice.
If you haven’t installed ACF yet, simply go to the plugins tab and look for Advanced Custom Fields (ACF) by WP Engine. Click install and activate.

On the left side menu, go to ACF > Field Groups. Click ‘Add New.’
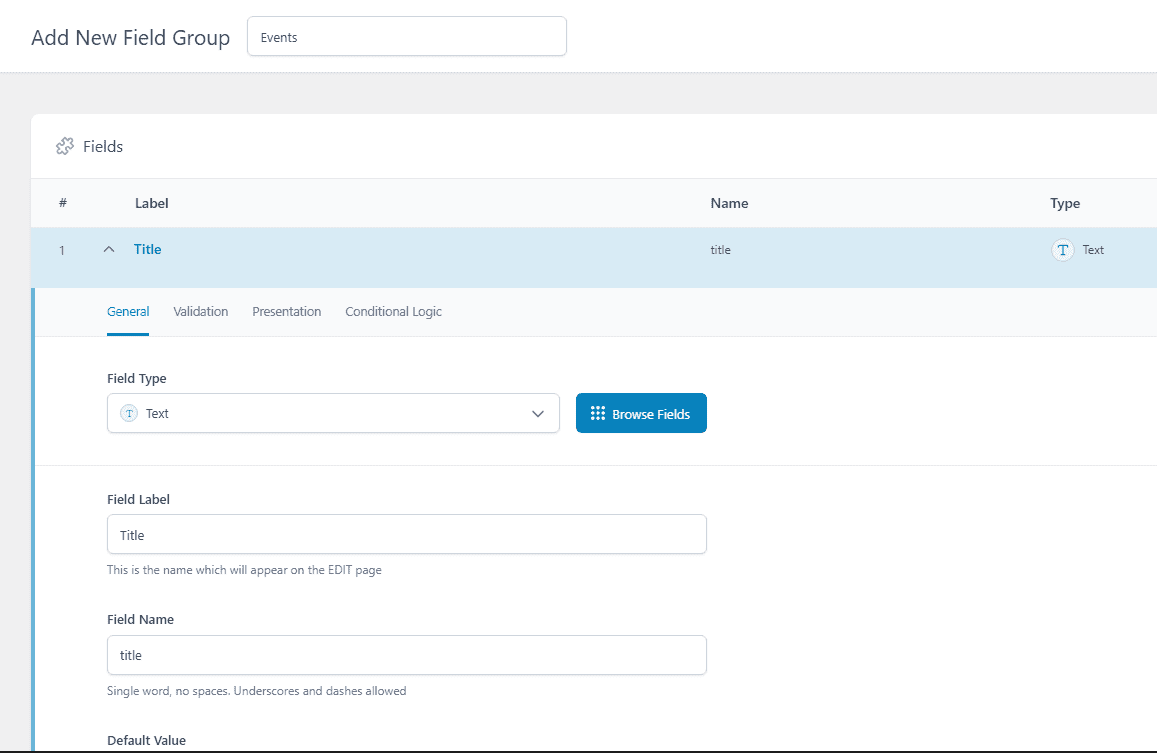
Enter the name of the new field group. In this case, ‘Events.’
Then, add the custom fields you want for your post type.
First, choose the appropriate field type from the dropdown. Then, enter the field label, field name, and default value (optional). Once you’re done, close the field and save the changes.
Here are the custom fields I’ve added for our field group. Feel free to remove or add more as it fits.

Finally, set the location rules for your field group. For our purpose, we’ll set the post type equal to ‘Event.’
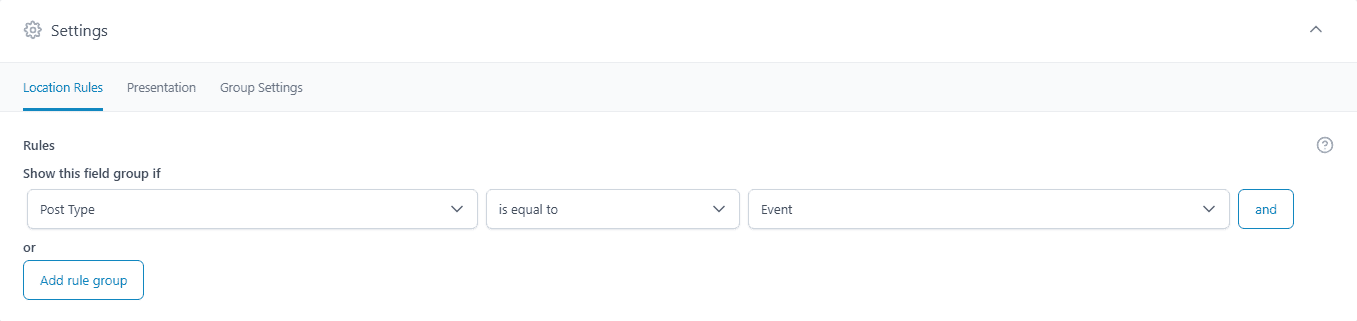
Now, save the changes.
4) Create An ‘Events’ Post
Let’s add a new event. On the left side menu, go to Events > Add New.
Enter the details like the event title, date, description, location, and so on, as shown below.
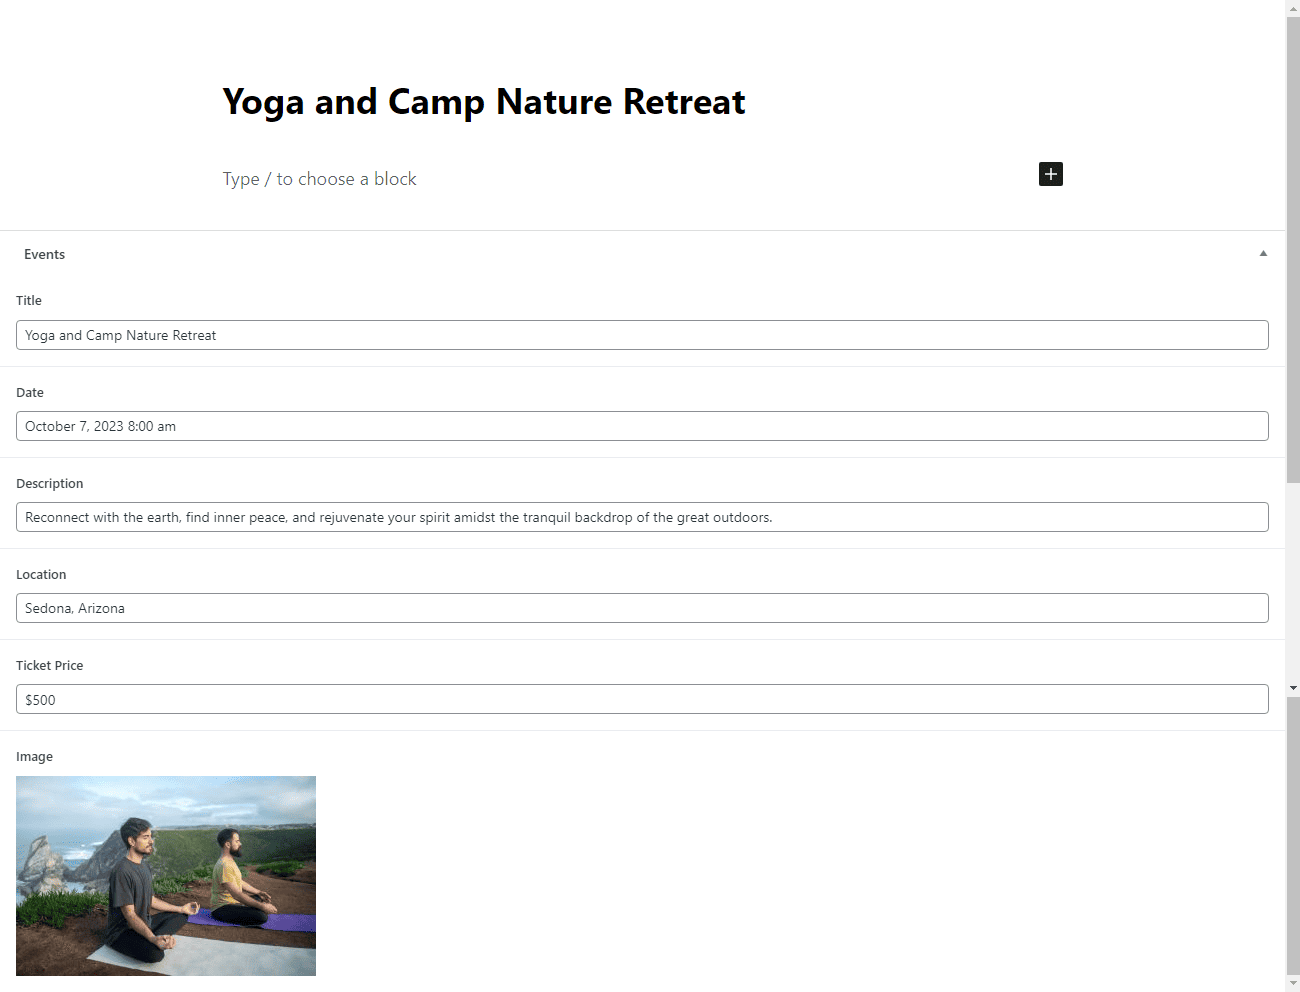
Once you’re done, click publish.
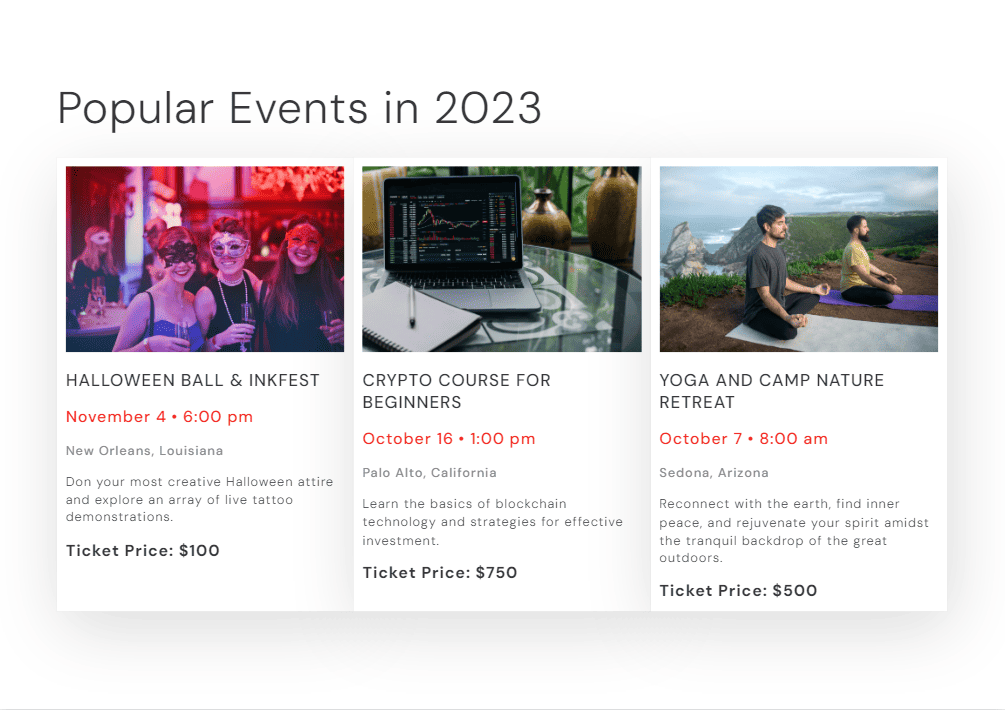
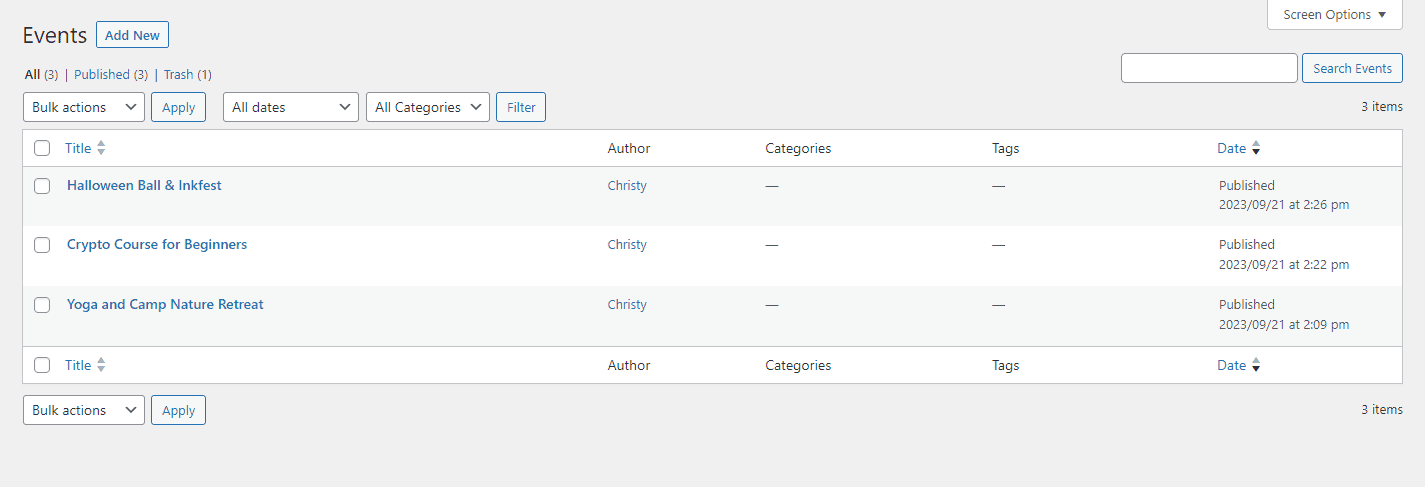
In this example, I’ve published three different events, as shown here.
5) Create A Global Block
Next, let’s create a global block template for our events.
A global block is an element that you can repeatedly use across multiple pages or posts. When you make a change to a global block, that change is automatically reflected anywhere the block is used.
For our example, we’re going to use the global block to display all the events on our events page (which we’ll create later). Every time we add a new event, it will automatically be displayed on the events page.
Start by heading over to Breakdance > Global Blocks. Click ‘Add Global Block’ and enter the title you want, in this case, ‘Event.’ Click ‘Add Global Block’ to save the changes.
Then, open your new global block template on the Breakdance editor.
In your editor, add all the necessary elements to contain your event’s title, date, description, location, ticket price, and featured image.
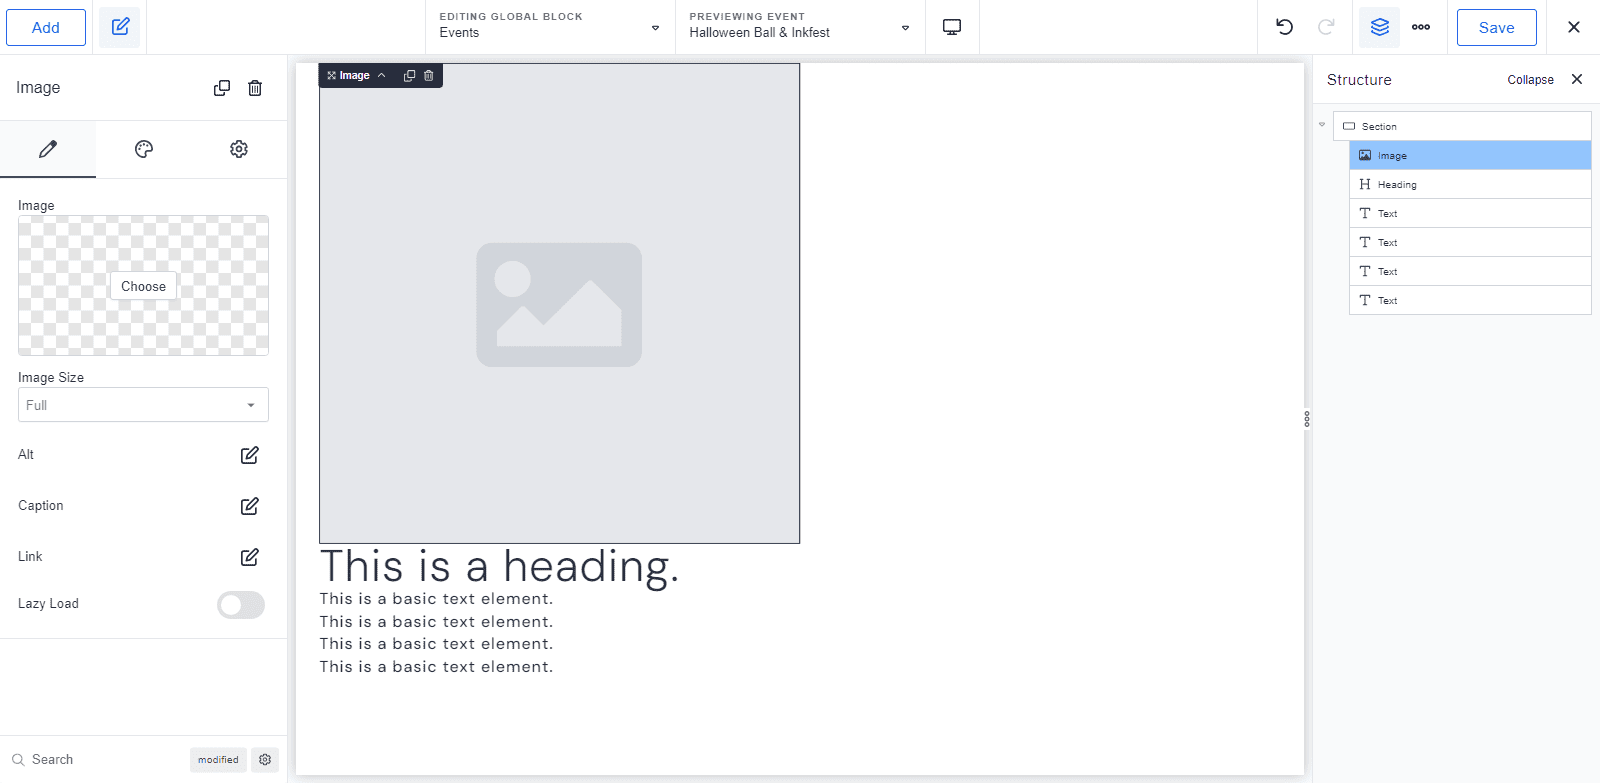
Next, make each element dynamic. By doing so, you can automatically fetch and display the details from your event posts.
Let’s start with the event image. Hover your mouse over the dynamic icon next to the image label. On the pop-up, select ‘Image’ under the ACF field.
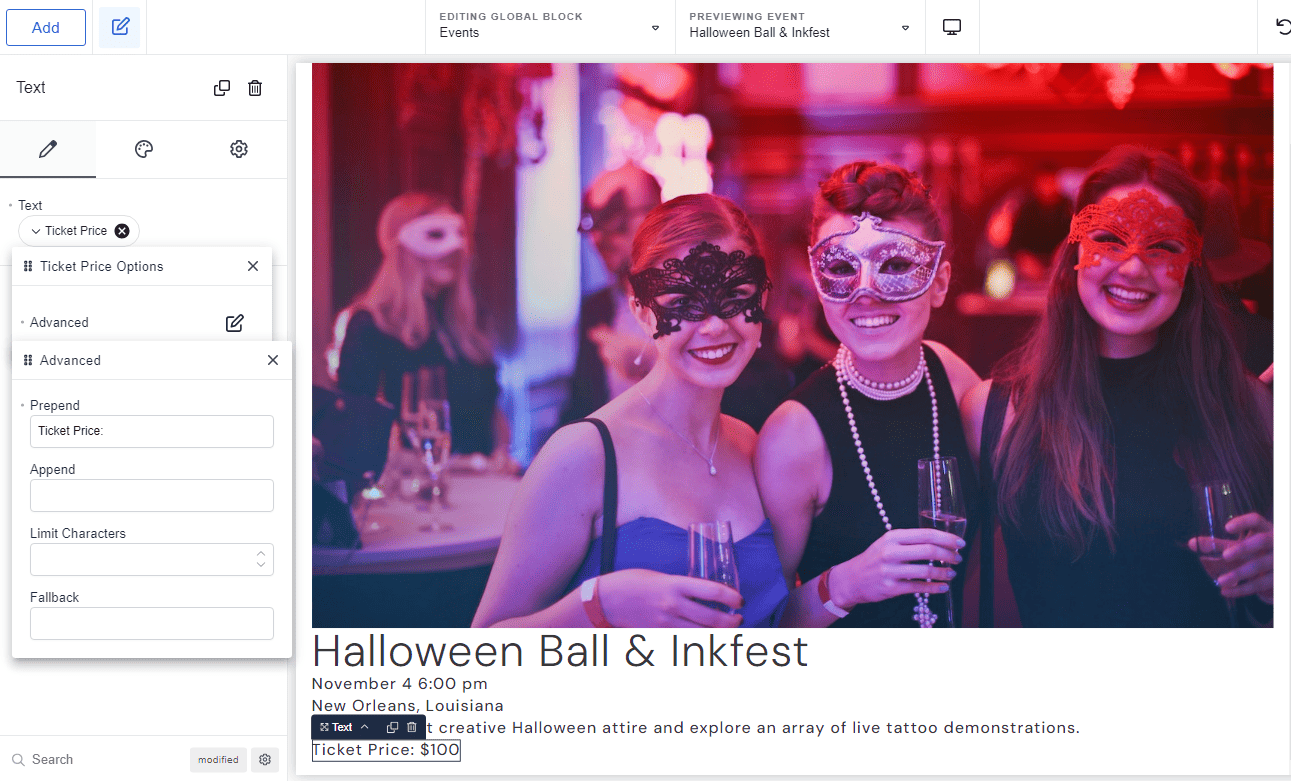
Once you do that, you should see the image of the event post displayed. Note that this will change automatically for every event you add.
Now, do the same for the heading and text.
After inserting dynamic data, style your global block element as you like. Change the layout, spacing, font color, and other attributes that reflect your brand.
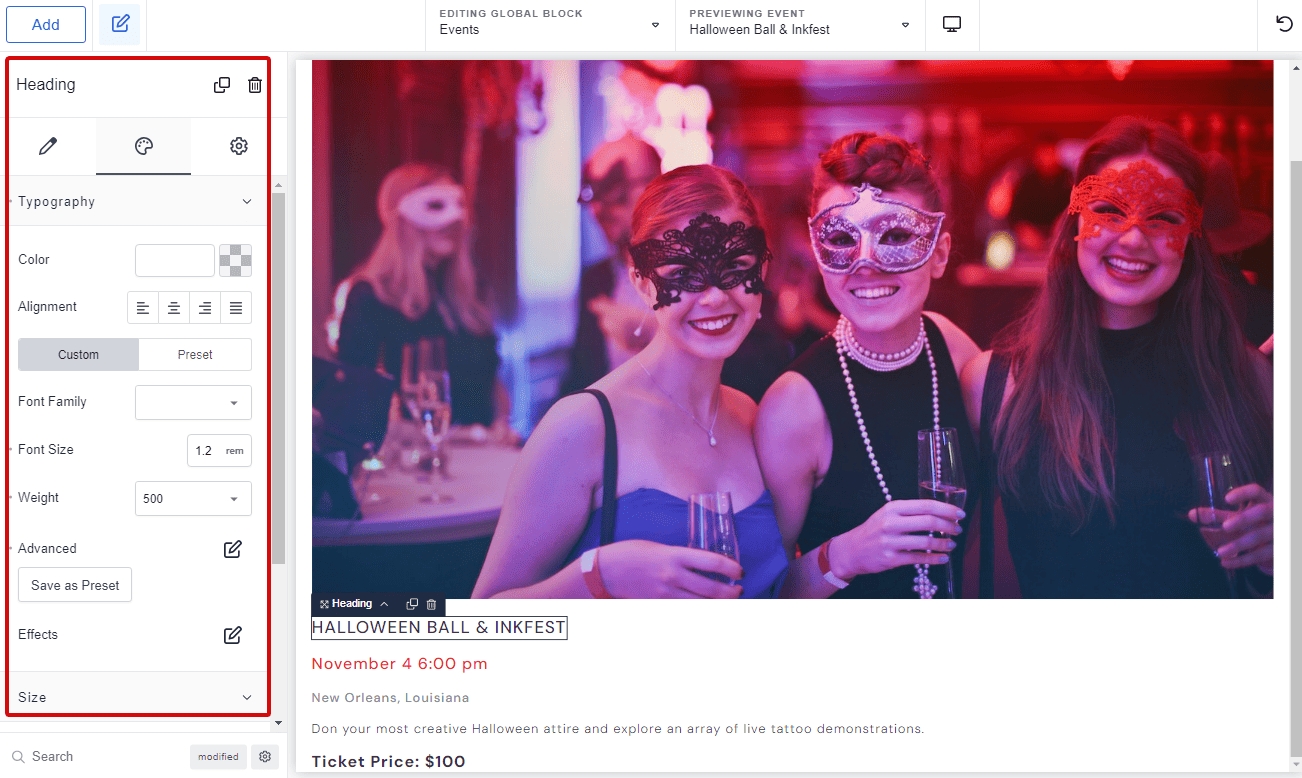
Once you’re satisfied with the changes, click save.
6) Create An Events Page
Now, we’re going to add an events page to display all the events we’ve added.
Again, on your WordPress dashboard, go to Pages > Add New. Enter a page title, then save and publish.
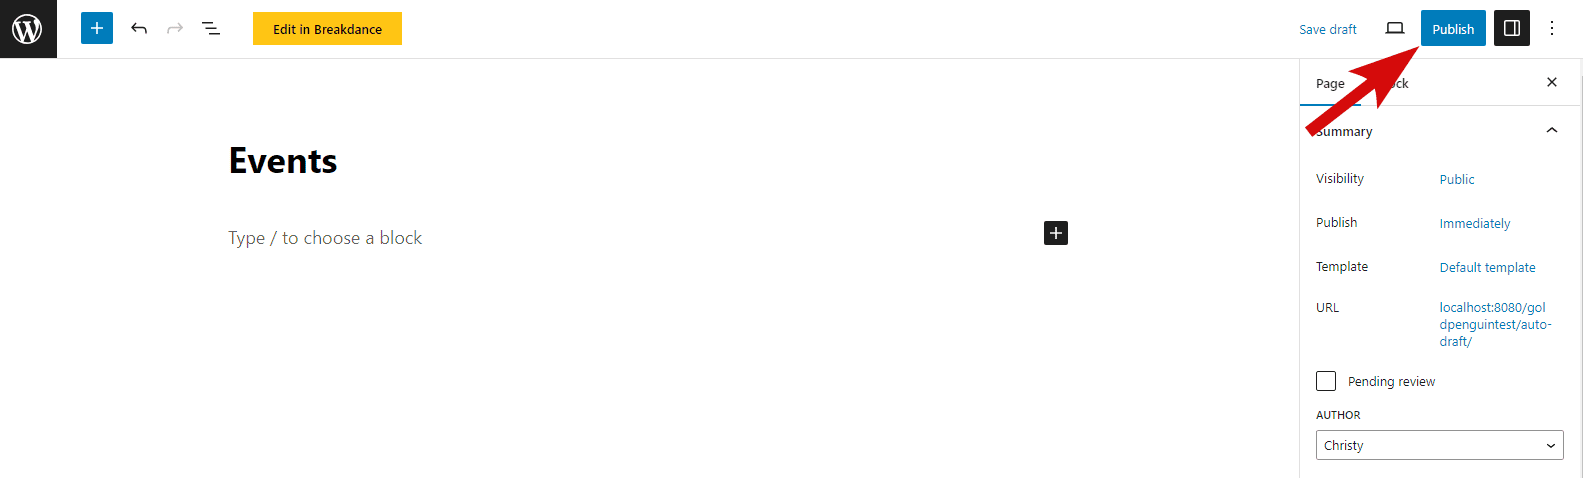
Open and edit your new page on the Breakdance editor. Feel free to add elements as they fit. Here, I’ve added a heading and set the title to ‘Popular Events in 2023.’
Then, we’ll need to add a post loop builder.
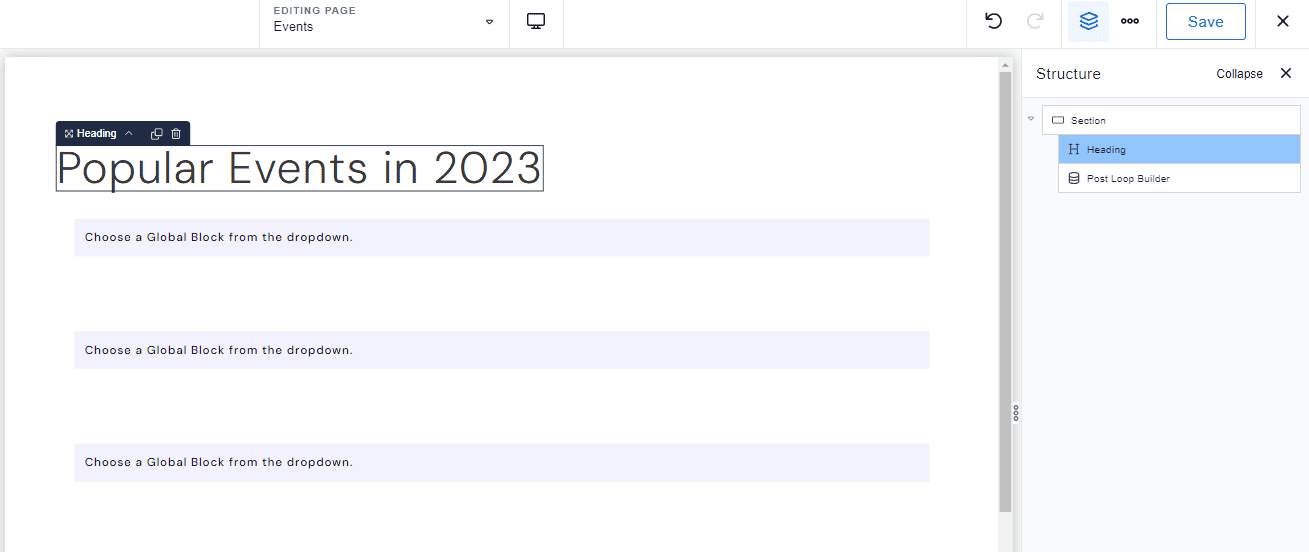
A post loop builder allows you to display a list of posts dynamically. In this case, the events we've created. We’re going to use the global block element to display each event post.
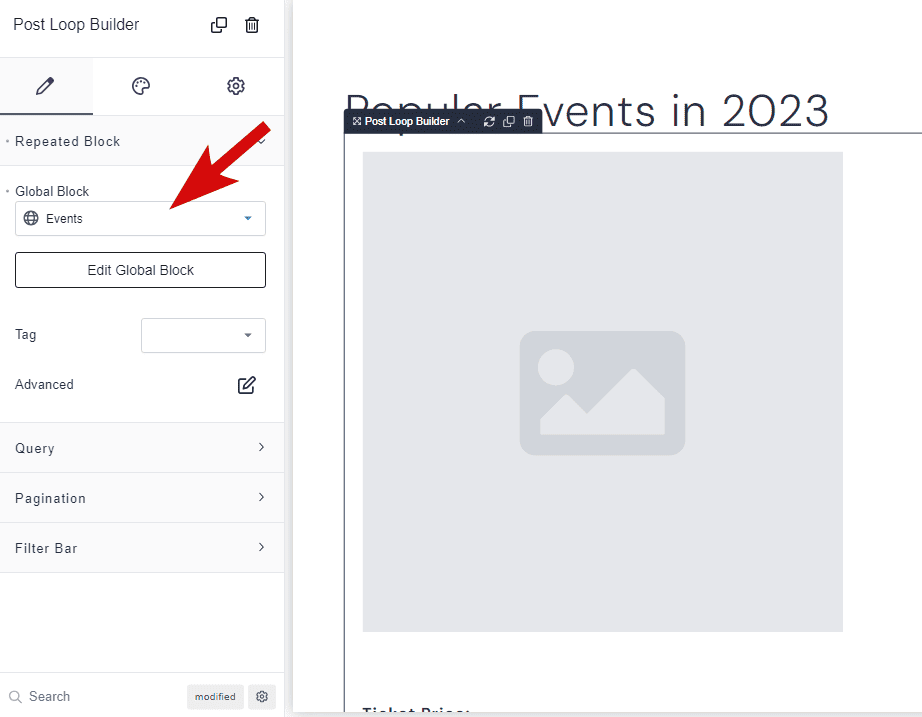
Go ahead and click the post loop builder element to view the element attributes and settings. On the left, select ‘Events’ from the Global Block dropdown.
Next, open the ‘Query’ option. Then, we’ll need to set a few things on the pop-up. First, make sure that the post type is set to ‘Events.’ Then, enter how many posts per page you want to display.
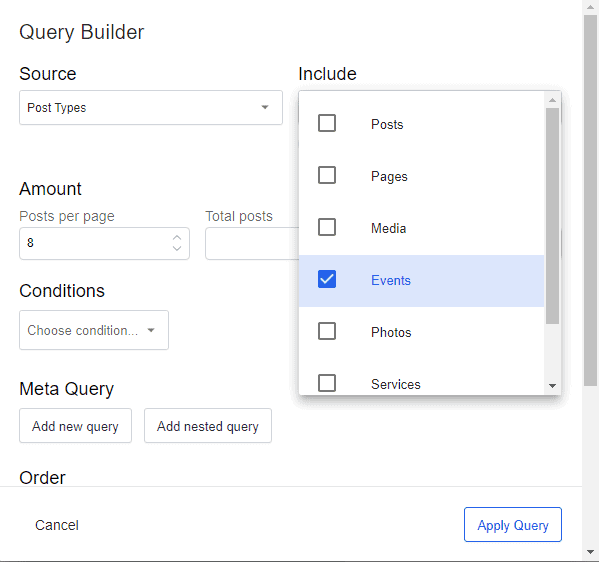
You also have the option to add conditions, meta query, and the post order. These features are very useful for advanced queries and customizations. But for now, we’ll leave these unchanged.
Once you’re done, click ‘Apply Query’ to save the settings. You should now see the list of events displayed on your page.
Finally, style your page to your liking. For instance, I’ve set the layout to ‘Grid’ and set the grid display to three items per row.
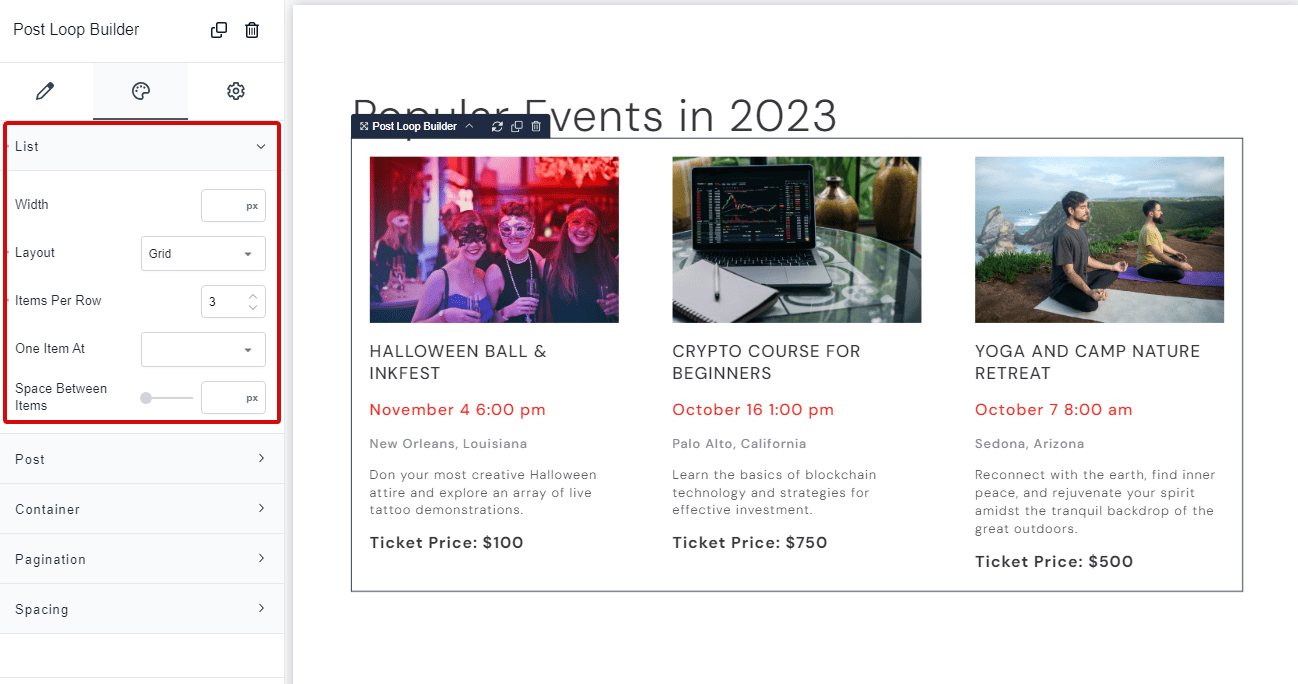
You can also adjust the padding, modify the container layout, or add pagination to make your page look better.
7) Save and Preview
Keep on making the necessary adjustments to the layout and style until you’re satisfied with how your page looks.
When you’re done, click save.
This is what our final events page looks like.

And That’s It!
We hope you’ve learned the basics of creating custom events page in Breakdance with Meta Box.
If you like this tutorial, please share it with others and let us know your feedback. We're here to support your journey!
Want to Learn Even More?
If you enjoyed this article, subscribe to our free newsletter where we share tips & tricks on how to use tech & AI to grow and optimize your business, career, and life.