How To Launch Email Campaigns with Instantly.ai in 2026
Cold email isn't dead. It's just being done wrong by most people. Here's the exact setup we use inside Instantly AI to get campaigns live, land in the inbox, and actually hear back.
Mark Gotauco
Updated June 18, 2026

Reading Time: 5 minutes
Getting clients is genuinely the hardest part of running a business. You can have the best offer in your space and still struggle if you can't get it in front of the right people consistently.
Cold email still works. A lot of people will tell you it's dead. It isn't. What's dead is blasting a generic pitch to a purchased list and hoping for the best.
Done right, cold outreach is still one of the highest ROI channels available to small businesses and agencies. I've seen it firsthand.
We use Instantly.ai for our own outreach and this is exactly how we set it up. If you're thinking about using it, here's how to get started.
Protect Your Main Domain First
Before you touch anything inside Instantly, go buy two or three secondary domains.
Something like yourname-outreach.com or yourname-team.com.
Set up forwarding so they point back to your main site. That way if your sender reputation takes a hit, it's not touching the domain your actual business runs on.
Once you connect those domains inside Instantly, you authenticate them with SPF, DKIM, and DMARC.
Instantly's automated DNS setup walks you through this in a few clicks. What used to take a couple of hours manually now takes maybe ten minutes.
After that, turn on automatic warm-up for every account you connect.
Plan for about 30 days. Rushing it is the fastest way to land in the spam folder and wonder why nobody is responding.
Sending Email Campaigns with Instantly.ai
Once your domains are warmed and connected, here's exactly how we set up campaigns:
Step 1: Log Into Your Dashboard
Nothing complicated here. Log in and make sure you're on an active paid plan. Free access doesn't get you into the campaign features.

Step 2: Confirm Your Domains Are Live
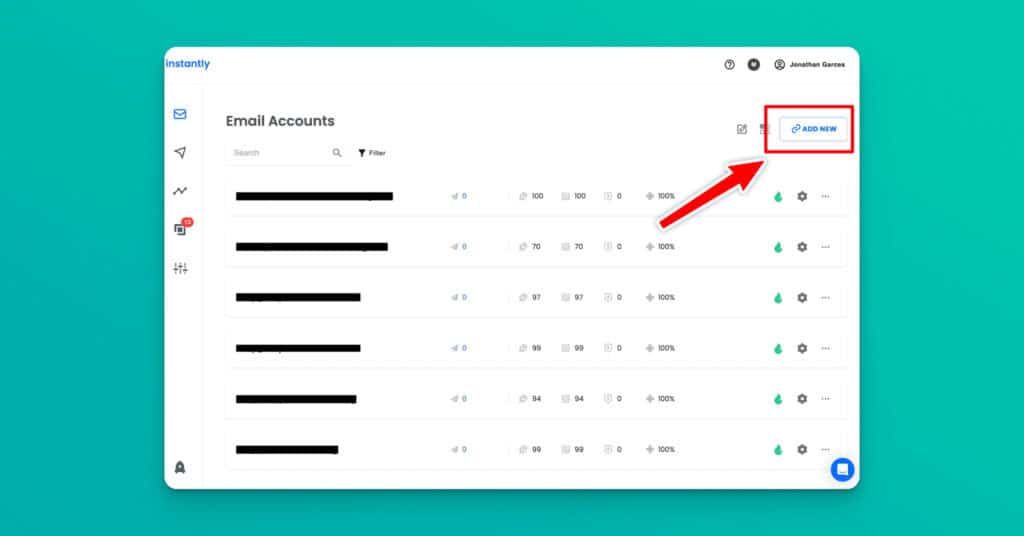
Before building anything, I always double check that my sending domains are connected and authenticated inside account settings.
Instantly lets you attach unlimited domains and email accounts to one account, which is genuinely useful when you're running different campaigns at the same time.
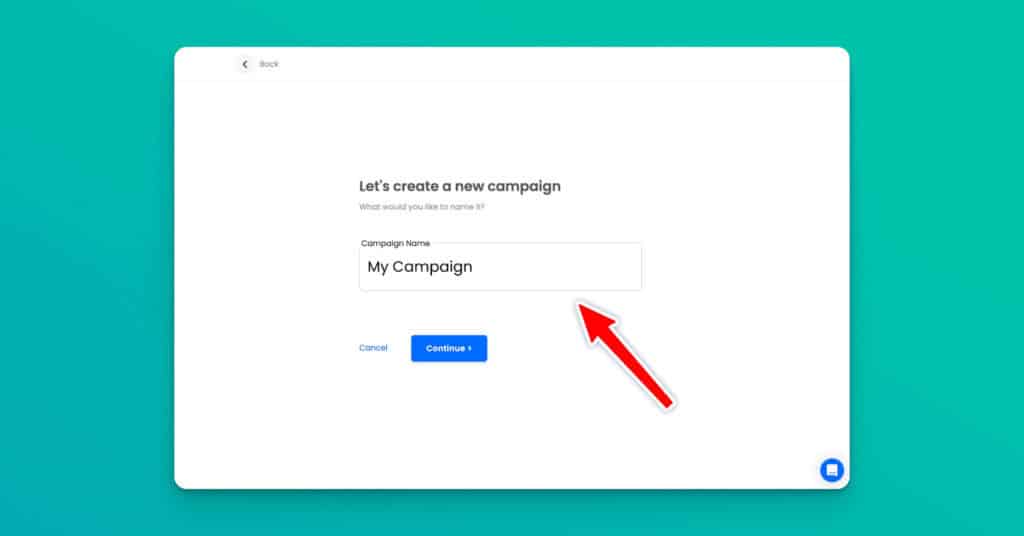
Step 3: Create a New Campaign
Head to the Campaigns tab and click "+ Add New." You'll get a fresh campaign setup screen. If this is your first time, the list will be empty. That fills up faster than you'd expect.
Step 4: Name It Something You'll Actually Recognize Later
Name your campaign with details that are easy to remember. Something like "Agency Owners_US_Q2" is infinitely more useful than "Campaign 4" when you're staring at a dashboard with fifteen active campaigns running at once.
Step 5: Import Your Leads
Click Import and bring your list in. You can upload a CSV, link a Google Sheet, or add contacts manually.

What I've been using more lately is Instantly's built-in lead finder, which lets you source and verify contacts without leaving the platform at all.
You can also pull directly from LinkedIn Sales Navigator if that's already part of your stack. Whatever the source, clean your list before it goes in. Dirty data wastes sends and quietly tanks your sender score.
Step 6: Write Your Campaign Messaging
This is where campaigns actually win or lose. Everything else is just setup.
Instantly's drag-and-drop sequence builder lets you write multi-step email flows with dynamic variables like {{FirstName}}, {{Company}}, and any custom fields you've mapped from your lead list. Use them.

Personalization at this level takes seconds and makes a real difference in how emails land.
For follow-up cadence, four to seven touches spaced two to five days apart is the range that works. The opener should lead with something genuinely relevant to the person, not a pitch. Most replies come from follow-up emails, not the first one.
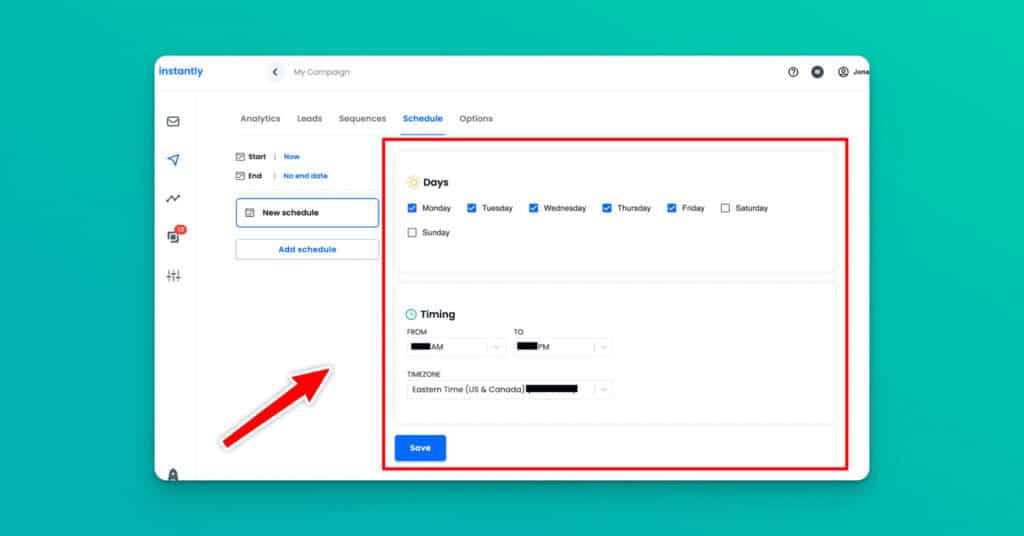
Step 7: Set Your Emailing Schedule
Inside the Options tab, configure your sending schedule, daily limits, inbox rotation, and delivery preferences.
Step 8: Prepare to Launch Your Campaign
Under "Accounts to use," select all the domains you want to send emails from. Then under the daily limit, set the number of emails you want to send every day.

Assign your warmed accounts and make sure new leads are prioritized in the queue. Run through the checklist one more time: leads mapped, sequence saved, tests passed, schedule set.
Step 9: Launch Your Campaign!
Click "Launch" and you're ready to go!

From here keep an eye on your reply rates, bounce rates, and open rates inside the analytics dashboard. Adjust your sequence or messaging based on what the numbers tell you. Nothing is perfect on day one and that's fine.
My Final Thoughts
And that's it! Once you've done this you'll have campaigns up and running.
Just make sure to warm up your domain before sending anything so you don't risk getting sent to spam!
Have questions? Drop them in the comments below. Happy emailing!
For campaign goals after setup, see how to book 10+ meetings a week with cold email using Instantly.
Want to Learn Even More?
If you enjoyed this article, subscribe to our free newsletter where we share tips & tricks on how to use tech & AI to grow and optimize your business, career, and life.


