Install Breakdance WordPress Builder Locally using MAMP
If you're a WordPress user, there's a good chance you've heard of the new page builder called Breakdance. If you want to start developing sites with complex control over the backend, setting up a MAMP server is the solution for you.
Justin Gluska
Updated November 30, 2022
Reading Time: 6 minutes
If you're into the WordPress scene, there's a good chance you've heard of the new page builder called Breakdance. Only coming out a few weeks ago, it has been in development for years by the same developers who made the Oxygen Builder. With a new page builder comes the need for a new WordPress site to test it out on, right? That's why over the next few minutes we'll go over the easiest way to install MAMP on your computer and setup WordPress + Breakdance. This tutorial is slightly more advanced than if you would rather use Local, but MAMP has a few benefits warranting its use over local. Depending on your level of complexity and use case, both applications serve different purposes. So... let's dive in!
What is MAMP?
MAMP is a software package that allows you to install WordPress and other PHP-based applications on your computer. It stands for Macintosh, Apache, MySQL, and PHP. Once you've installed MAMP, you can create a local website on your computer that will mirror your live website. This is a great way to test new plugins, themes, and features without affecting your live site.
Macintosh: An operating system used by Apple computers.
Apache: Apache is the most popular web server software. It's free, open source, and runs on most operating systems.
MySQL: MySQL is a database software used by WordPress.
PHP: PHP is a programming language that powers WordPress.
MAMP combines all of these software packages into one easy-to-install application.
Why Use MAMP?
MAMP is a great way to test out new features on your WordPress site without affecting your live site. It's also a good way to learn how WordPress works, since you can play around with the code without having to worry about breaking anything. Plus, it's free!
MAMP comes with PHP and phpMyAdmin, a web-based application used for managing MySQL databases, preinstalled. It also extends beyond the capabilities of Local by Flywheel if you want to do more advanced or behind-the-scenes development. Just bear in mind, we are going to have to download WordPress manually and install it ourselves, something Local already does for you.
8 Steps to Installing WordPress with MAMP
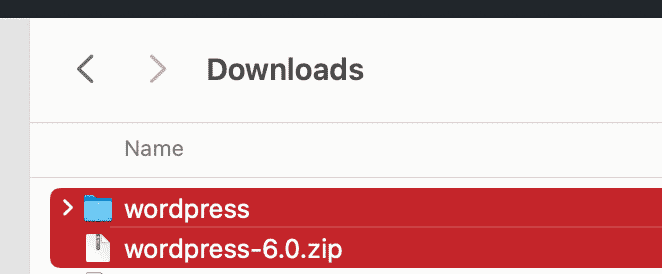
1) Download WordPress locally
Download WordPress from the official website and unzip into a folder on your computer
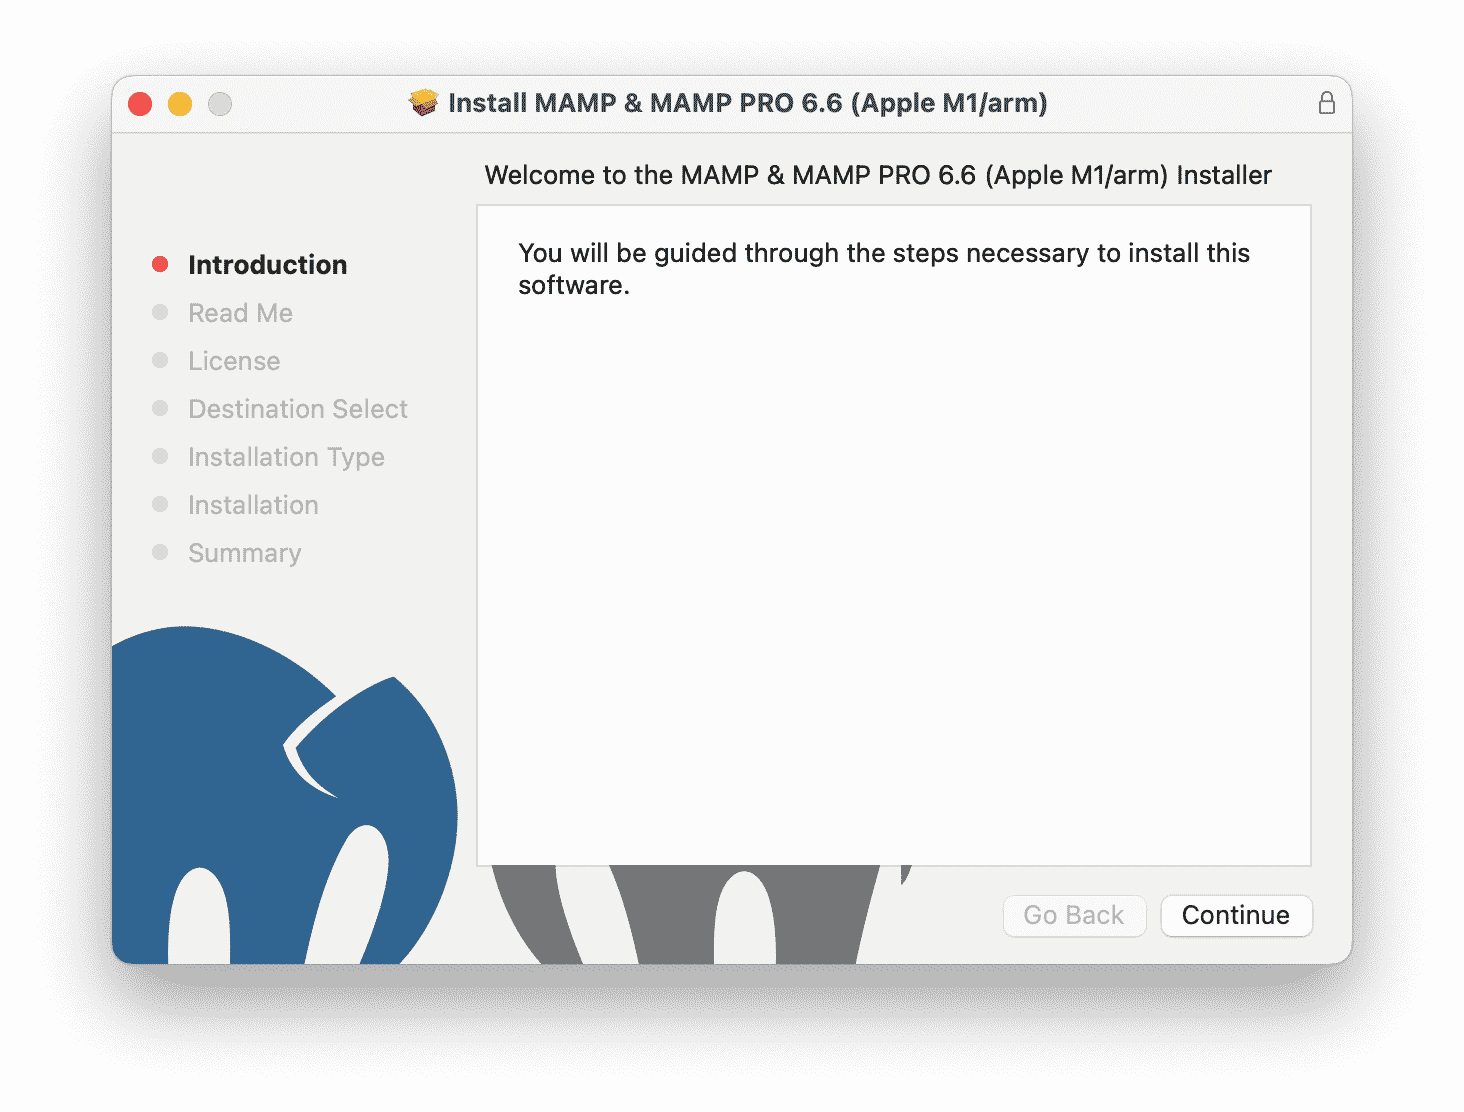
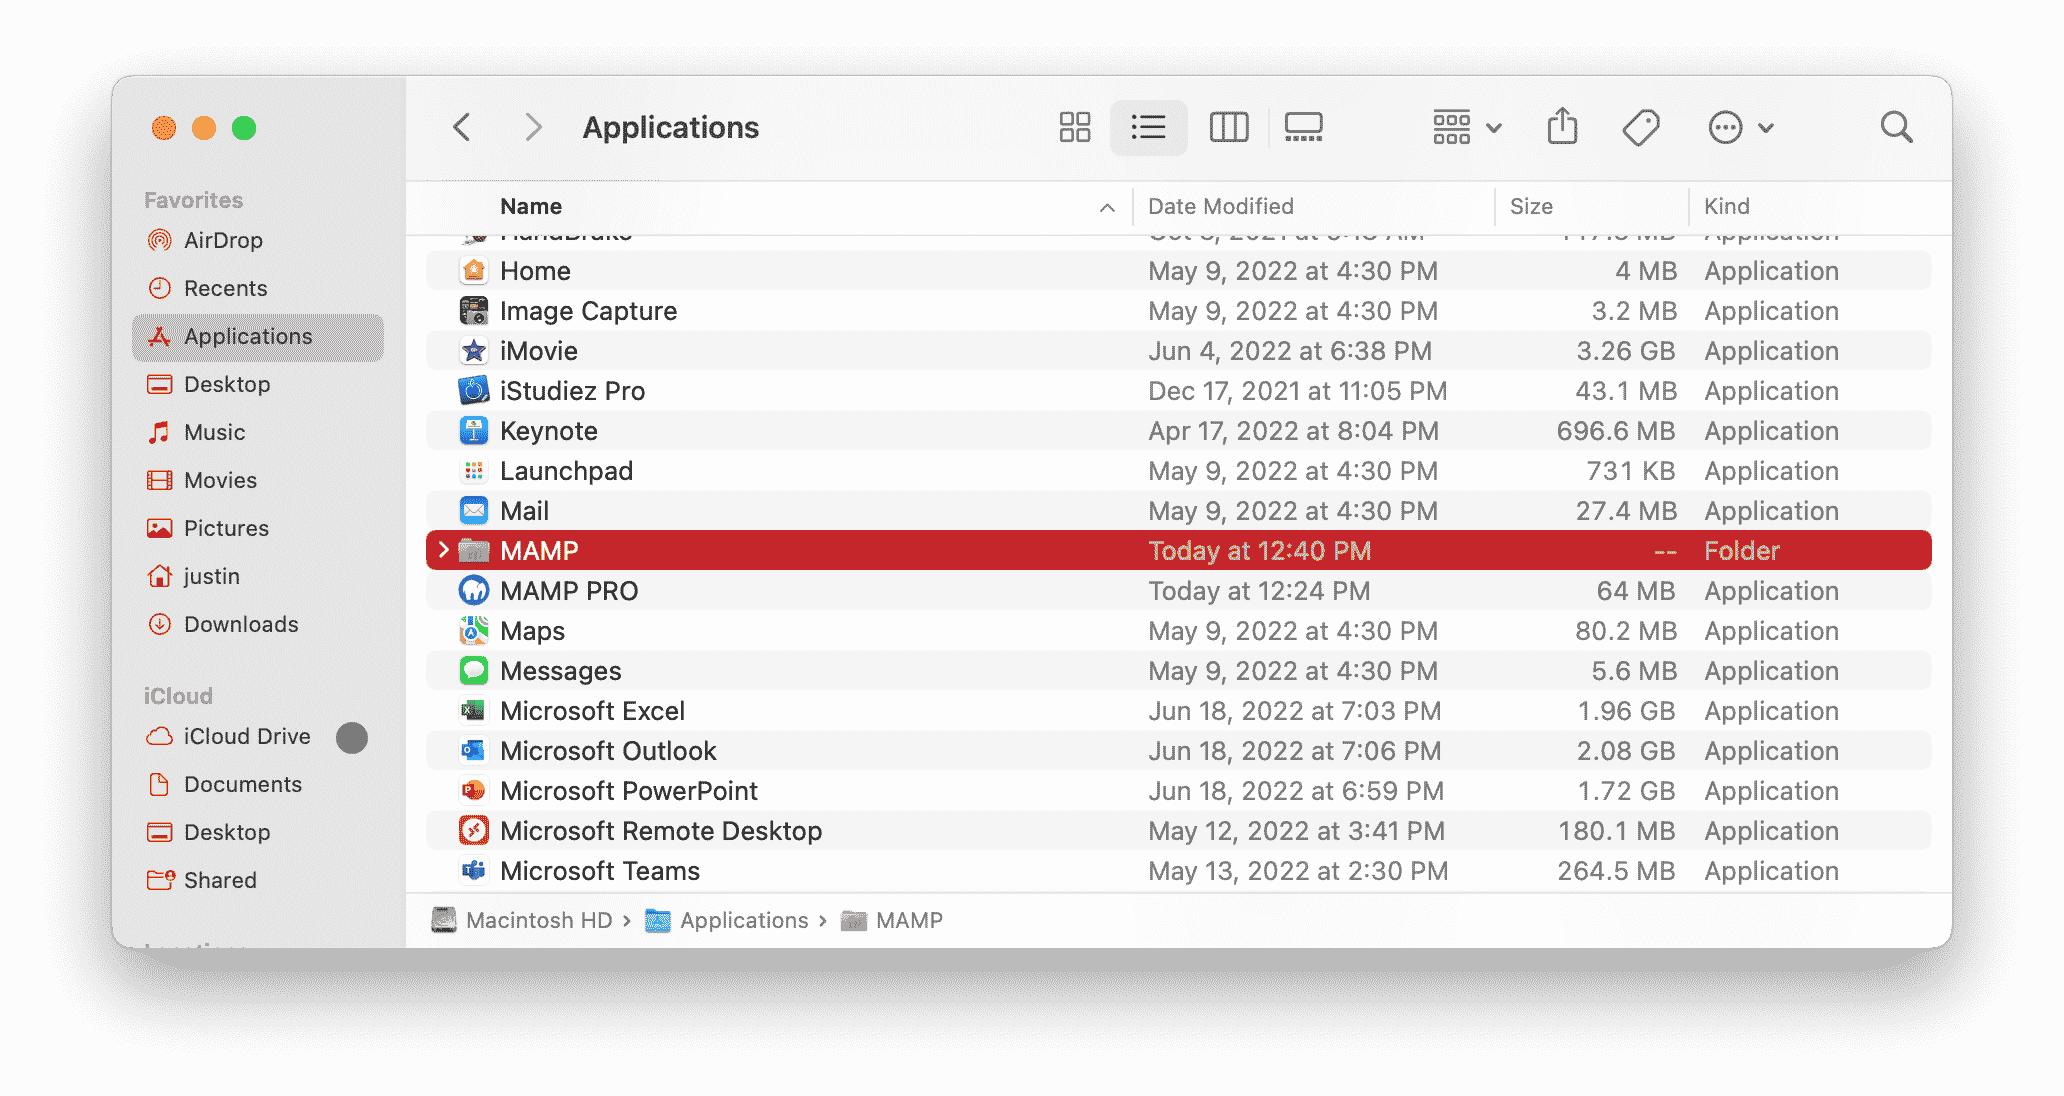
2) Install MAMP on your computer
Download the free version of MAMP from their official website and install it on your computer.
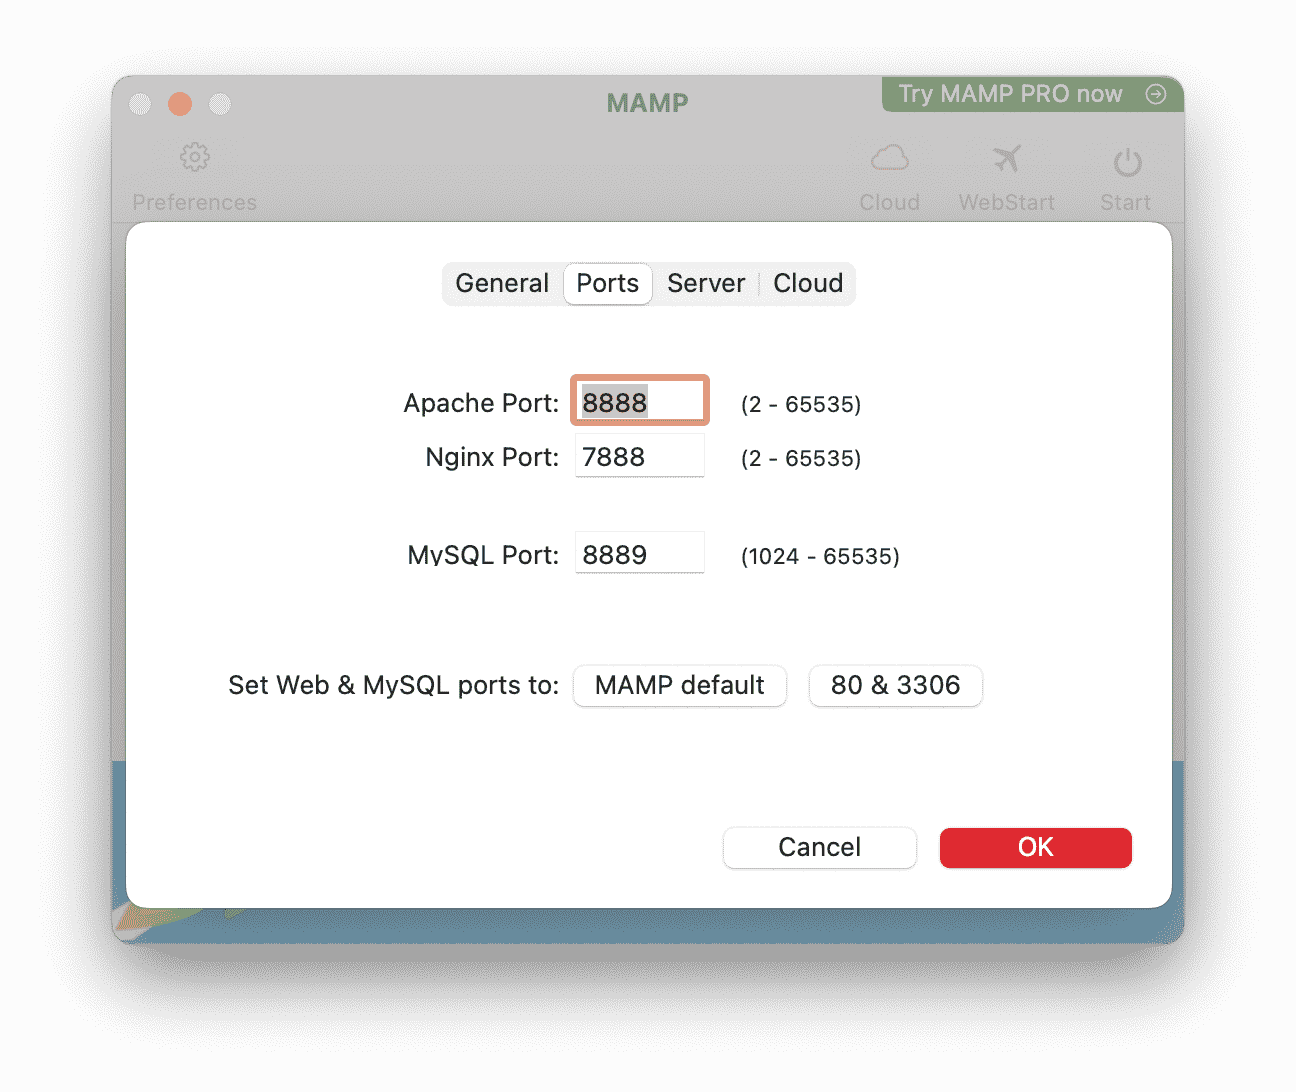
3) Open & Setup Ports
Open MAMP from your applications folder. Ensure web server is set to Apache. Click on preferences -> ports -> and update port values. I have my Apache set to 8888 and MySQL set to 8889.
4) Change Site Directory
In the same preferences panel, go to server and choose the document root of where you want your sites to be located. I like to have mine under a new folder I created
users -> justin -> sites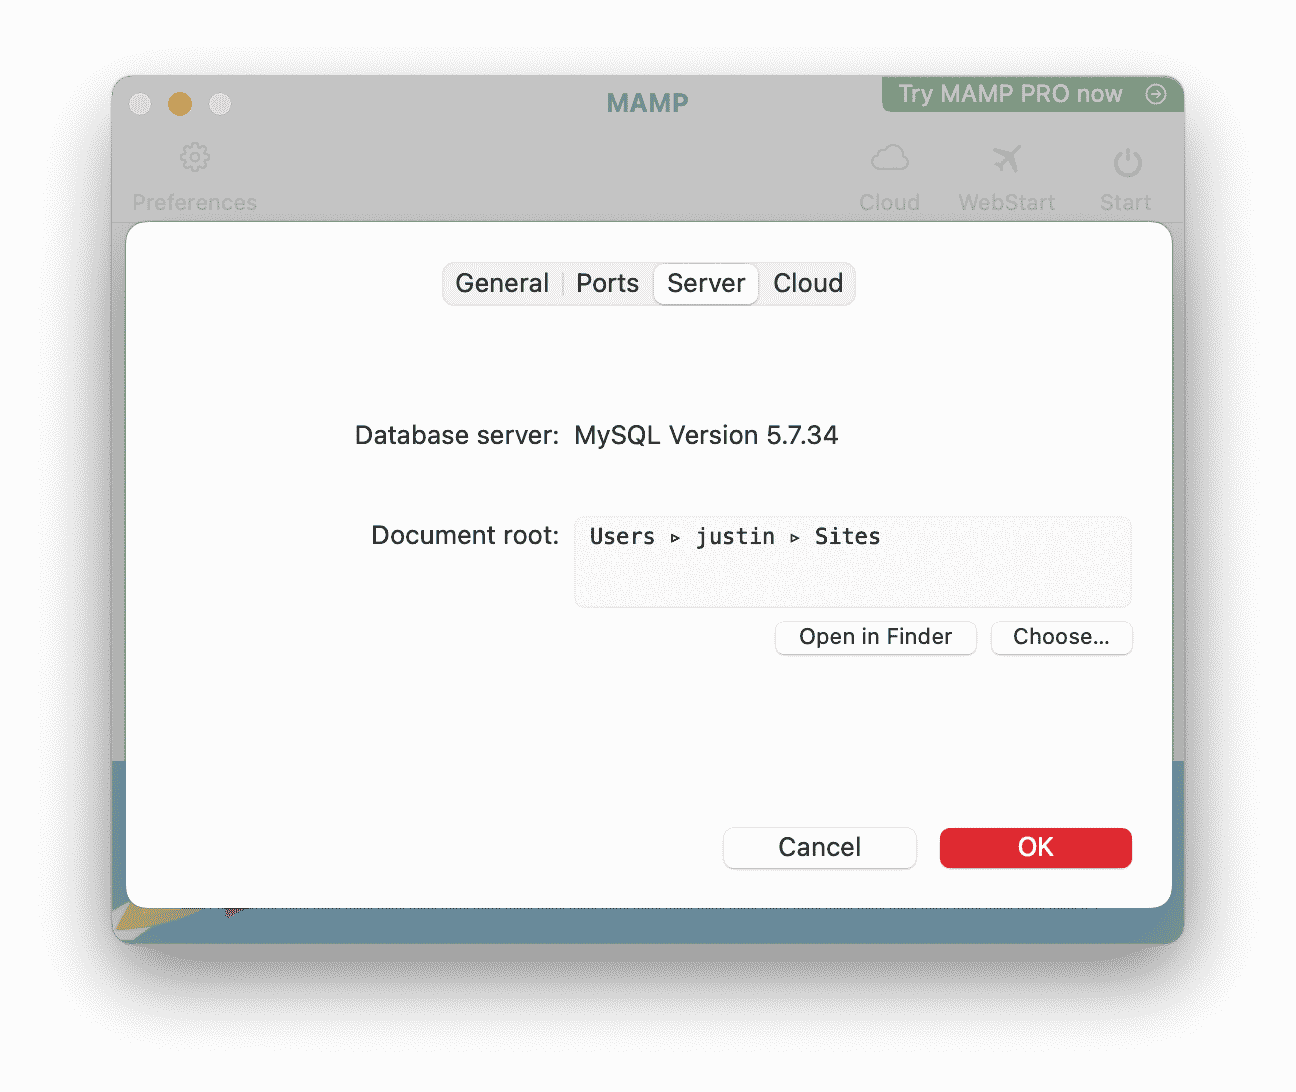
5) Start MAMP Server
Once this is all done, start your MAMP server by pressing the green start button. if everything is working, your web browser should have opened and should be on the splash screen for MAMP. If this doesn't happen but your server is running, enter the following URL into your browser and replace the numbers with the Apache port you specified earlier:
http://localhost:8888/MAMP/?language=English
Once this is up, you're good to go!
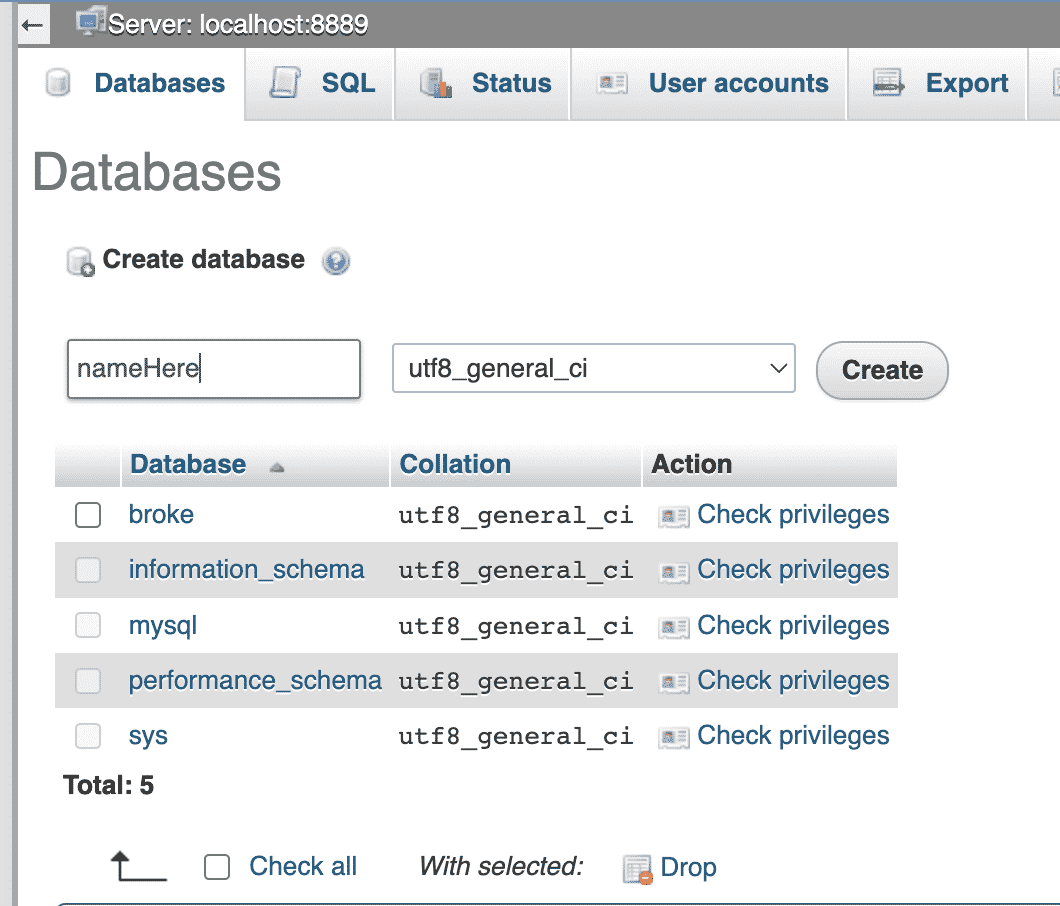
6) Create MySQL database with phpMyAdmin
What is phpMyAdmin?
phpMyAdmin is a free and open source web application used to manage MySQL databases. It allows you to create, edit, and delete databases. It also allows you to run SQL queries on your databases.
How to open phpMyAdmin with MAMP?
Simply add phpMyAdmin to the proper url path (with the correct port) like this:
http://localhost:8888/phpMyAdminOnce you're here, navigate to the databases page. You should see the 3 default ones that come with MAMP: mysql, information_schema, and performance_schema. Create a new database entering a name then by clicking on the "create database"
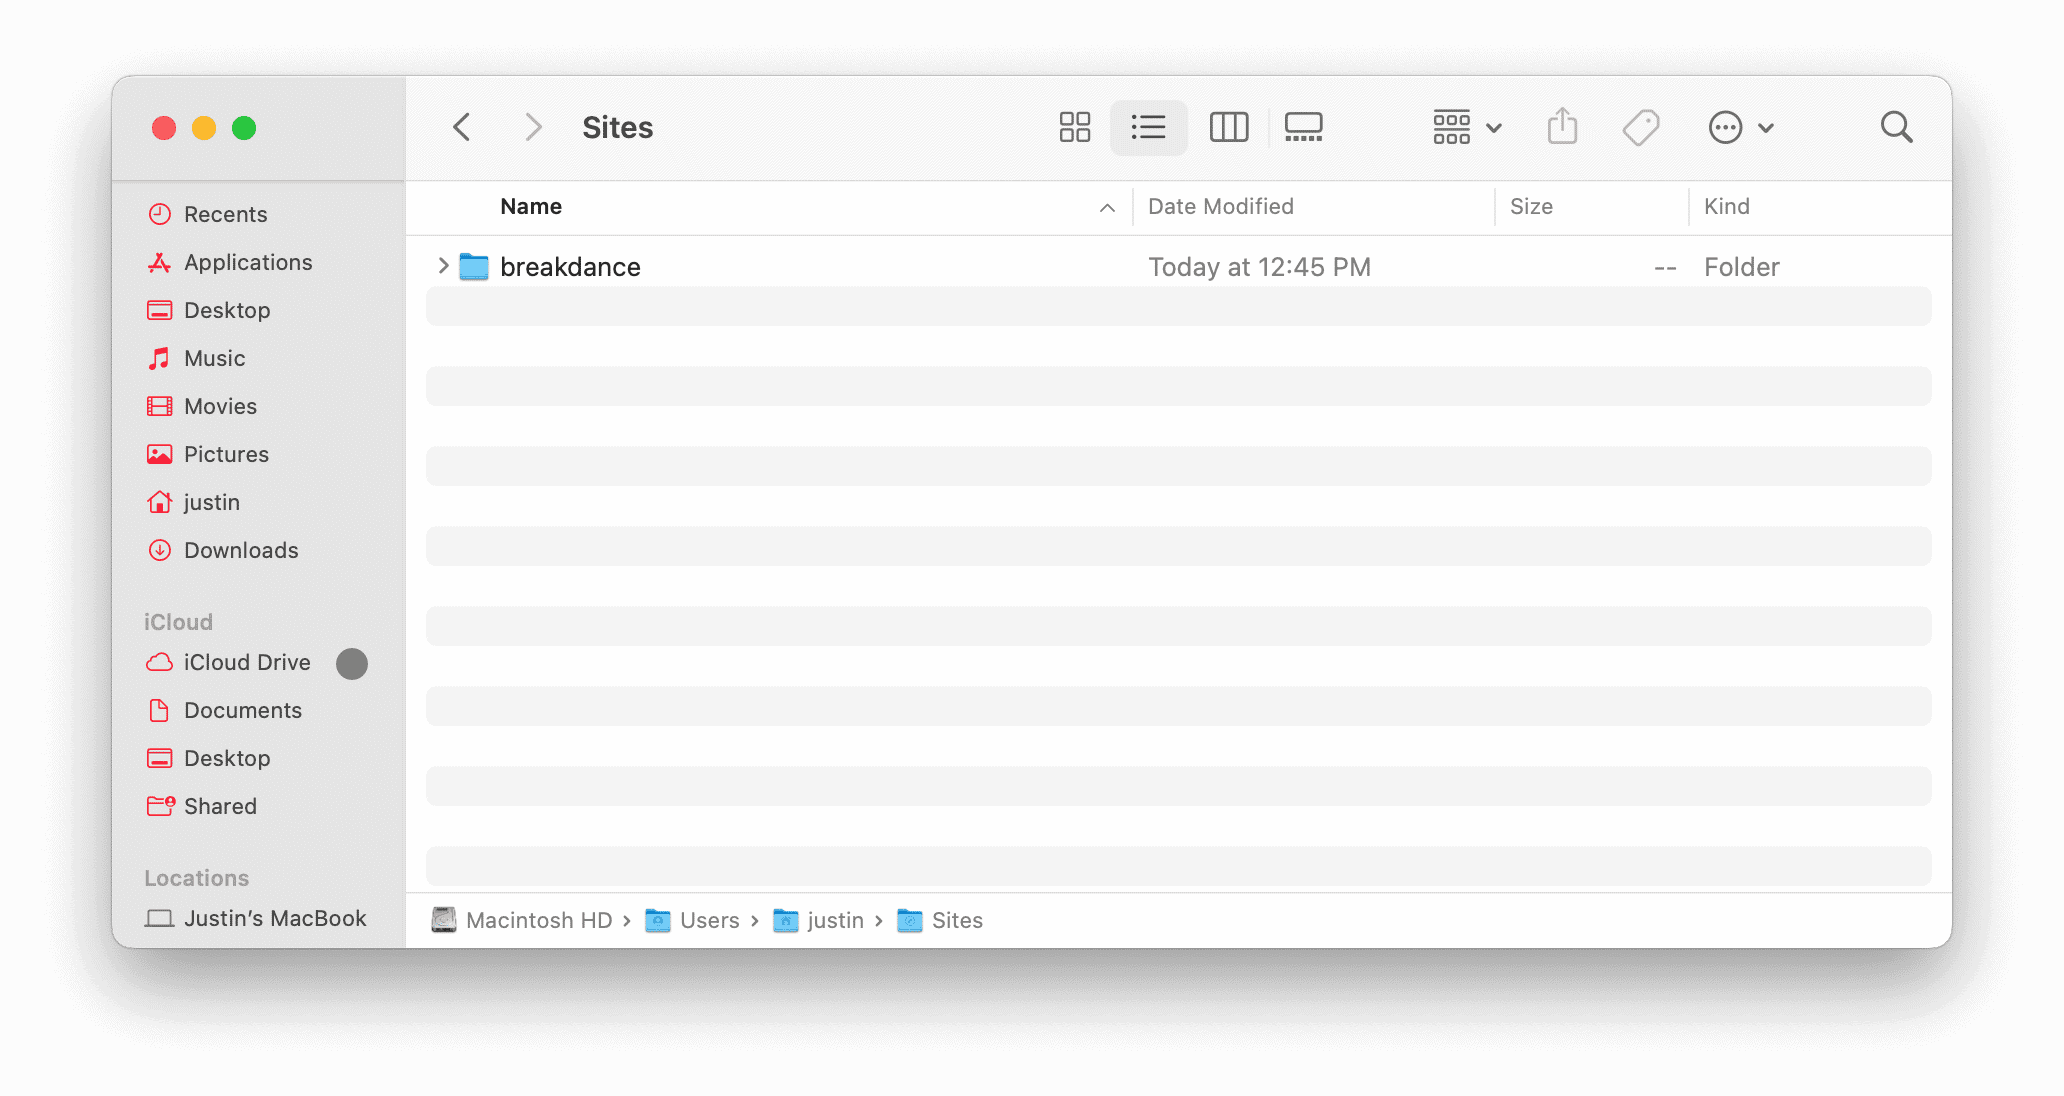
7) Unzip and Install WordPress
Create a folder in your MAMP site directory & unzip your WordPress install from earlier into it. I called mine Breakdance but you can name it whatever you want!
Navigate to the installer by adding the folder name to your URL like this:
http://localhost:8888/breakdance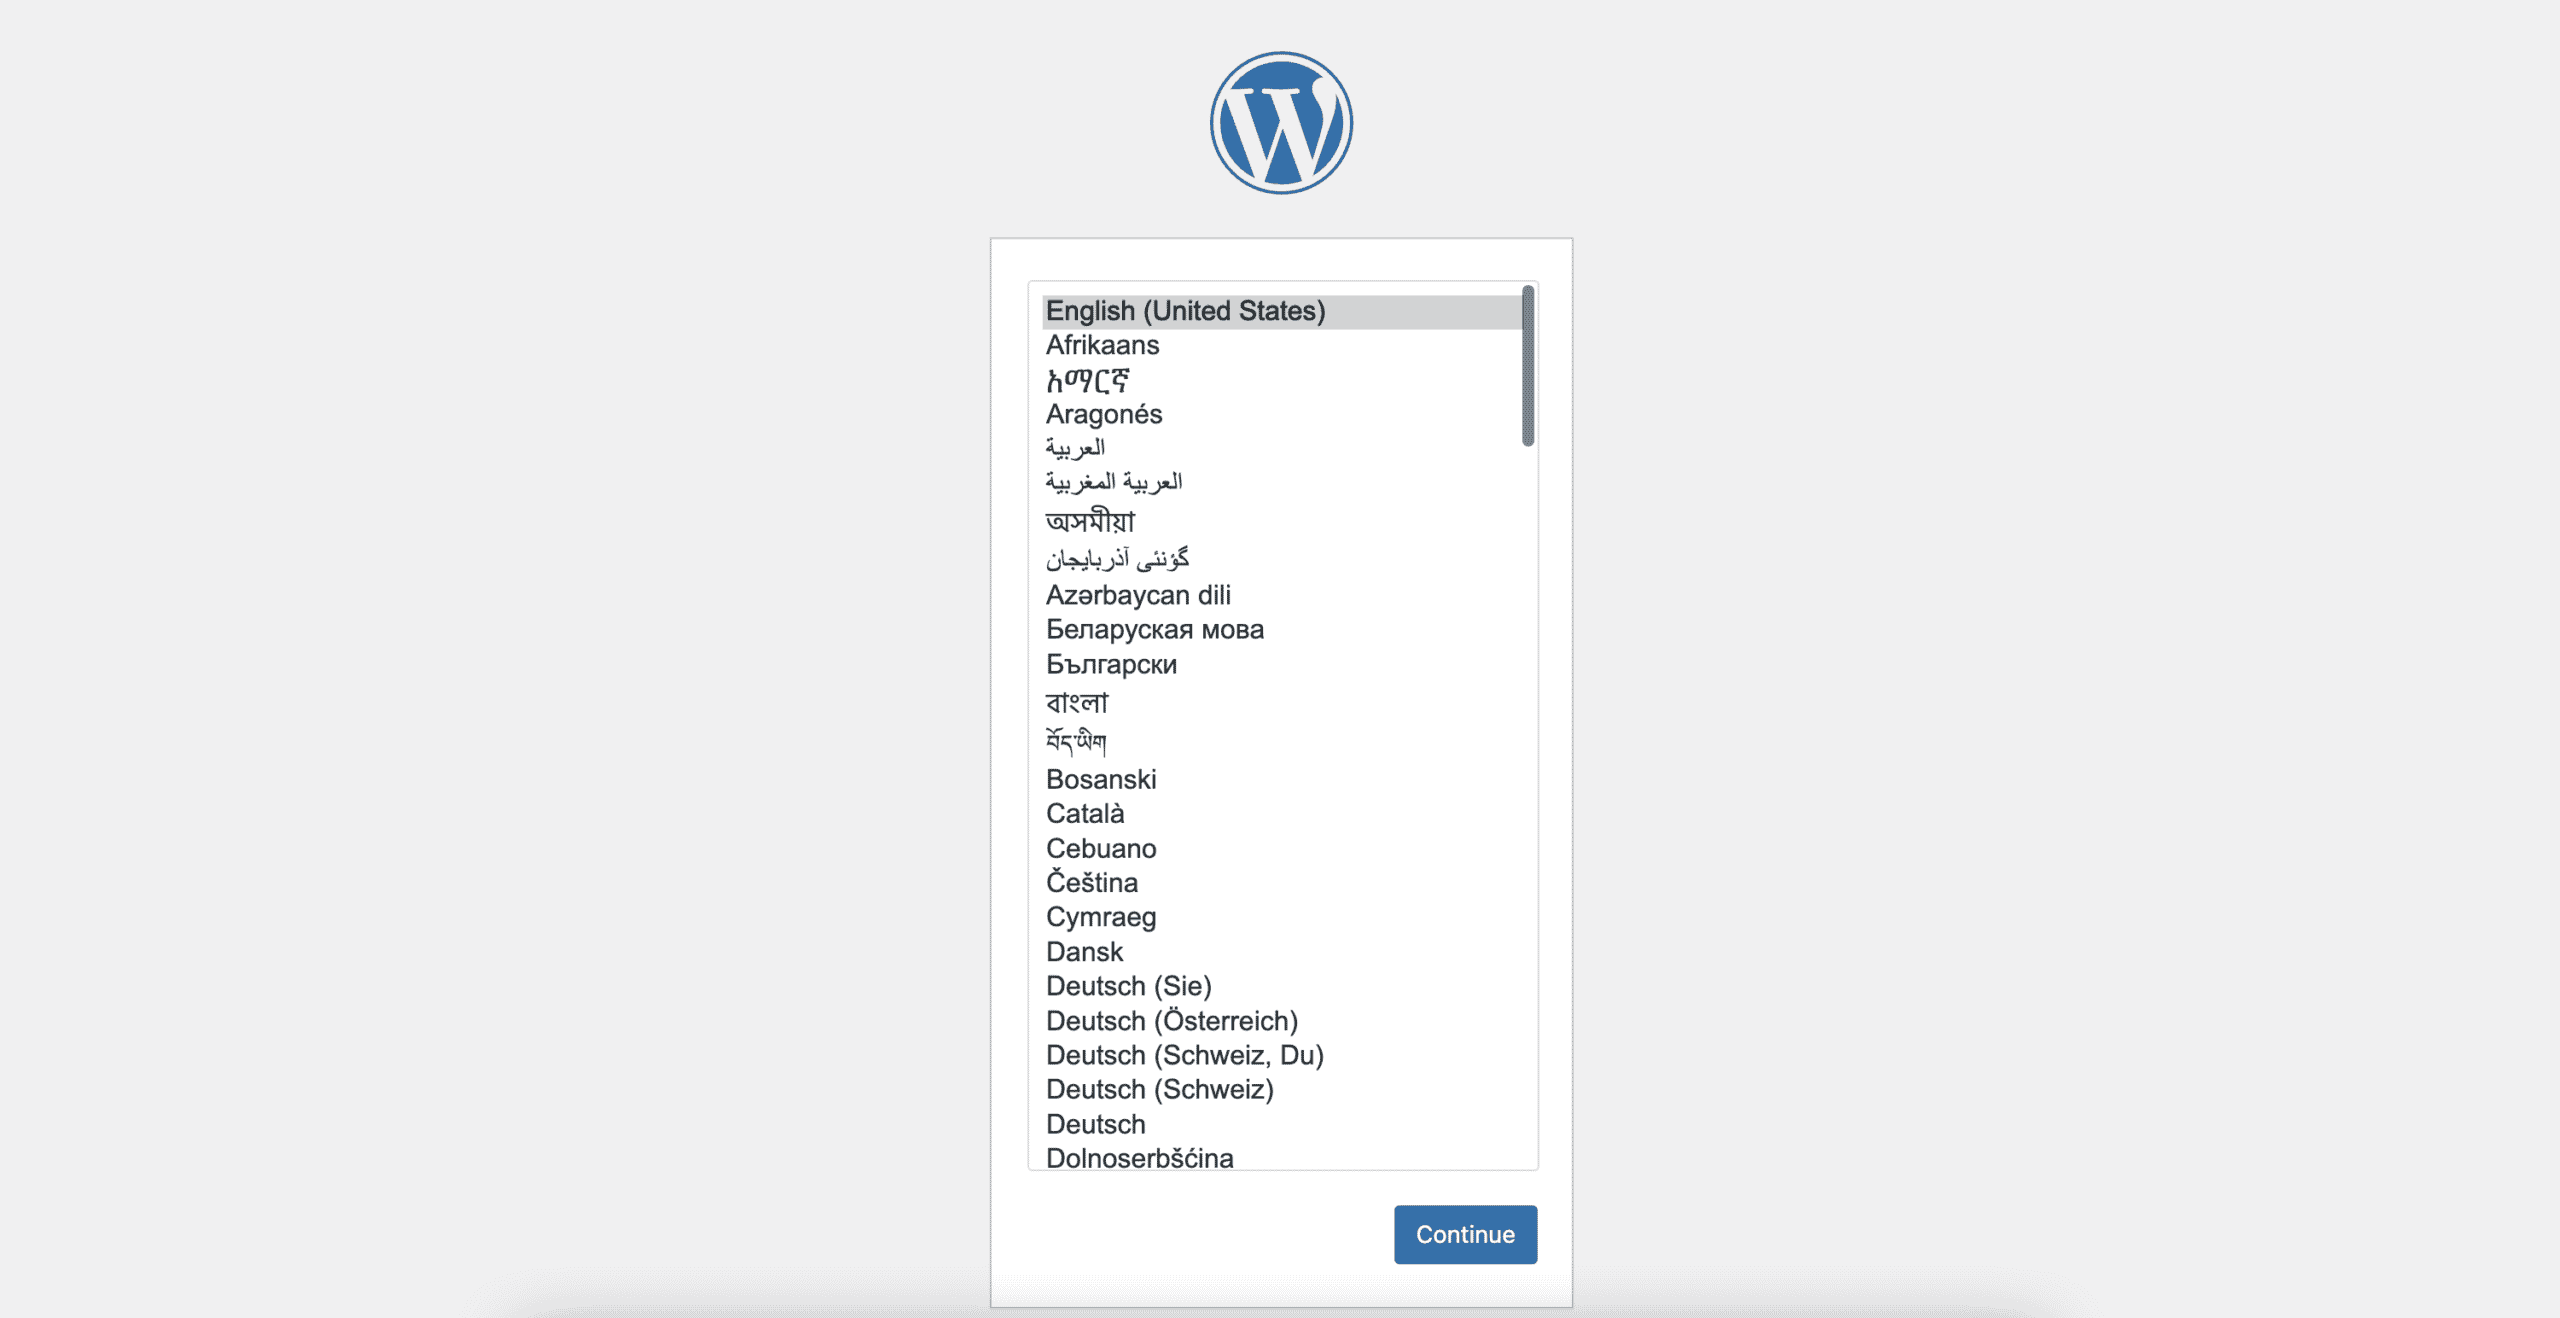
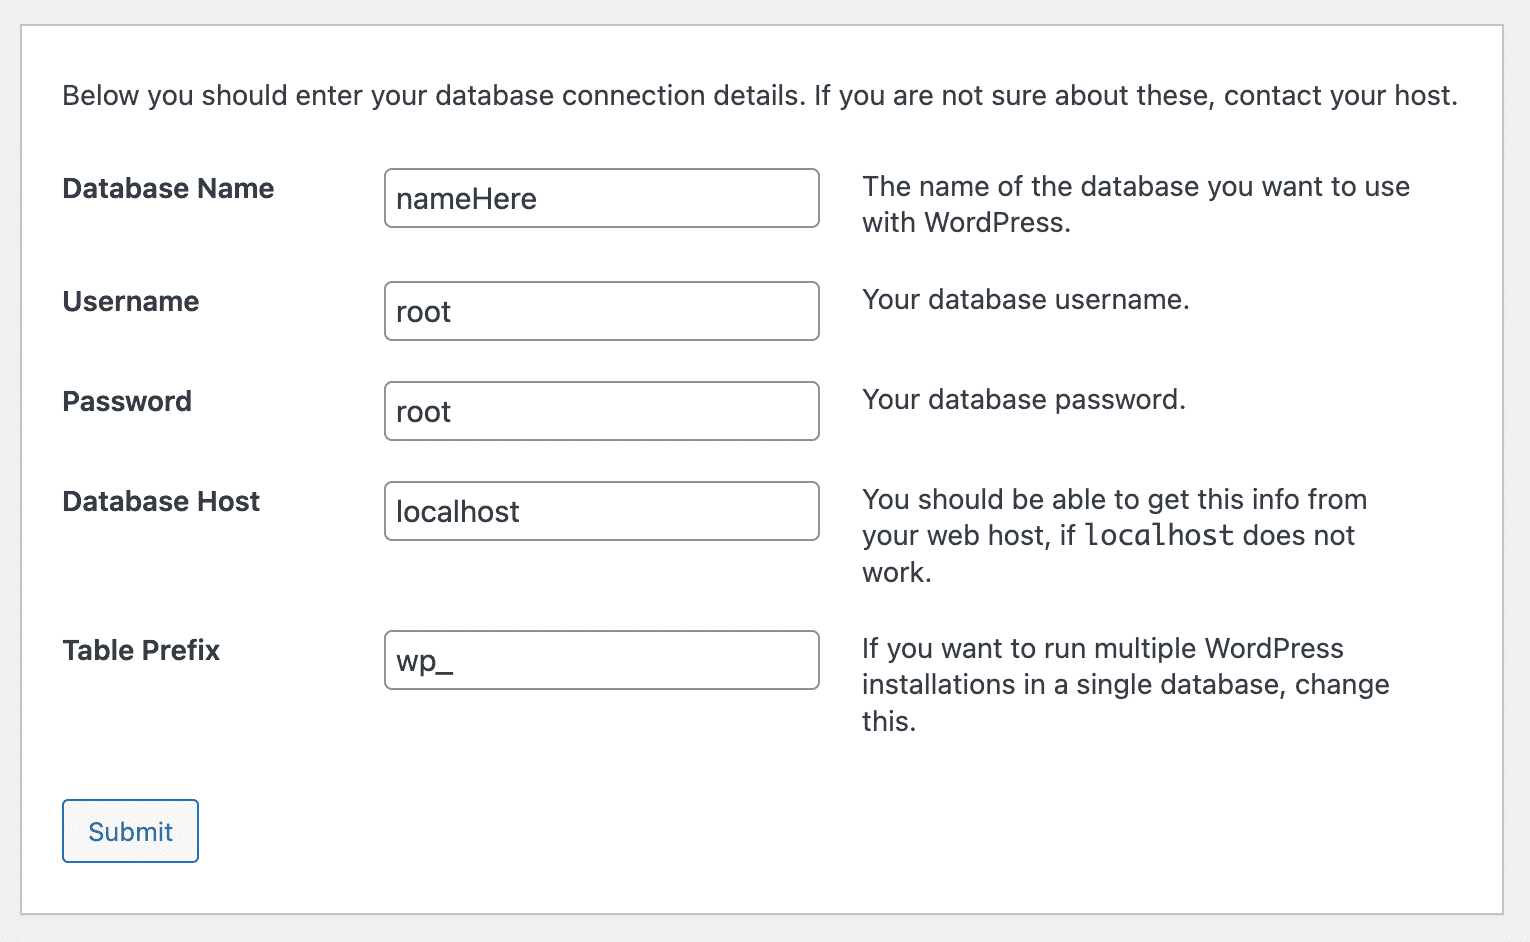
Follow the instructions until you get to the database information screen. The database name is what you set it to earlier, and the username and password are both root.
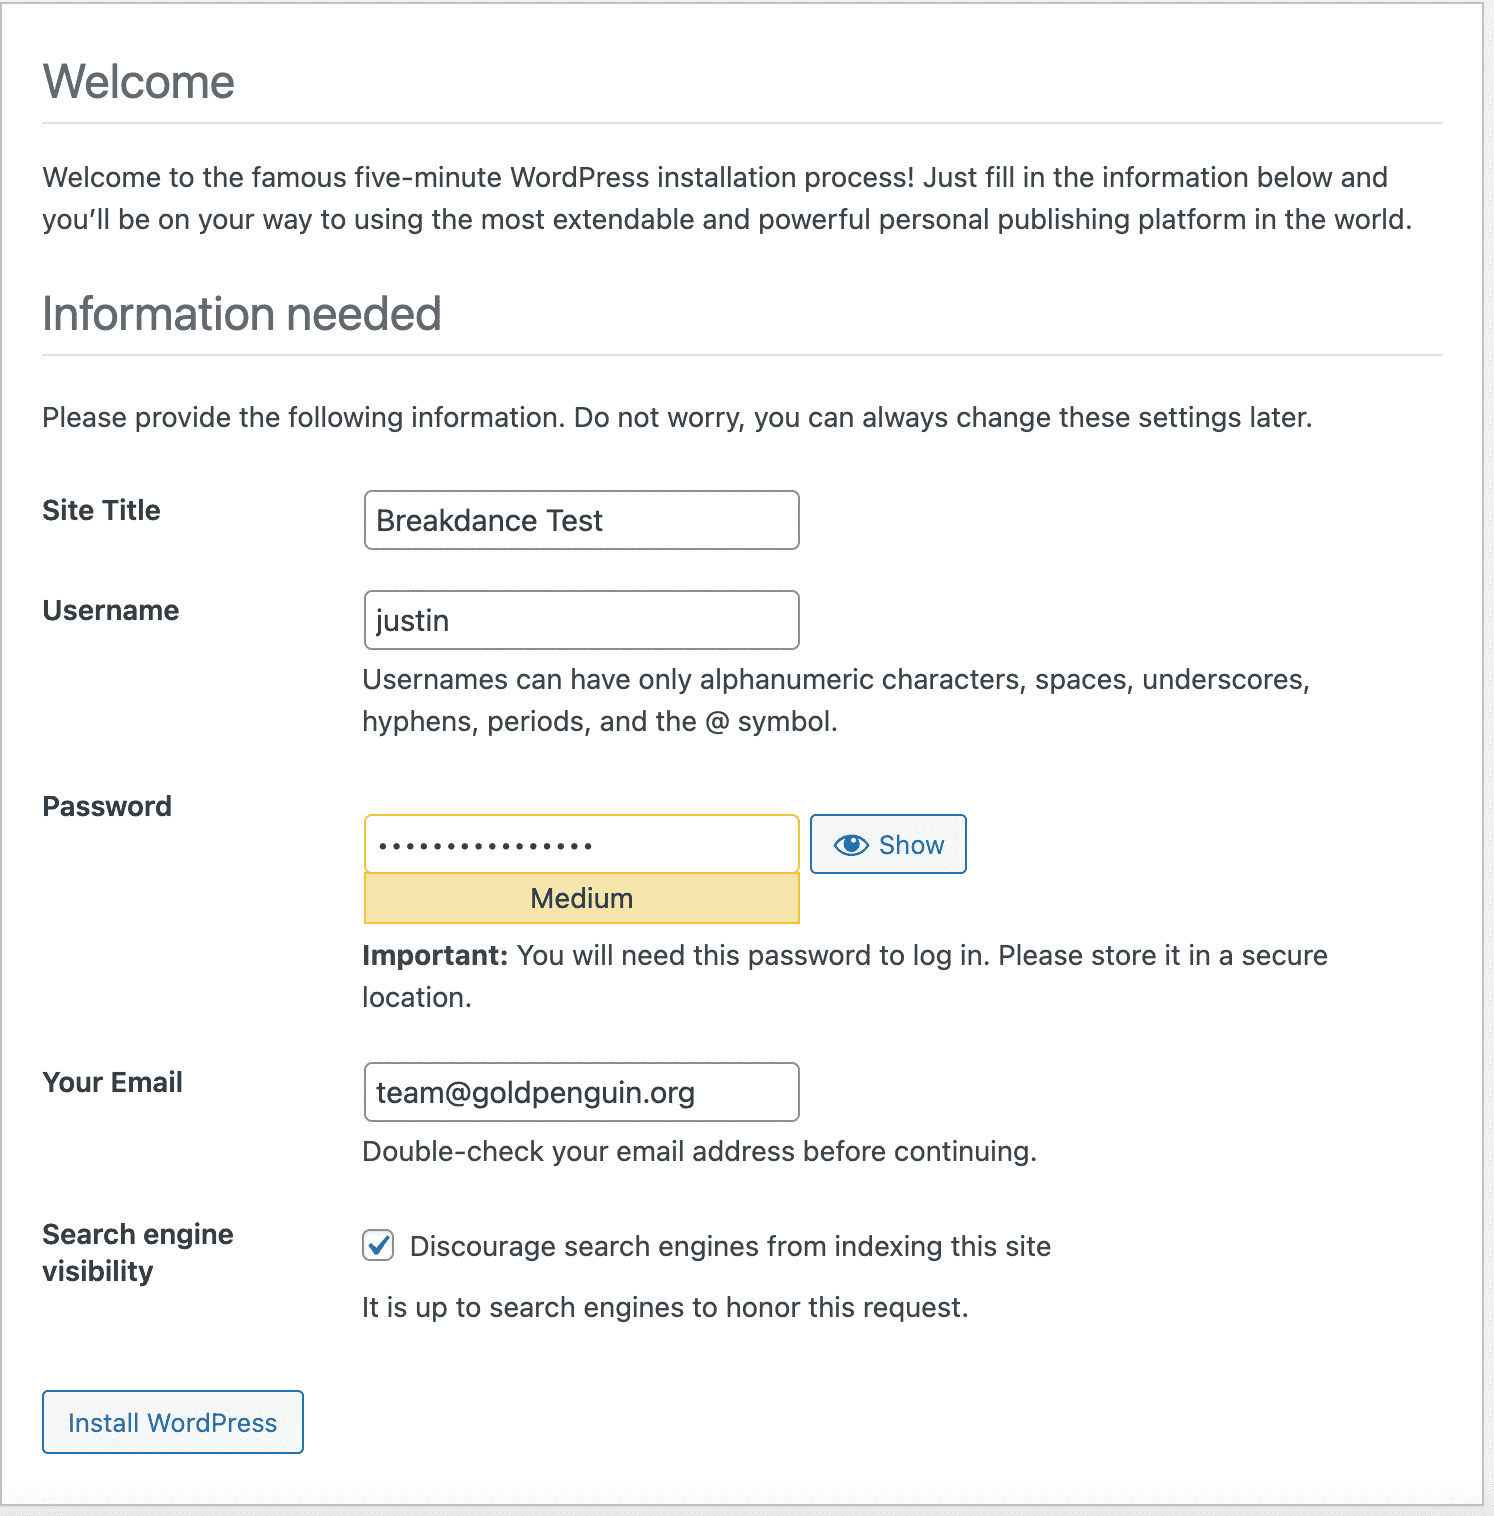
Fill in all the user information for your site on the next screen and then finalize your WordPress installation. Log into your new WordPress site to start!
8) Download Breakdance Builder
Now that you have WordPress installed locally, you can download and install the Breakdance plugin. Download Breakdance from the Breakdance website to get your zip file. Keep it mind you need to purchase access before being able to download. You can also try the builder for free for 30 days
Install & Activate Breakdance Builder in WordPress
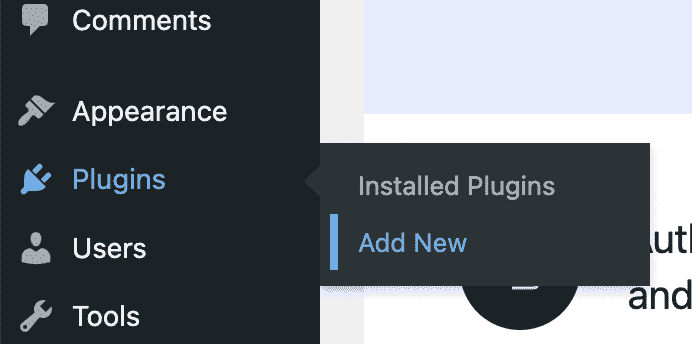
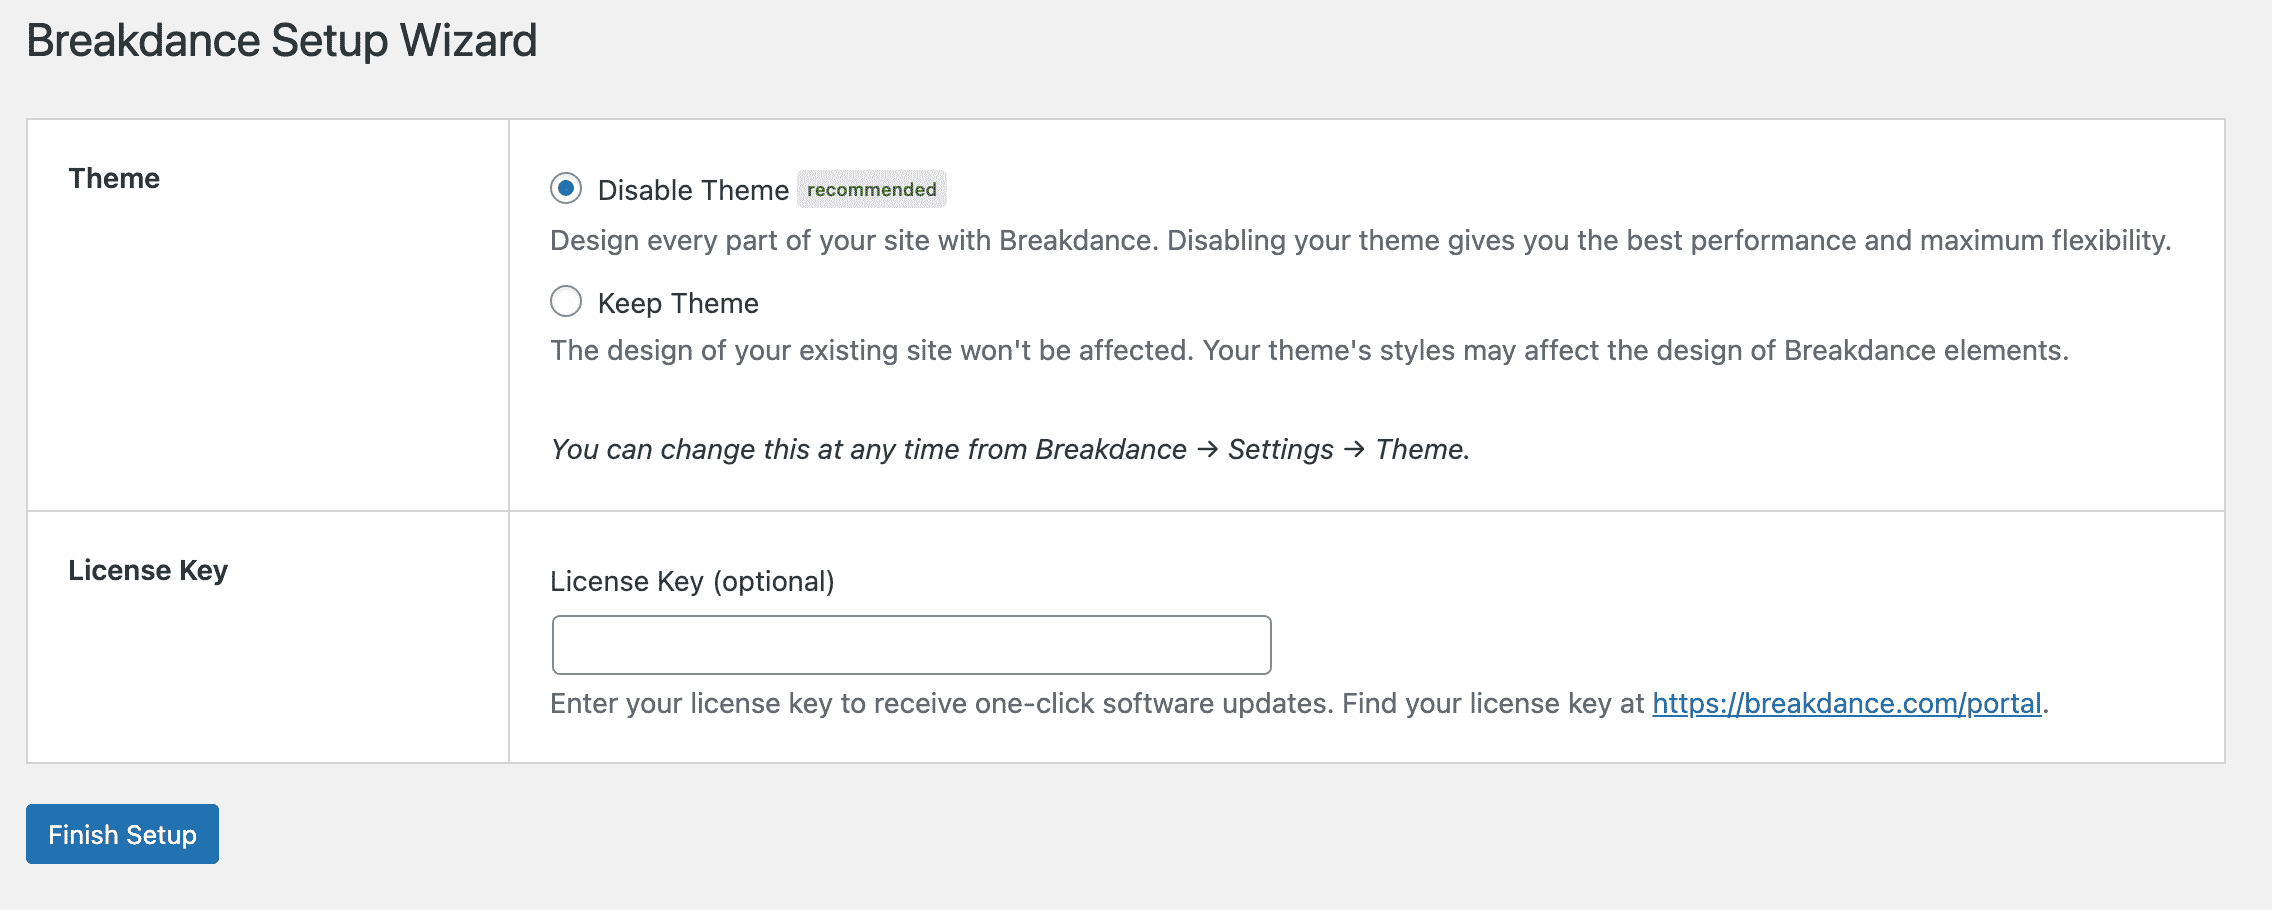
On your WordPress admin panel, go to plugins -> add new. Click on "upload plugin" then choose the file you just downloaded. Install & activate Breakdance. This shouldn't take more than a few seconds to install and activate. You should also make sure your license key is activated before you start creating and saving content.
10) Start editing!
That's it! You're ready to start using Breakdance locally on your computer. To use the page builder, go into pages -> add new and you should see the Breakdance button in the center of your page. Give it a try and see how easy it is to use! If you want to learn more about all features the builder includes, check out our introductory guide.

Conclusion
Amazing! We went step-by-step describing how to install Breakdance Builder on your computer for local testing. We covered installing WordPress locally, MAMP, and adjusting your ports. We also went over how to create a MySQL database and install Breakdance. Finally, we walked through creating a new page in WordPress and using the Breakdance Builder to edit them. We hope you found this tutorial helpful and easy to follow. If you have any questions, please feel free to leave a comment below! Happy building!
Want to Learn Even More?
If you enjoyed this article, subscribe to our free newsletter where we share tips & tricks on how to use tech & AI to grow and optimize your business, career, and life.