How To Launch Email Campaigns with Instantly.ai (2024)
Instantly is a great software to automate your email outreach, but how do you actually set a campaign up? Here are the step-by-step tips to launching your first email marketing campaign!
Jonathan Garces
Updated June 18, 2026

Reading Time: 4 minutes
The hardest part about having a business is probably getting actual business! You could have a great product or service you offer, but if nobody is in front of you ready to buy, you're out of luck. There are so many ways of getting your services in front of potential clients – one of them is through emailing.
Despite the haters, cold emailing is still one of the best ways of capturing someone's attention to hopefully get them converted to a paying customer. Once you figure out what your offer is and who to send it to, why should you let anything else hold you back?
Sometimes you have all that nailed down but don't have the means of doing so. That's where Instantly comes in to shine. Instantly.ai is a web-based platform for email outreach. Instantly allows you to create and send personalized, targeted, and automated cold email campaigns to prospects and customers. It’s super user-friendly & simplifies the process of managing email campaigns with features like A/B testing, automatic follow-ups, and email open tracking.
Once you set up & configure your account, you can go ahead and start creating persuasive, engaging email campaigns to capture the best clients.
Sending Email Campaigns with Instantly.ai
As we mentioned earlier, sending emails should actually be the easiest part of your outreach process. Here are the steps you need to follow to configure and send out some amazing email campaigns:
Step 1: Login to Instantly
After the registration process, click on the "Login" button to access your account. You do need to have a active & paid plan for this to work.
Step 2: Ensure Domains are Connected
Ensure that you have already linked your domains to your account. You can link an unlimited amount of domains and emails with a single Instantly account. Once this process is done, you can head into creating the actual campaign.
Step 3: Creating The Campaign
Now that everything is set up, click the location icon to view all of your campaigns. You should see a new list with a list of your active, inactive, and completed campaigns. If you've never set one up before, this should be empty.
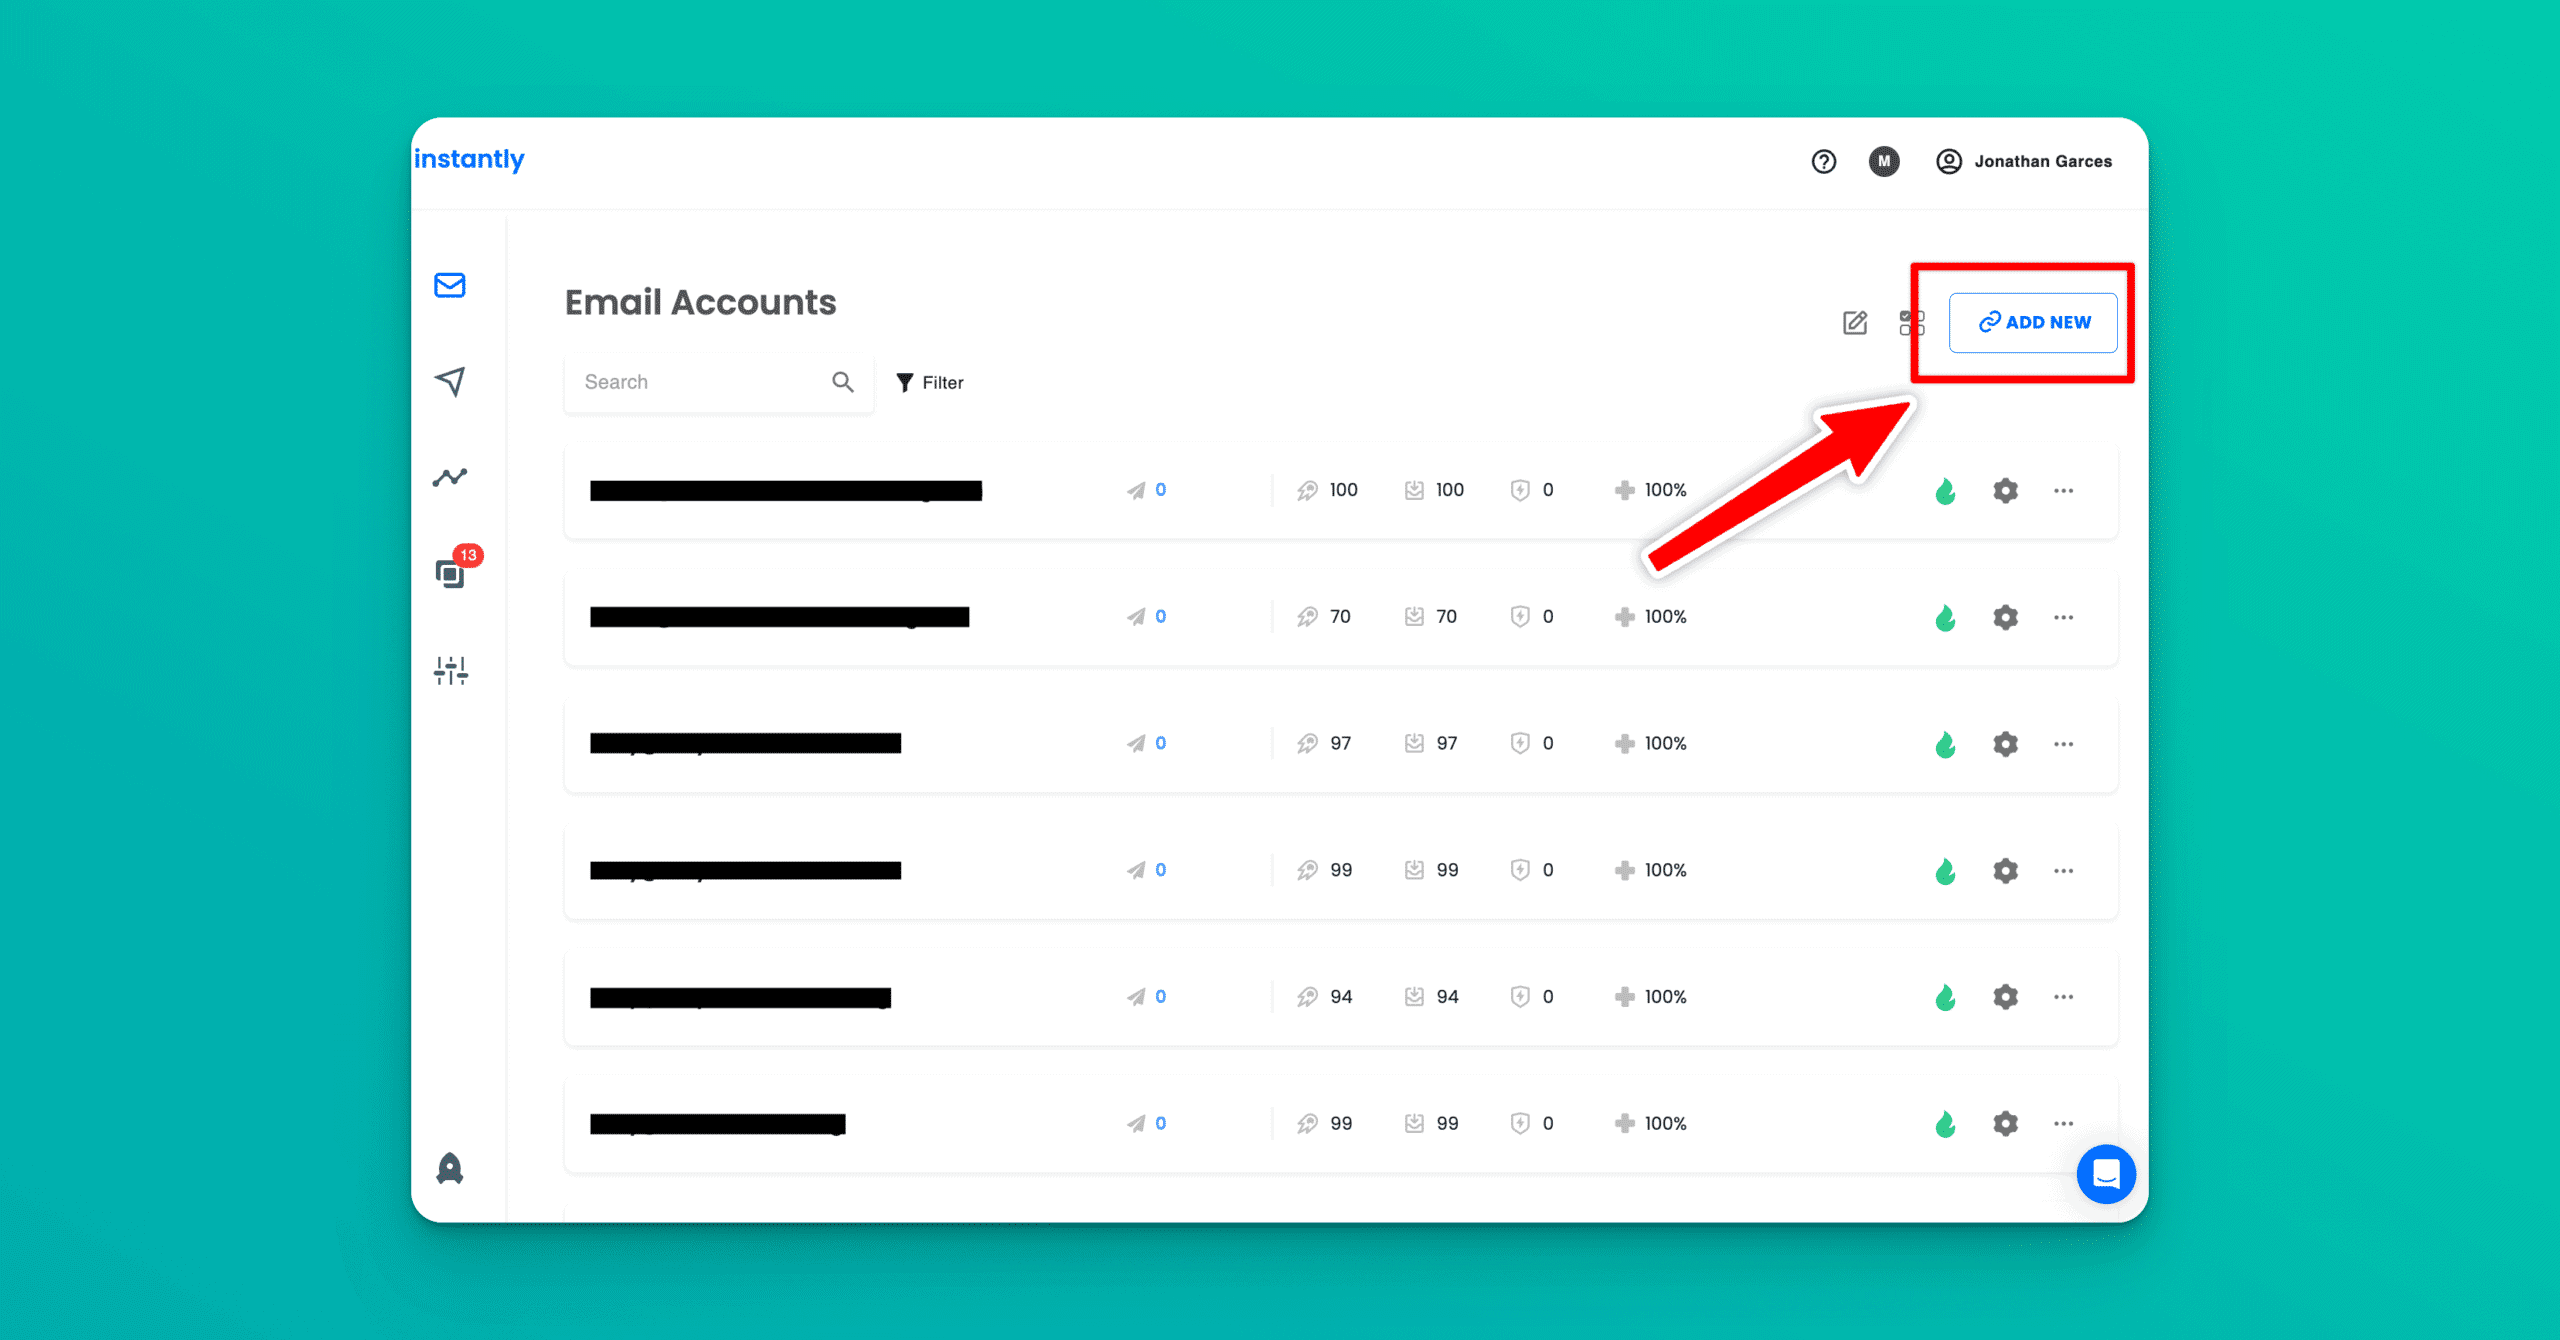
When looking at the campaigns page, click the big blue button “ADD NEW” to start the process. You can create tons of campaigns & can edit existing ones, so don't worry too much about the small stuff!
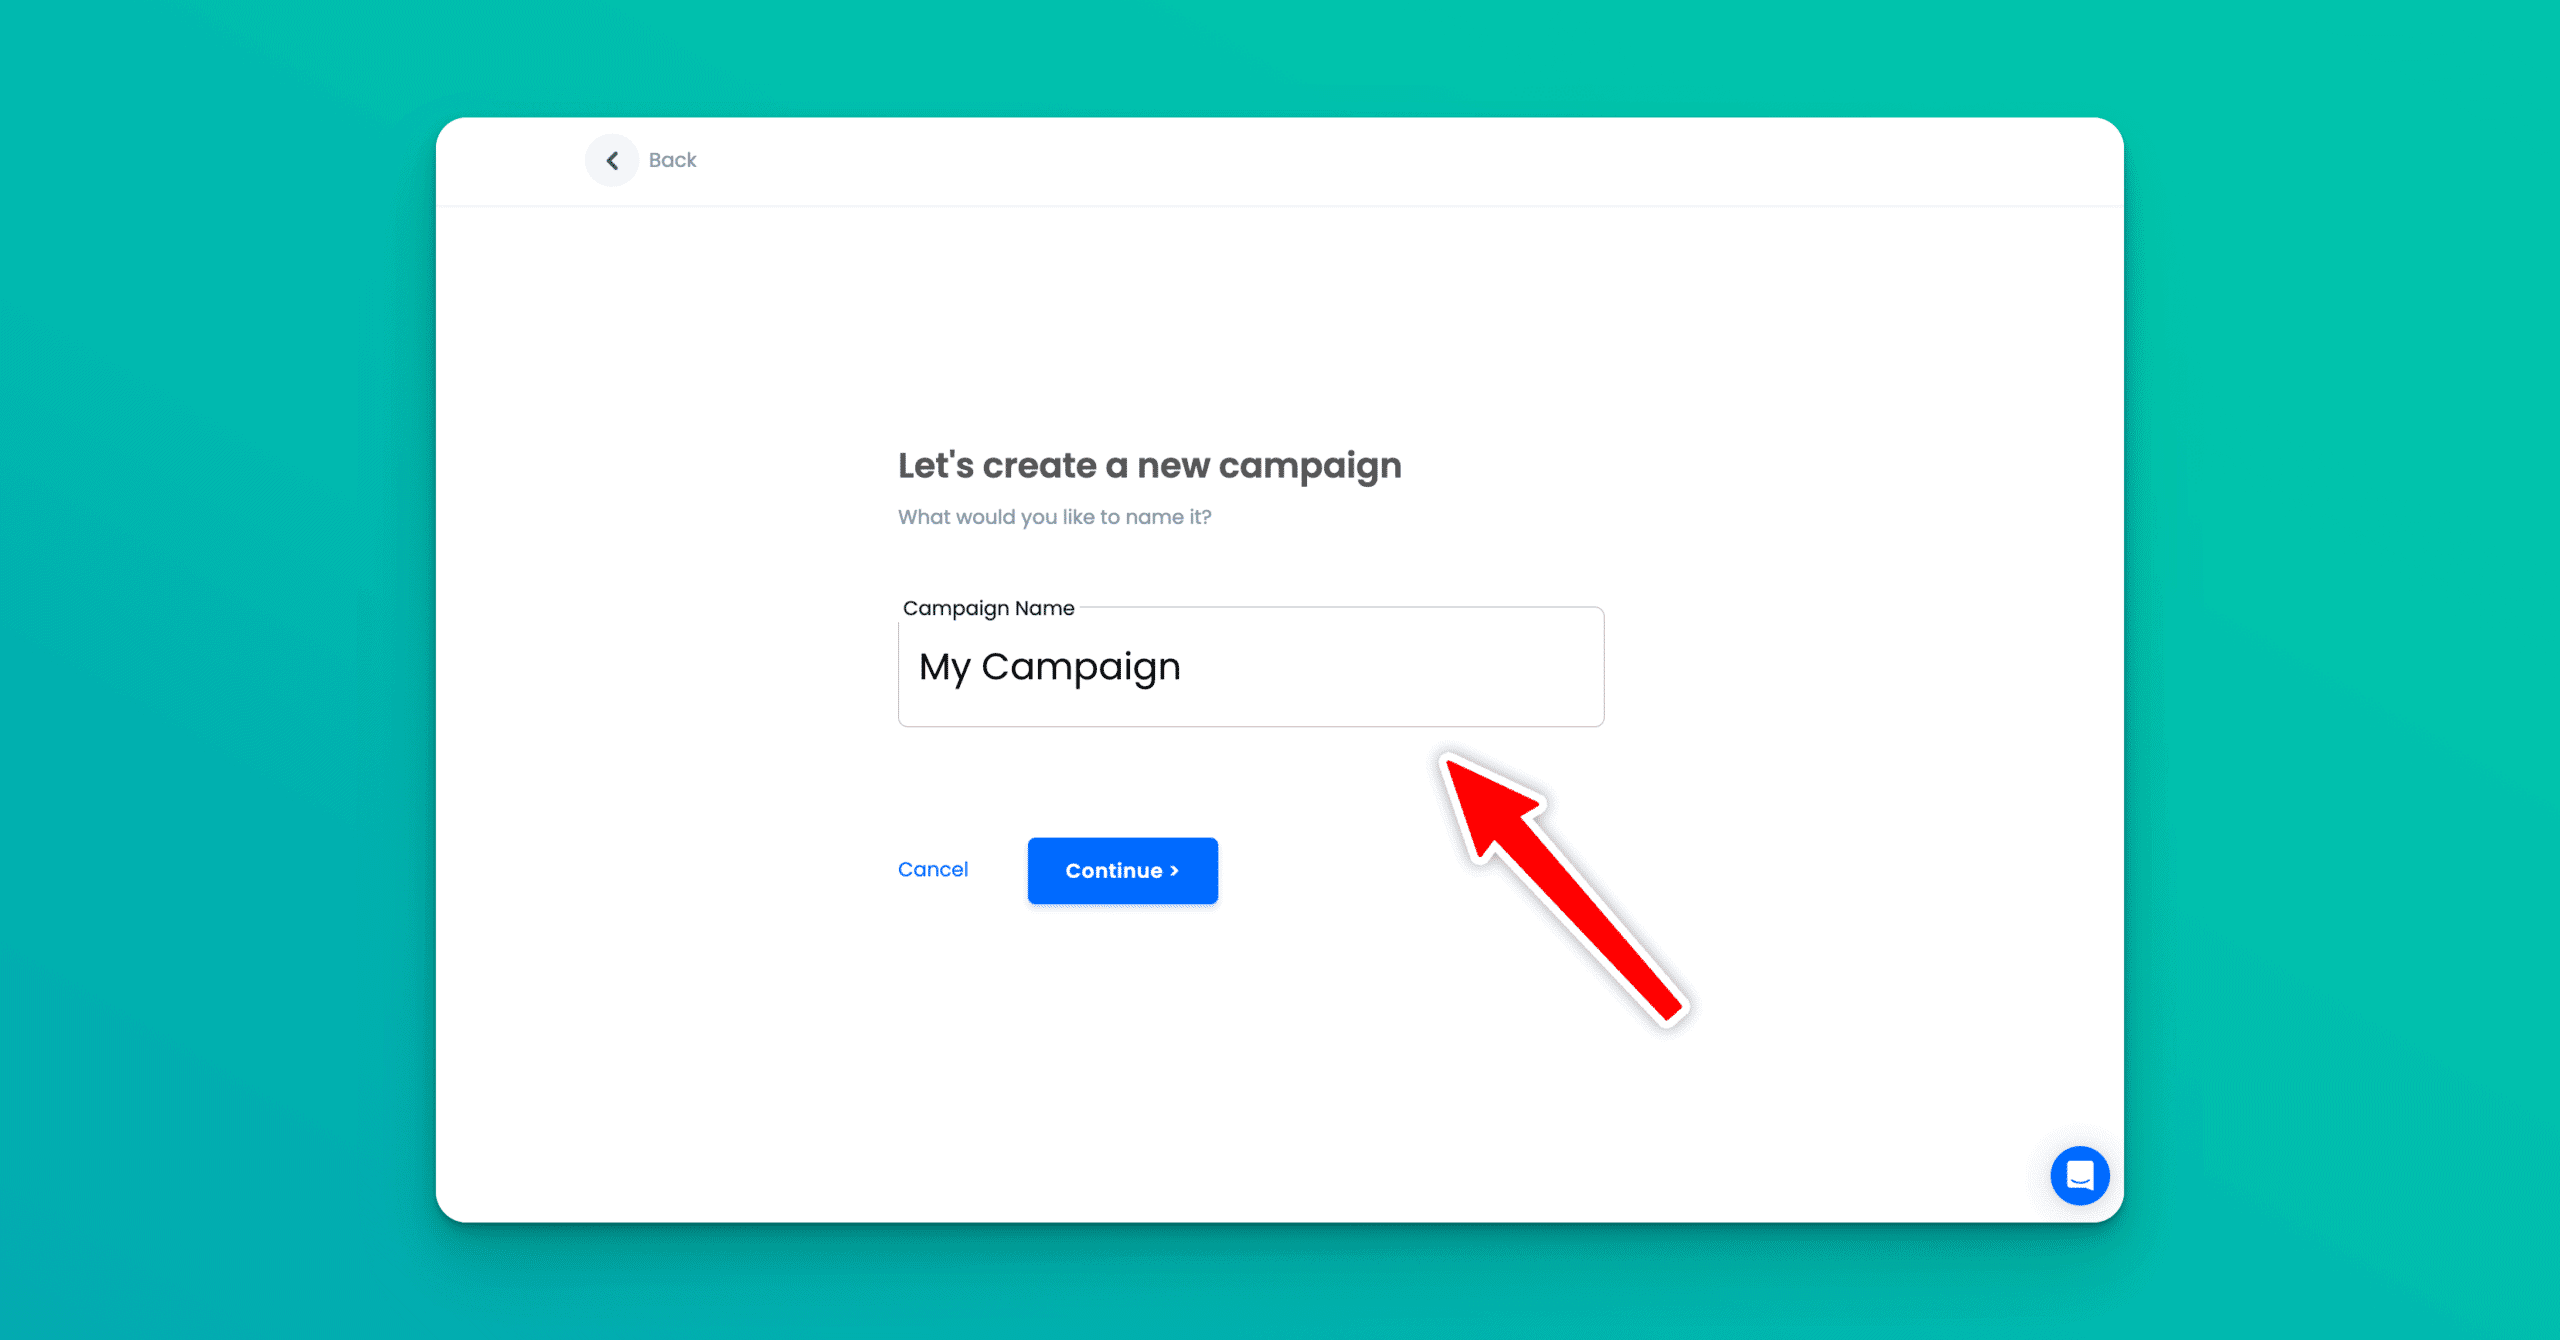
Step 4: Name Your Campaign
Name this something you'll easily be able to identify. In the future you might have dozens of campaigns – being able to find the one you need at moments notice is extremely important.
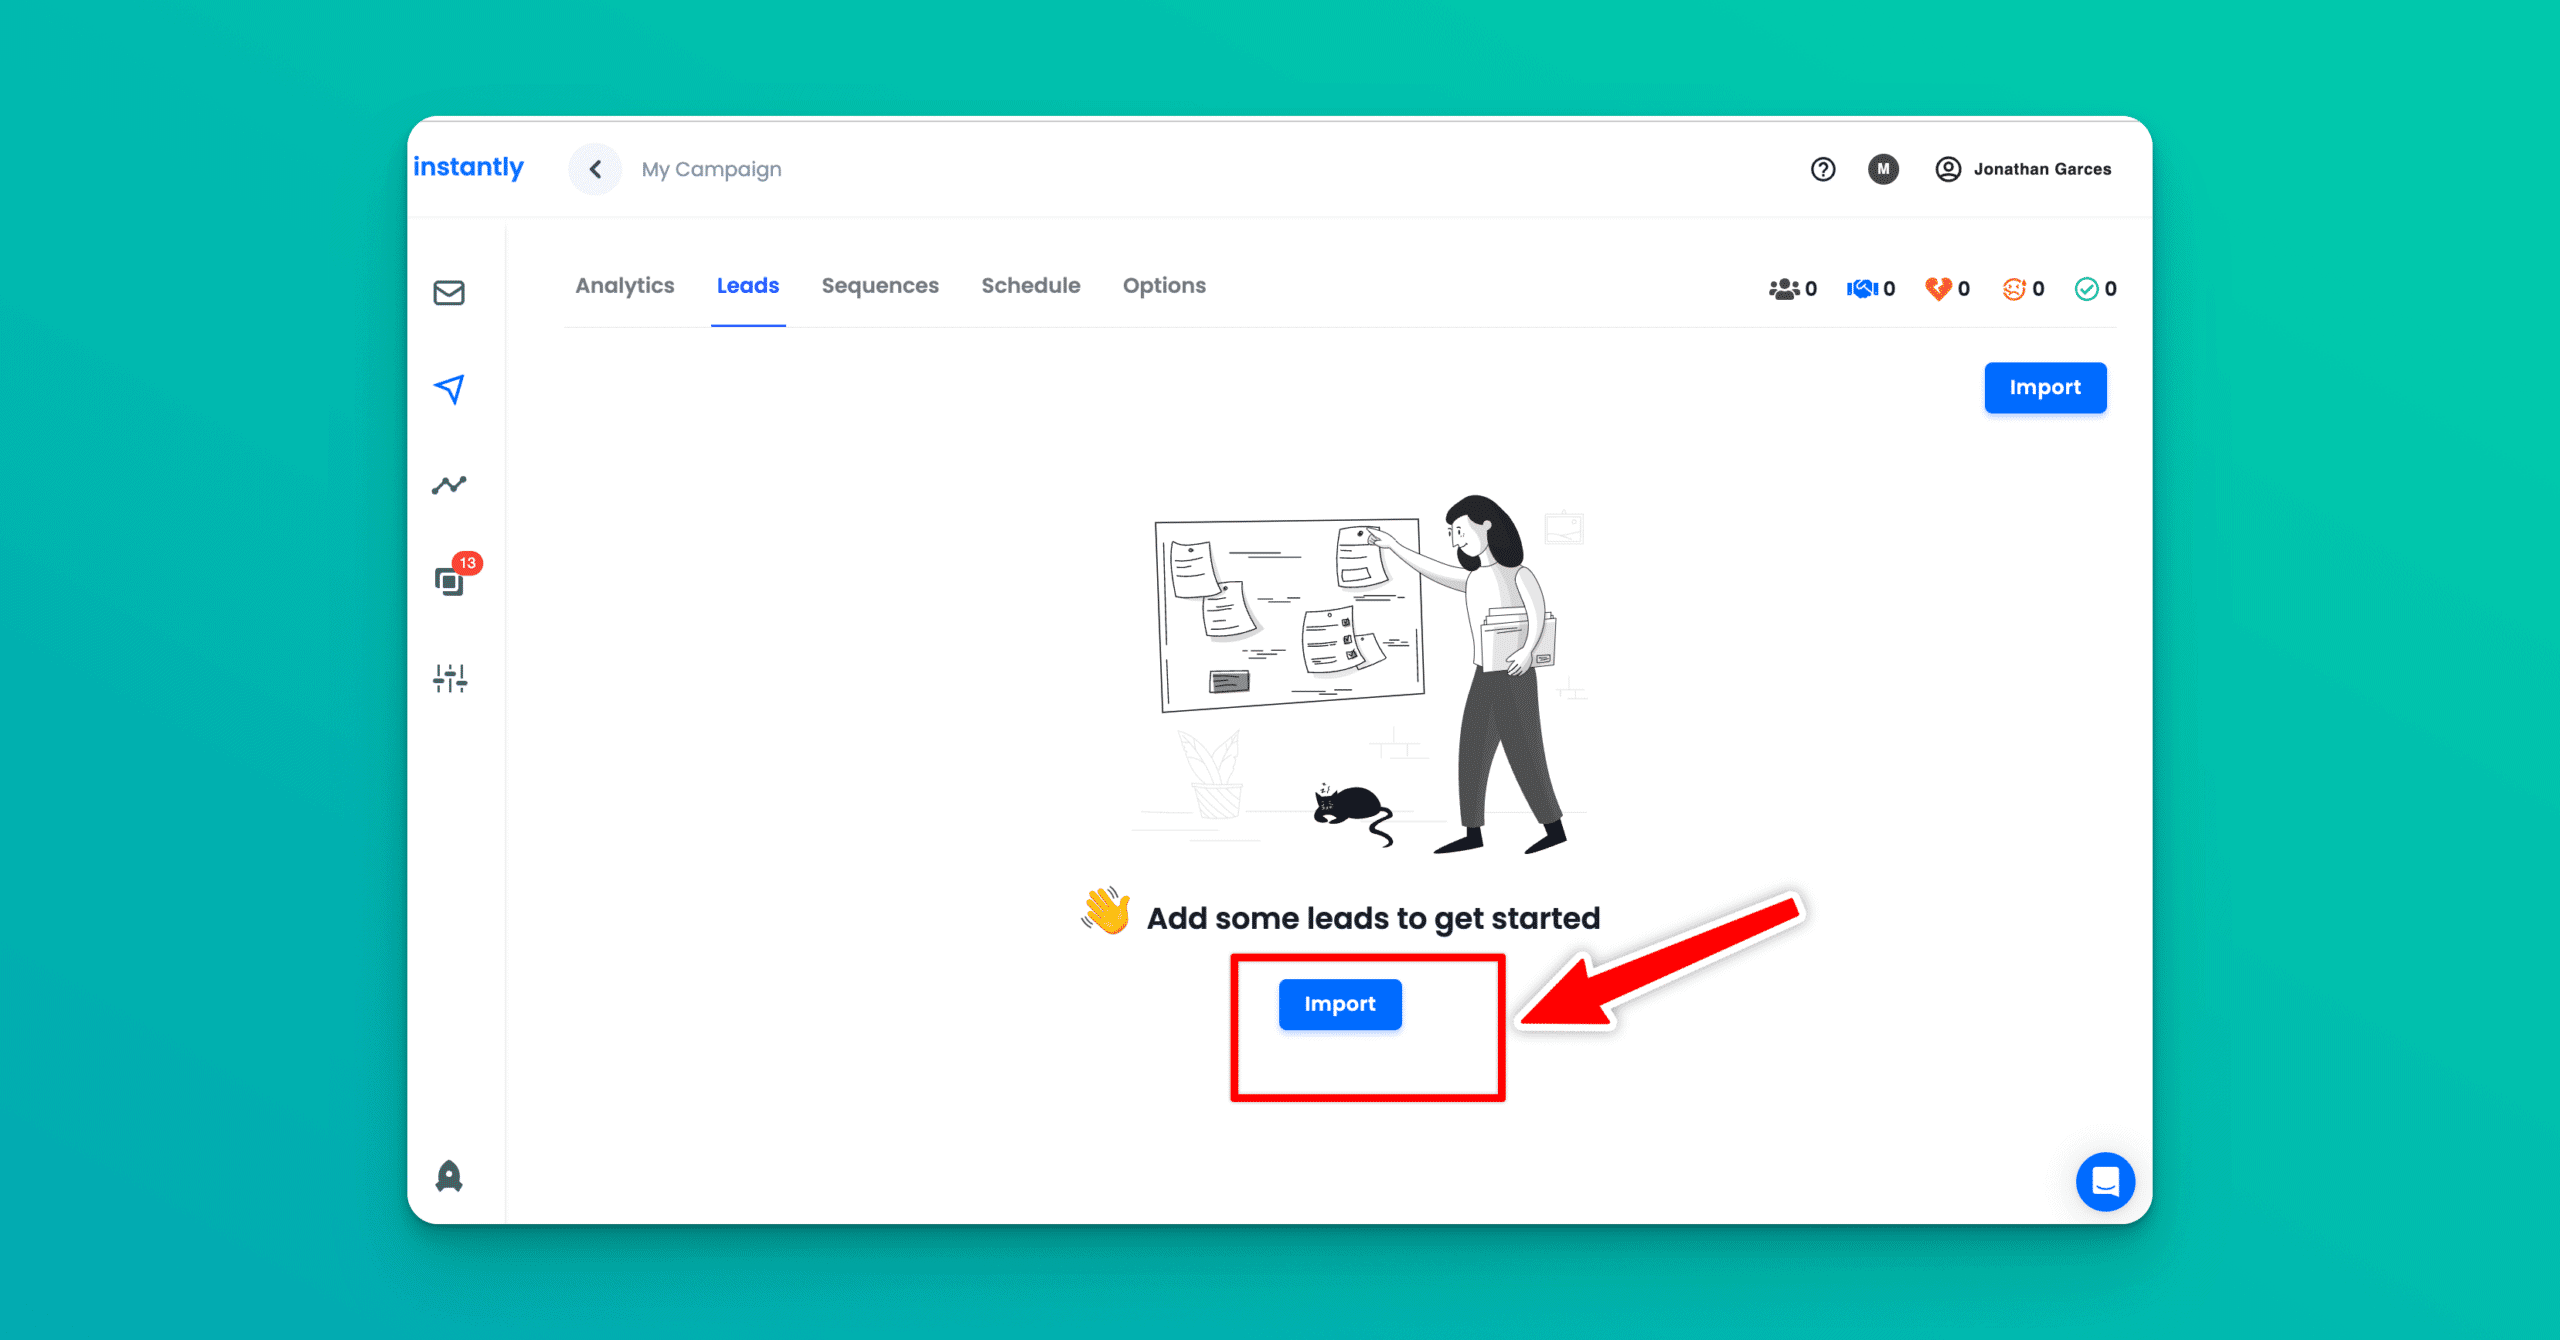
Step 5: Import your lead list
Click the big blue button that says “Import”. You’re going to import your lead list. You can either upload via CSV, manually or by a Google Sheet Link.
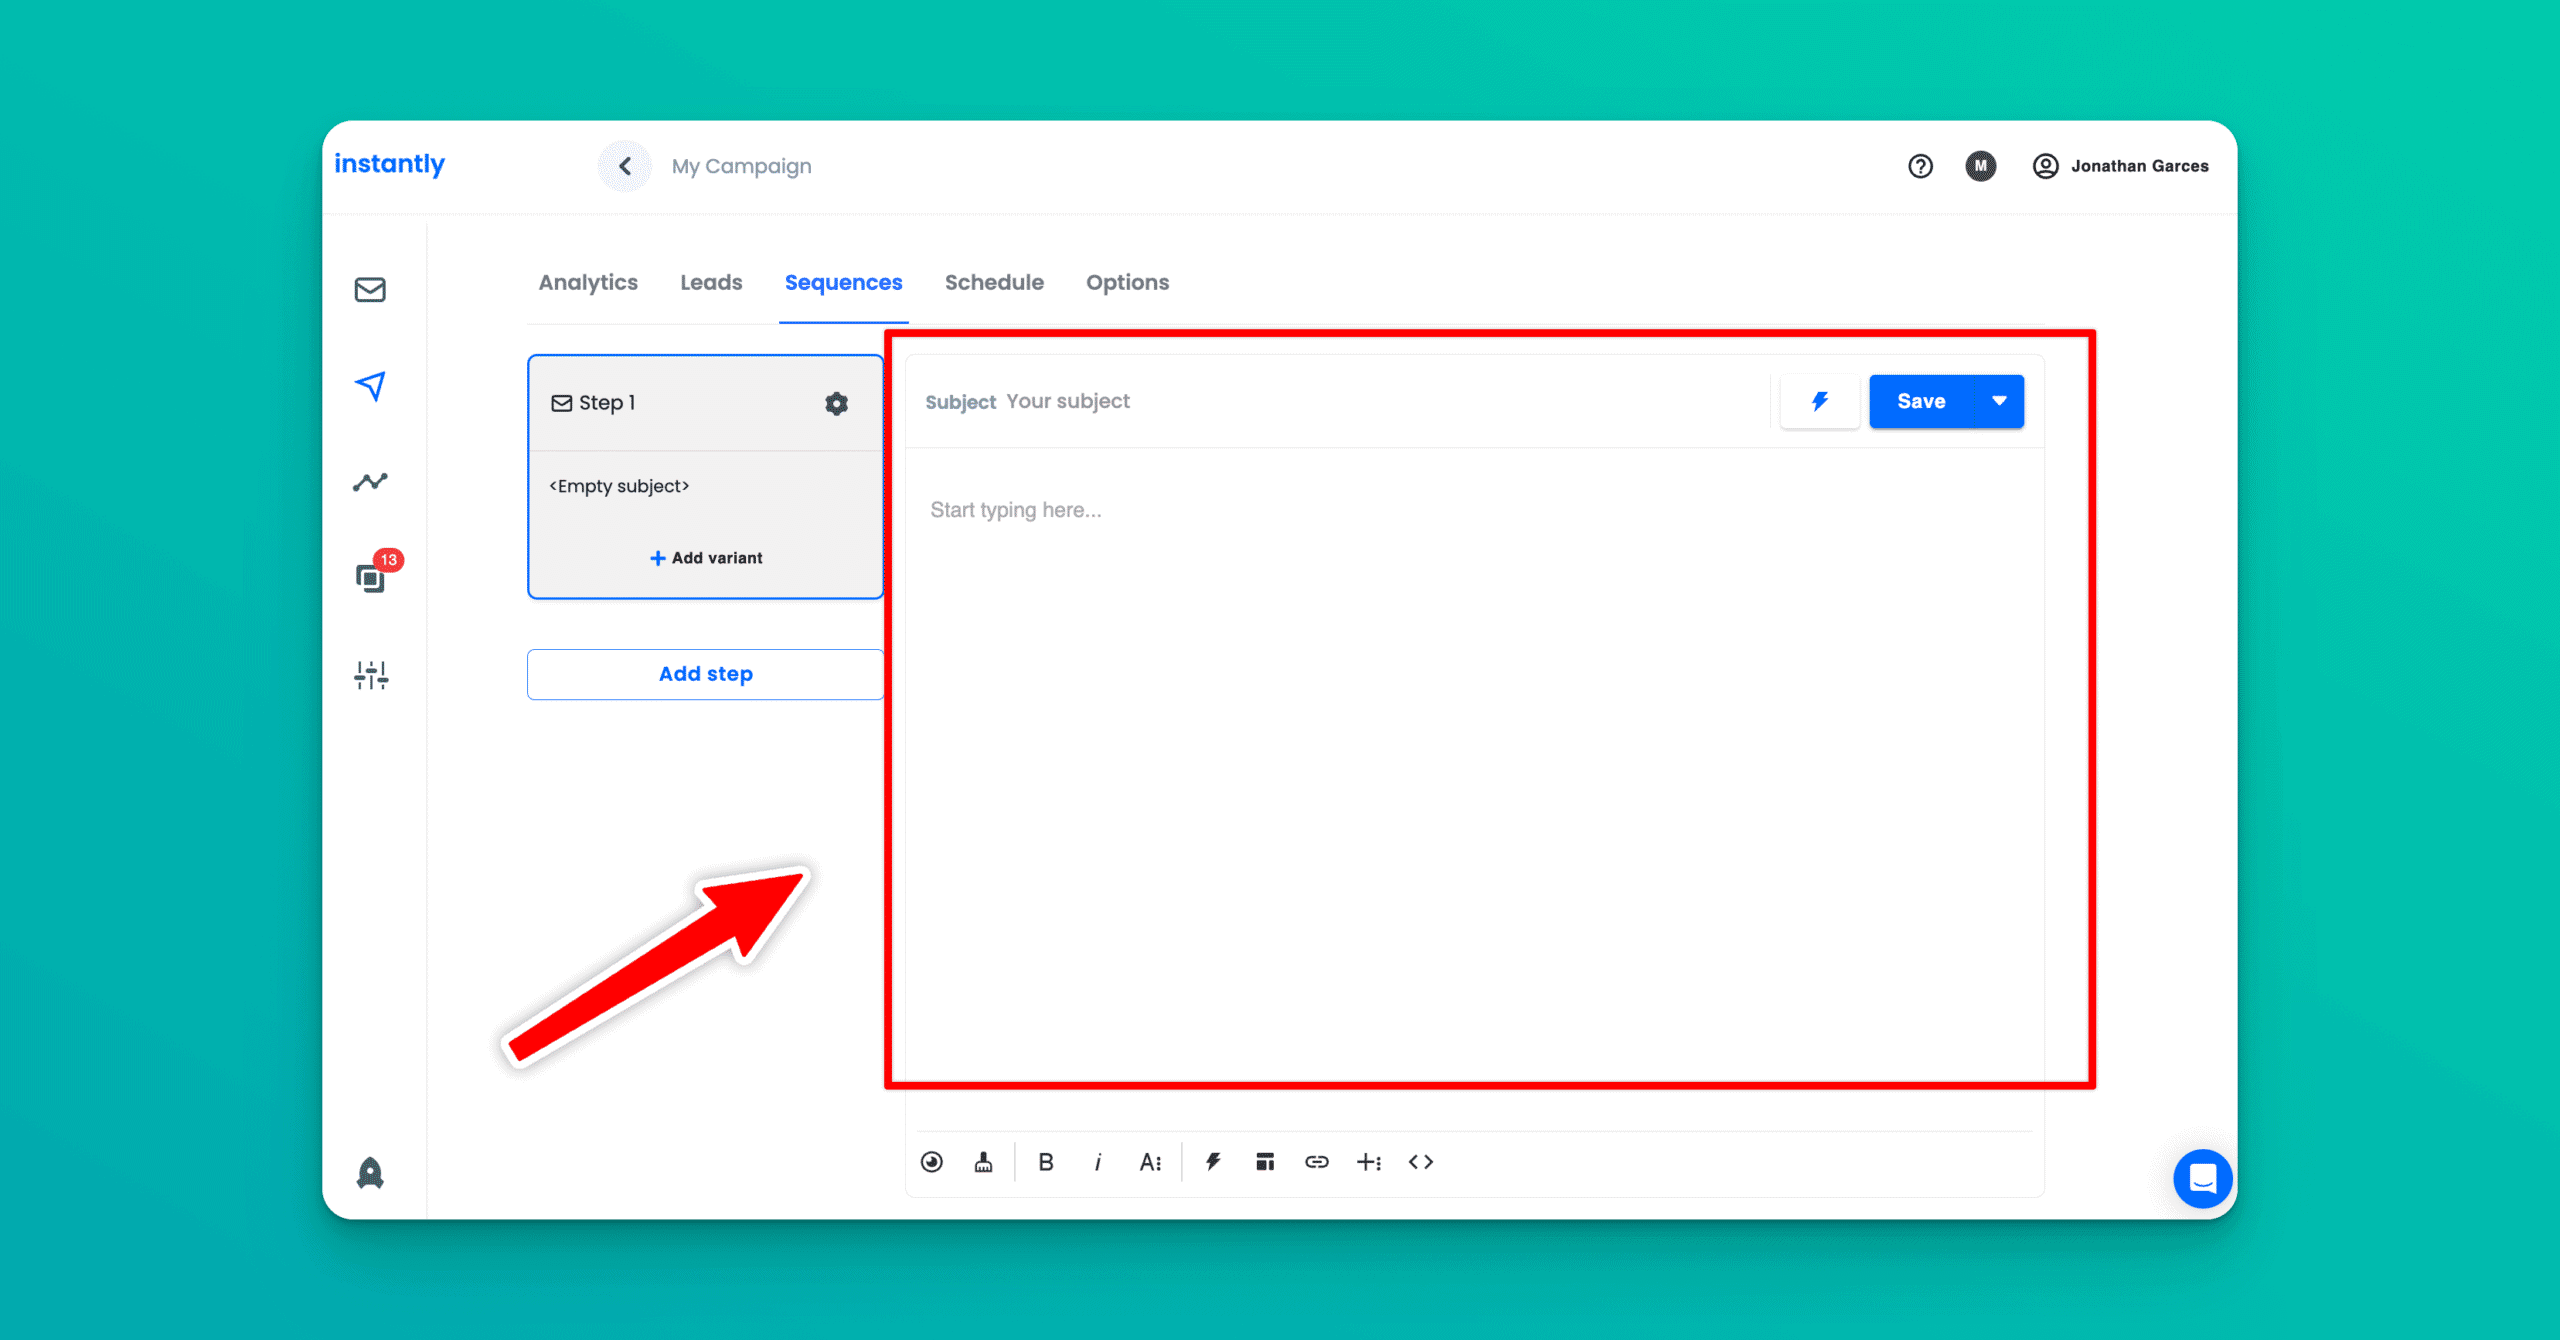
Step 6: Write Your Campaign Messaging
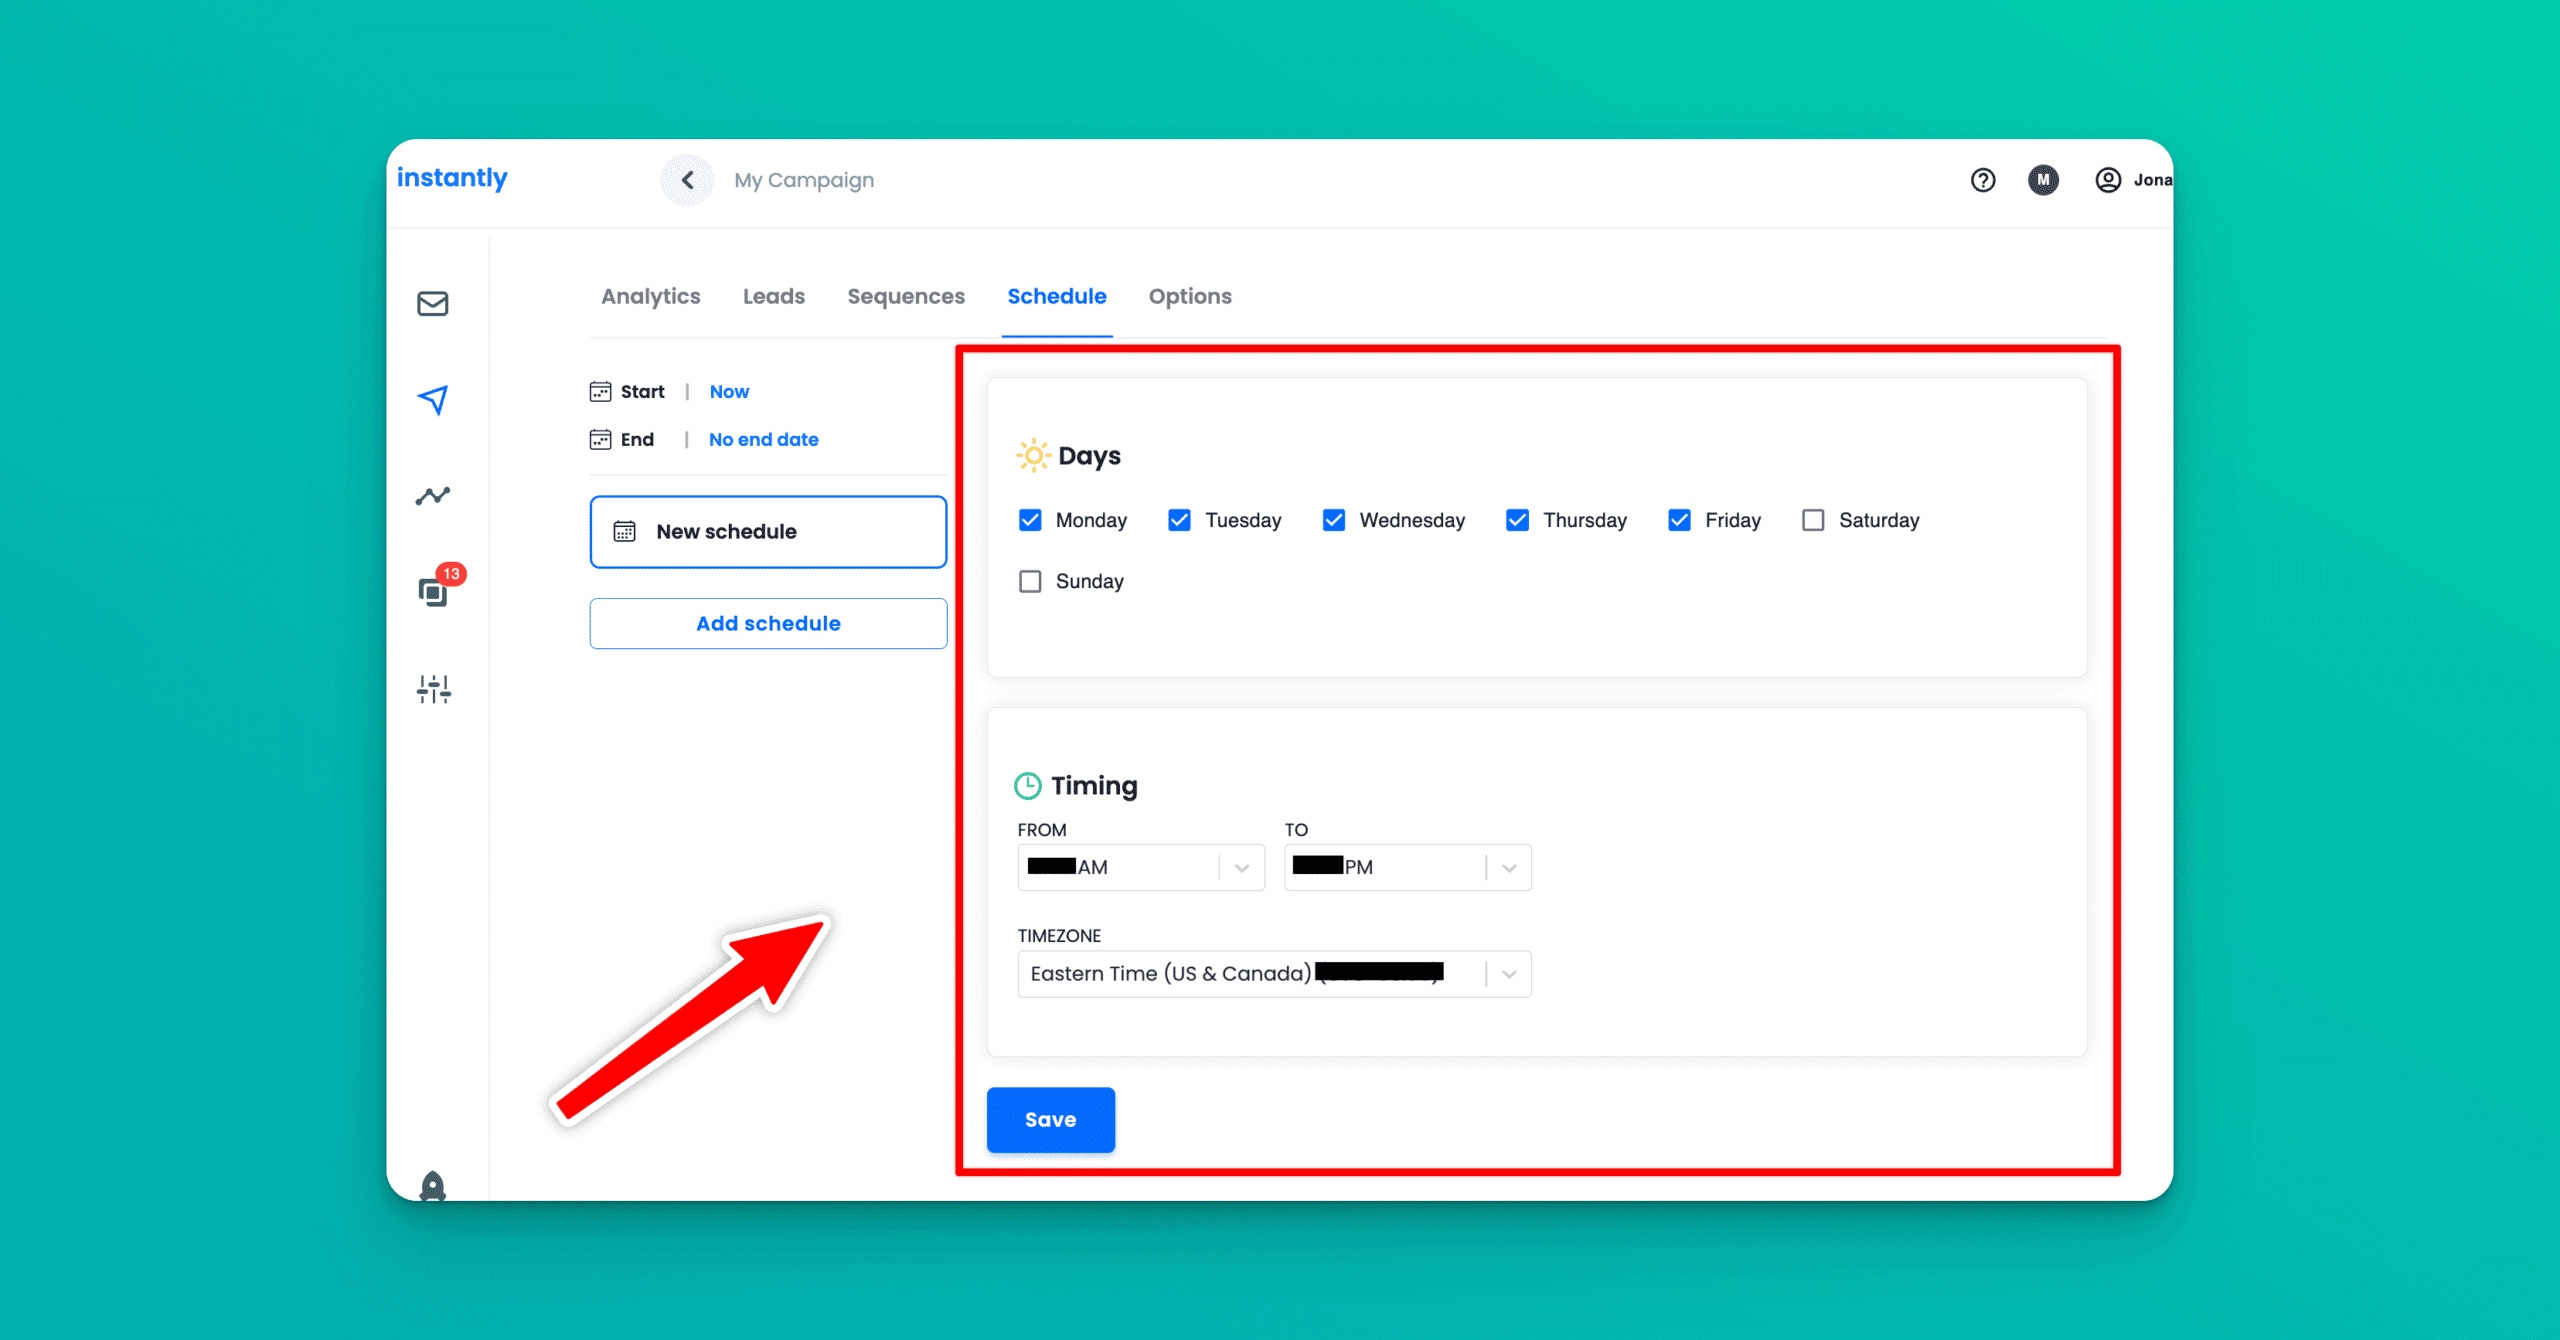
Step 7: Set Your Emailing Schedule
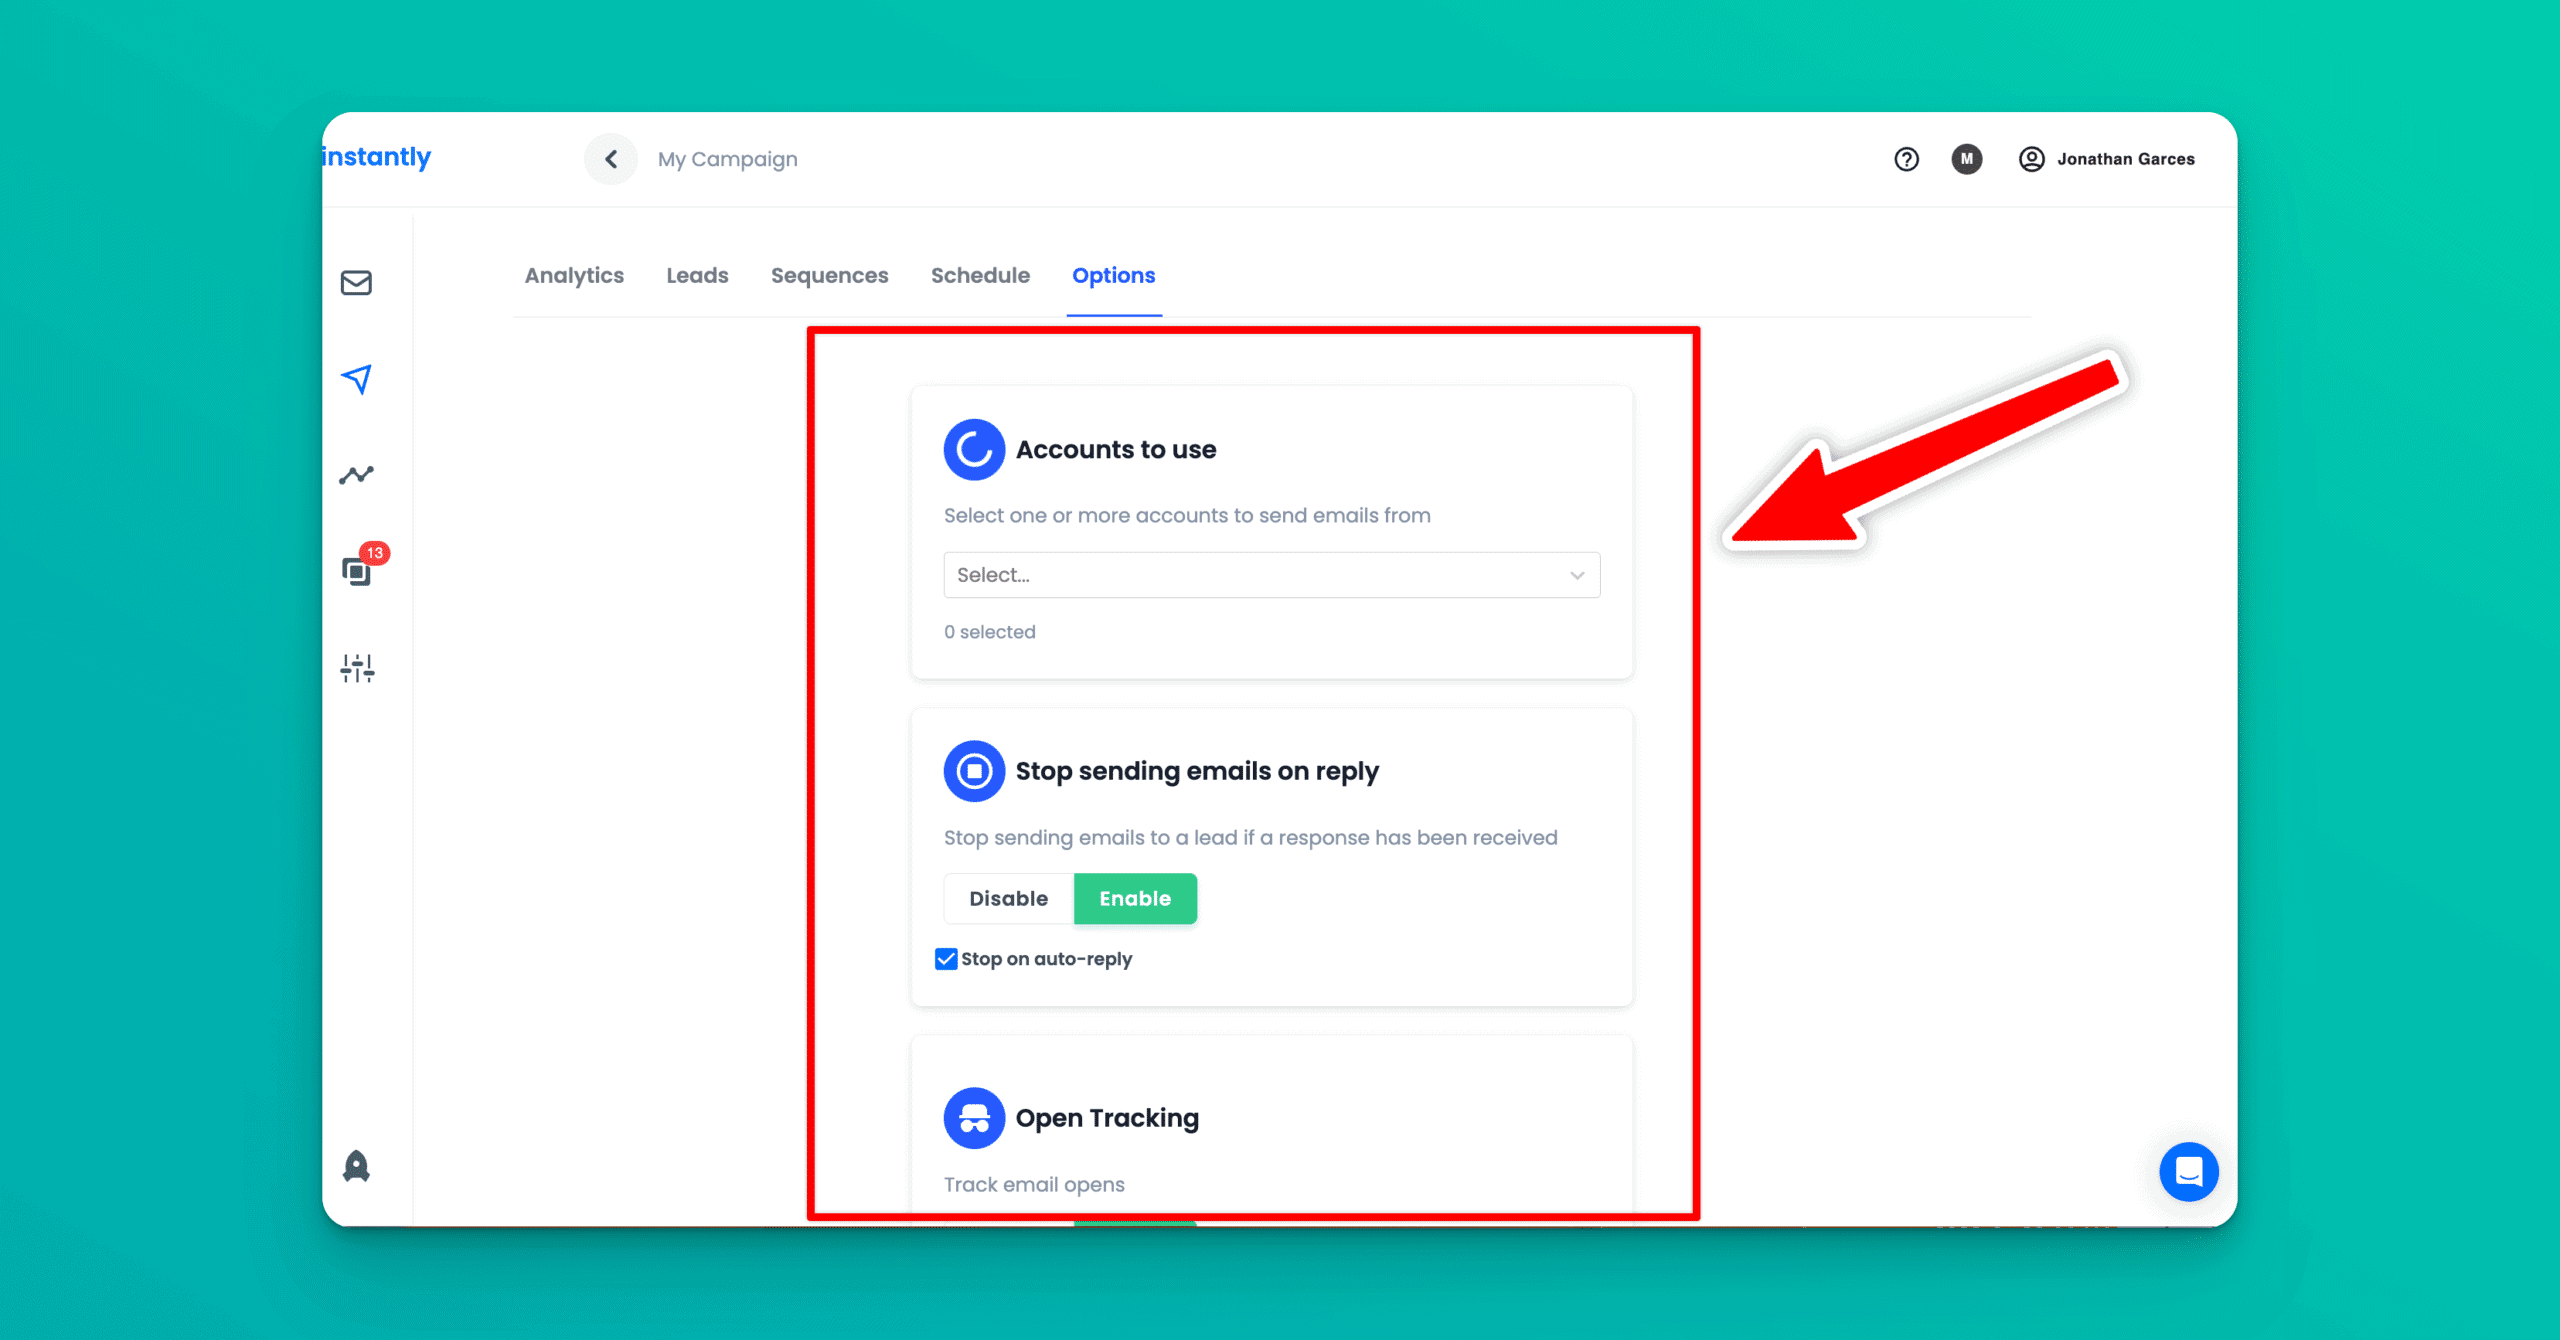
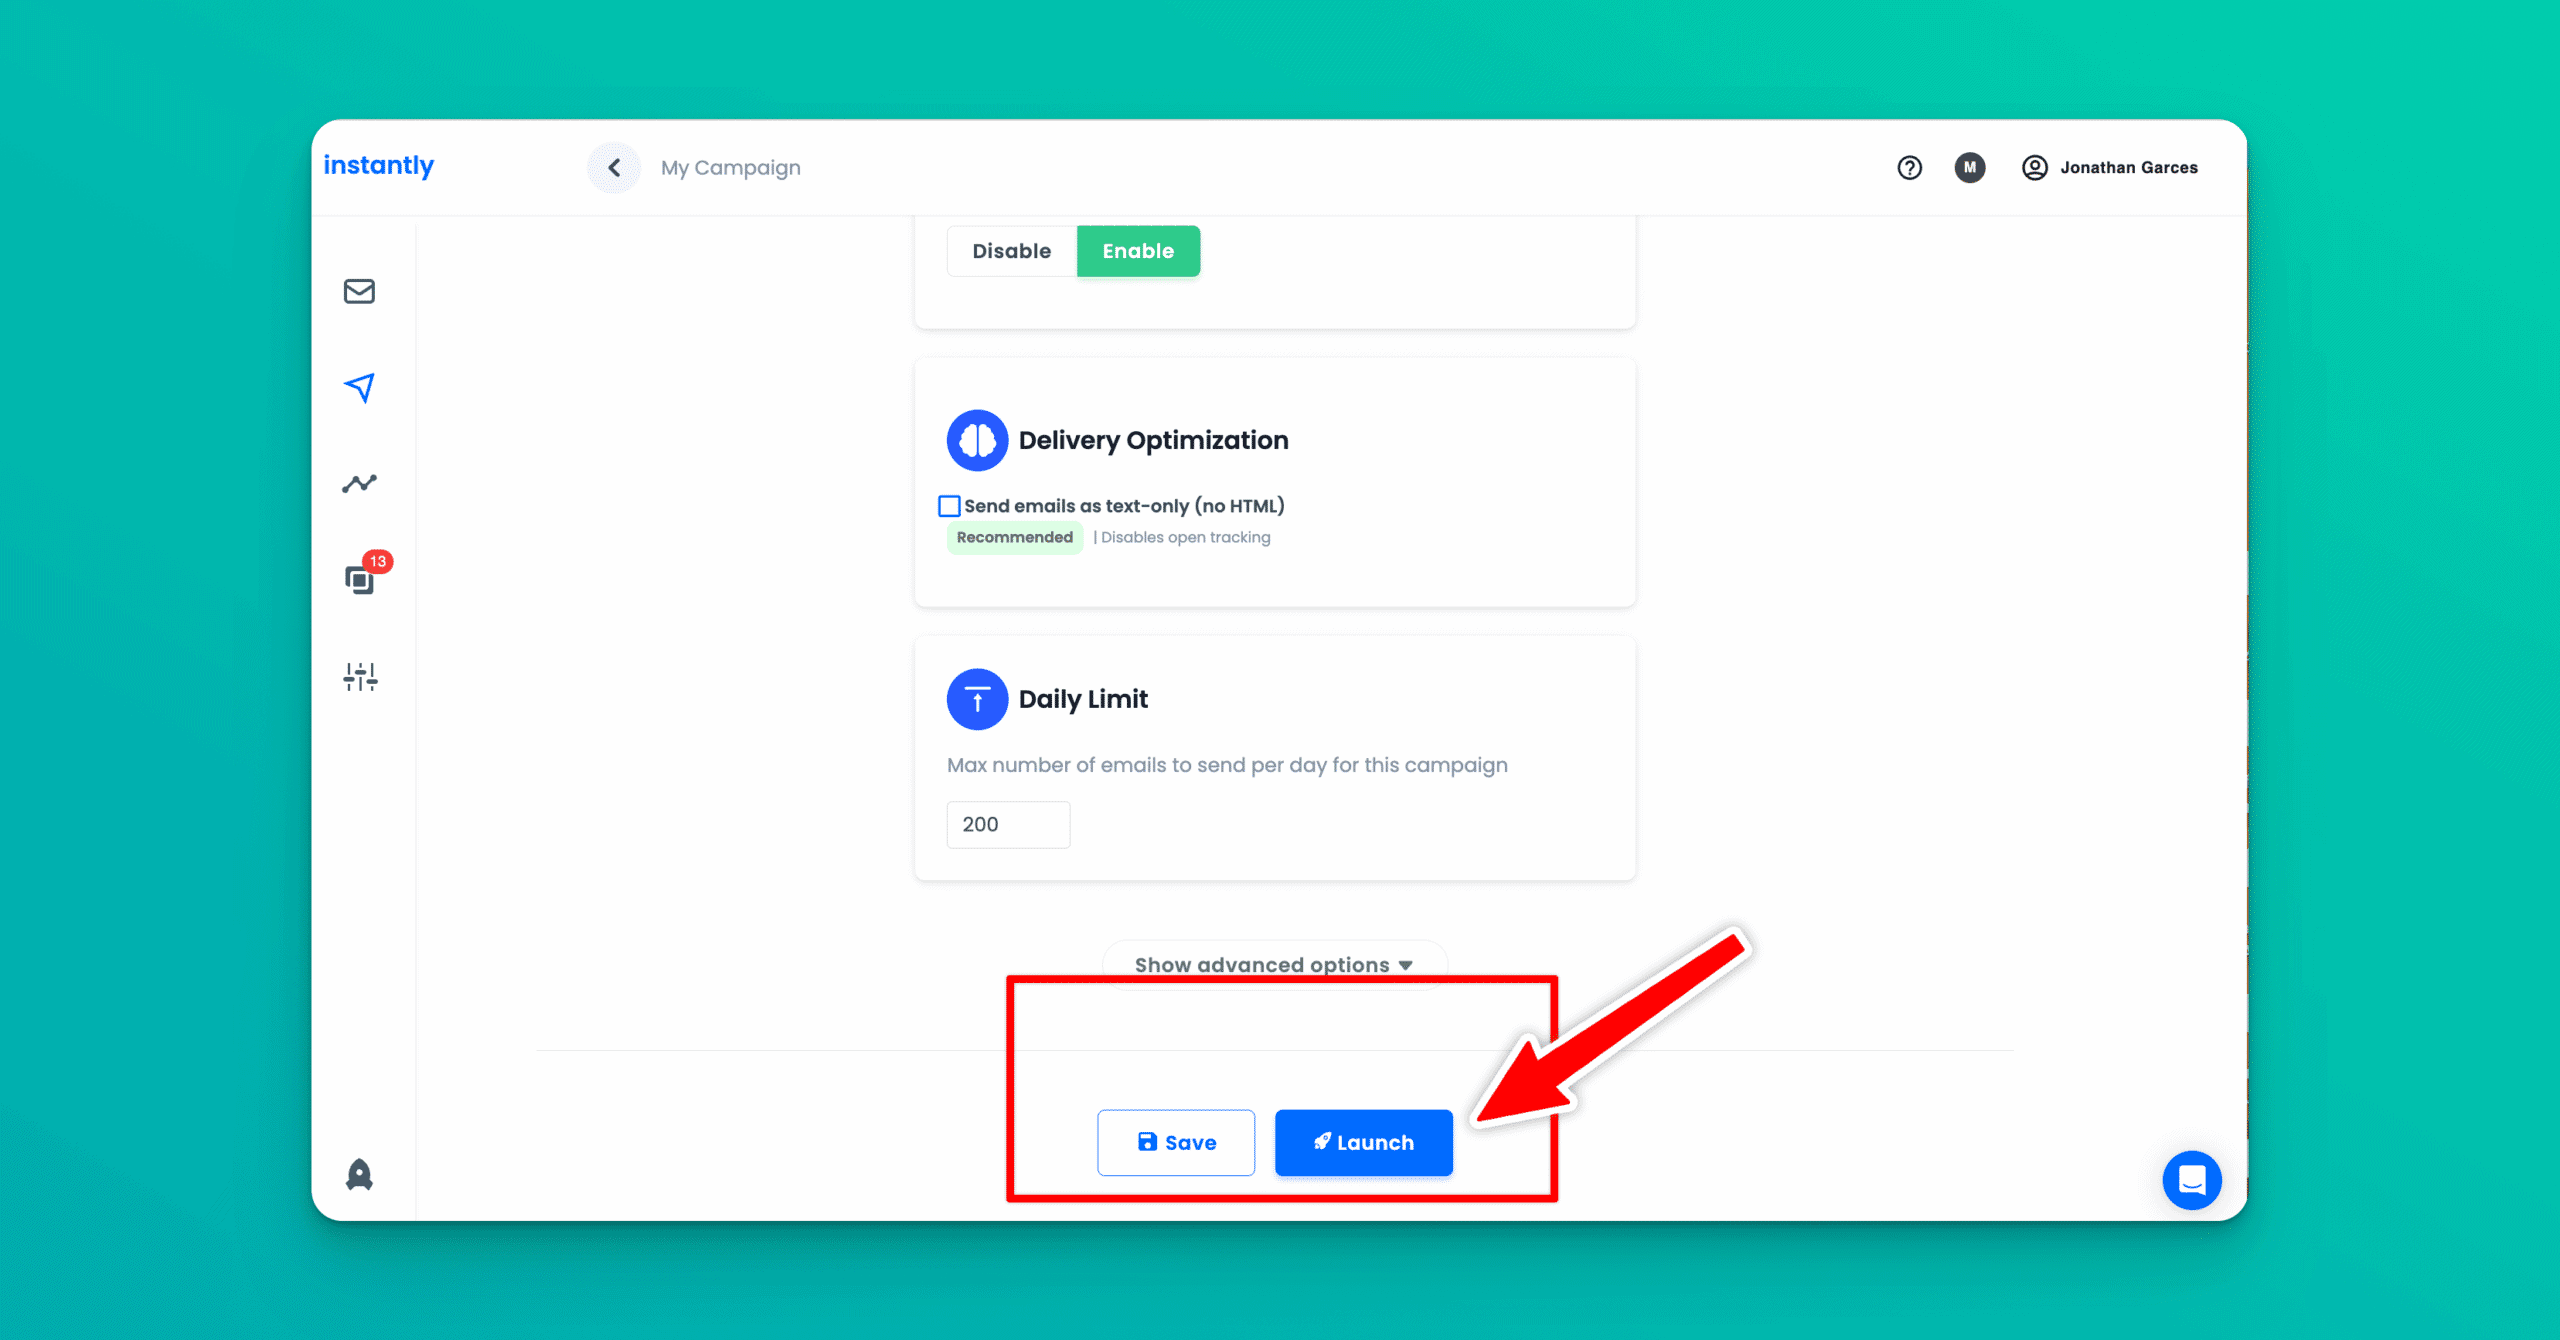
Step 8: Prepare to Launch your Campaign
Under “Accounts to use”, select all of the domains you want to send emails from.
Then under the daily limit, you can set the number of emails you want to send every day.
Step 9: Launch your campaign!
Click “Launch” and you’re ready to go!
For the current workflow, read our updated guide to launching email campaigns with Instantly.ai in 2026.
For campaign strategy, see how to book 10+ meetings a week with cold email using Instantly.
Final Thoughts
And that's it! Once you've done this – you'll have campaigns up and running. Just make sure to warm up your domain before sending anything so you don't risk getting sent to spam!
Of course email marketing is more than setting up campaigns – you also need to lead with great copy! Make sure to touch up on your messaging so your emails are creative, engaging, and ultimately prompt action when received.
Have any questions? Leave a comment below! Happy emailing!
Want to Learn Even More?
If you enjoyed this article, subscribe to our free newsletter where we share tips & tricks on how to use tech & AI to grow and optimize your business, career, and life.