Breakdance Builder – Getting Started Guide
Breakdance is one of the newest website builders, packed with features to create beautiful websites with ease. No expertise required - our guide will set you on the right path!
Christy Cañete
Updated October 1, 2023
Breakdance template
Reading Time: 7 minutes
Breakdance is a WordPress page builder designed for simplicity. It's been out for over a year now and has been growing like crazy. It's powerful, fast, and amazing.
Its drag-and-drop interface allows anyone - from small business owners to bloggers - to effortlessly design their websites. Want to learn more about the builder itself? We wrote a whole review about it.
But what I love the most about this newcomer is that it offers customizable templates. It also has its own Design Library, global styles, dynamic data, and conditions. Plus, it offers 120 components at your disposal
In this tutorial, I’m excited to share with you some of the basic features of Breakdance. I’ll guide you from creating a simple page to making your site mobile responsive. No expertise is required.
Let’s start!

Getting Started With Breakdance Builder
1) Set Up Your Staging Site
For best results, set up a local staging site for testing plugins.
A staging site is like a clone of your actual website. This helps prevent site breakdowns and ensures smooth functioning before going live. Local staging sites are free and only require installation on your computer. Some of the platforms I’d recommend are:
- WAMP Server (Windows only)
- XAMPP
- MAMP
- Local by Flywheel (Beginner-friendly)
If you're open to investing, Cloudways is a premium hosting option. Our review on Cloudways can provide more details.
2) Install and Activate Breakdance
Have the Breakdance theme zip file ready on your computer.
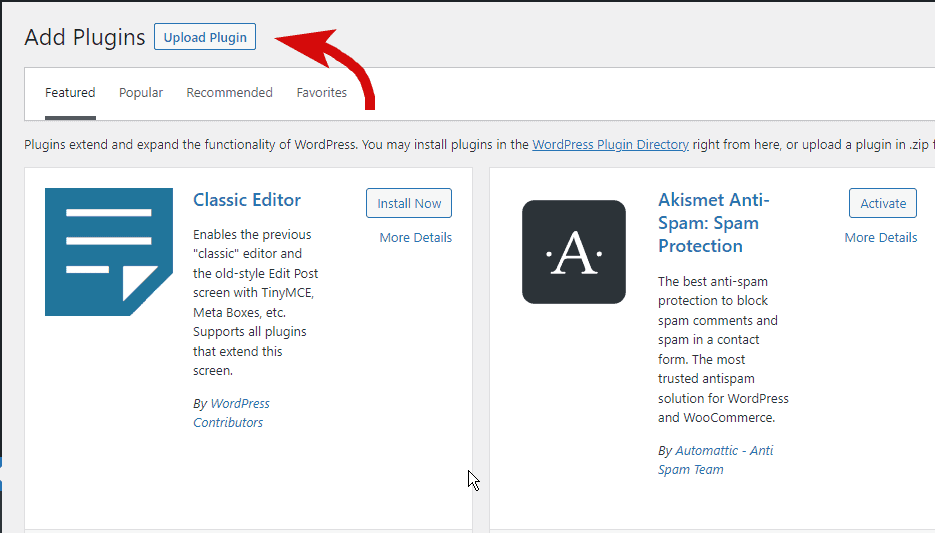
Then, go to Plugins > Add New on your WordPress dashboard.
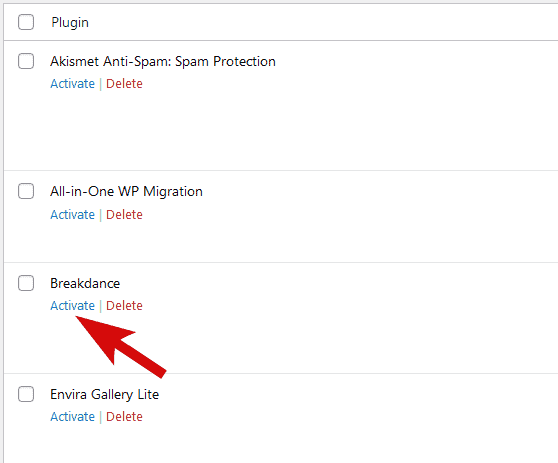
Click 'Upload Plugin', select the zip file, install, and then activate.
3) Create a New Page
For this tutorial, let’s try creating a new page. On the left side menu, click Pages > Add New.
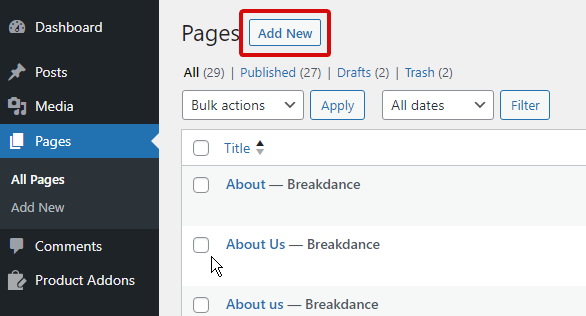
Enter a page title. Click save and choose to edit in Breakdance.

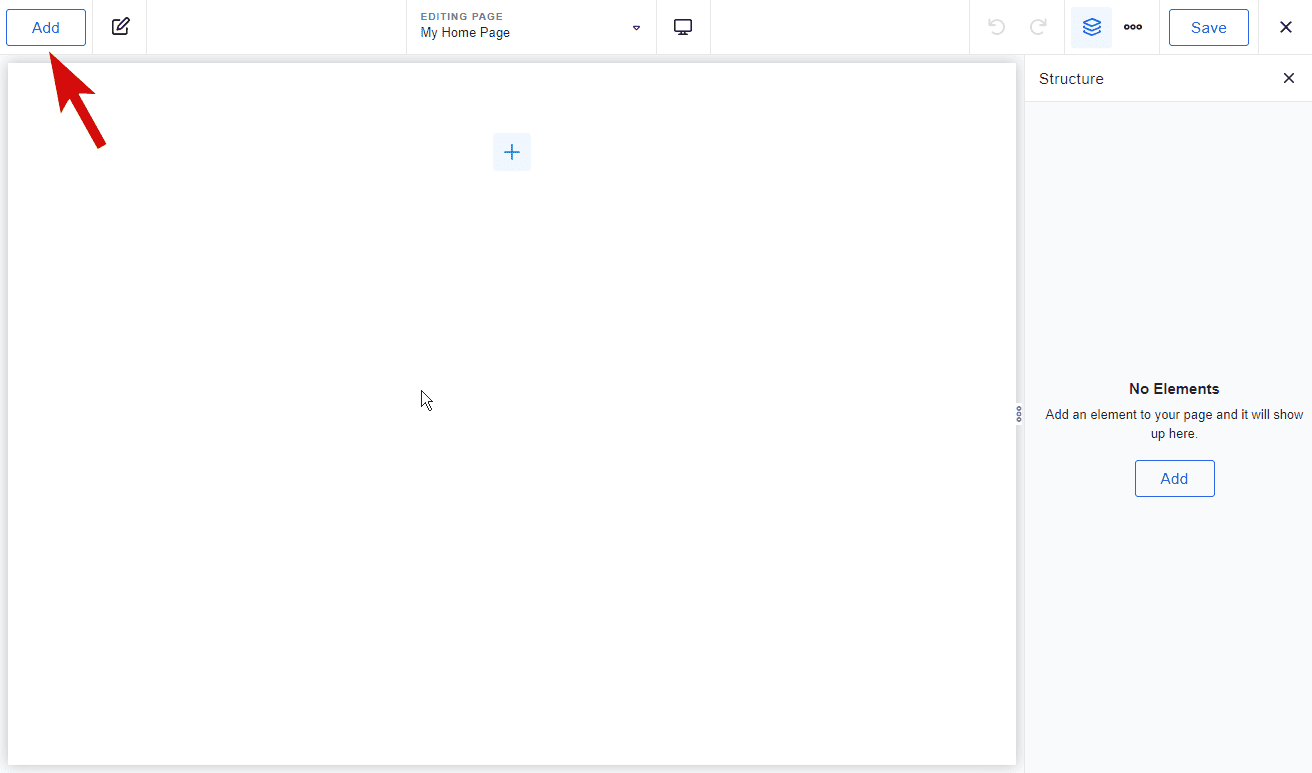
4) Familiarize the Interface
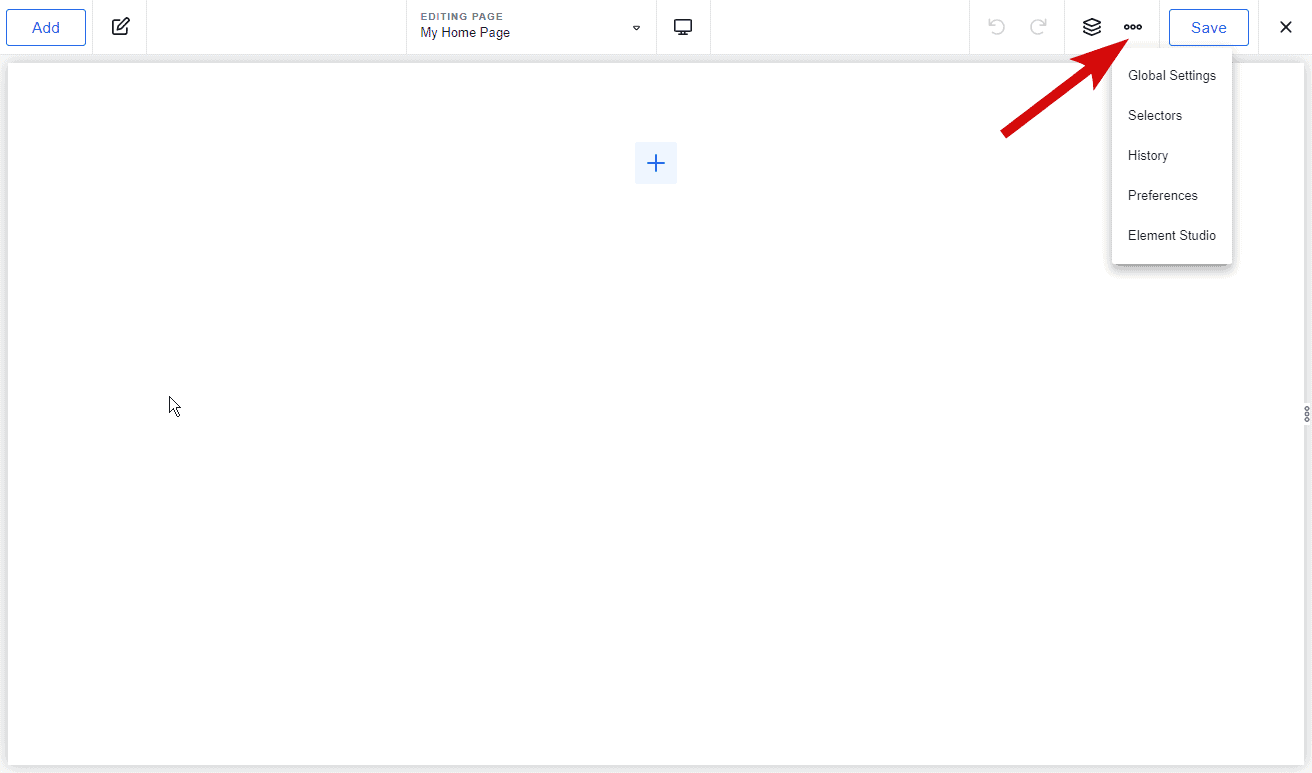
When you first open the Breakdance editor, you will see a menu on top of the page.
The three-dot icon on the top right accesses global settings. Here, you can uniformly set the typography, style, and layout.
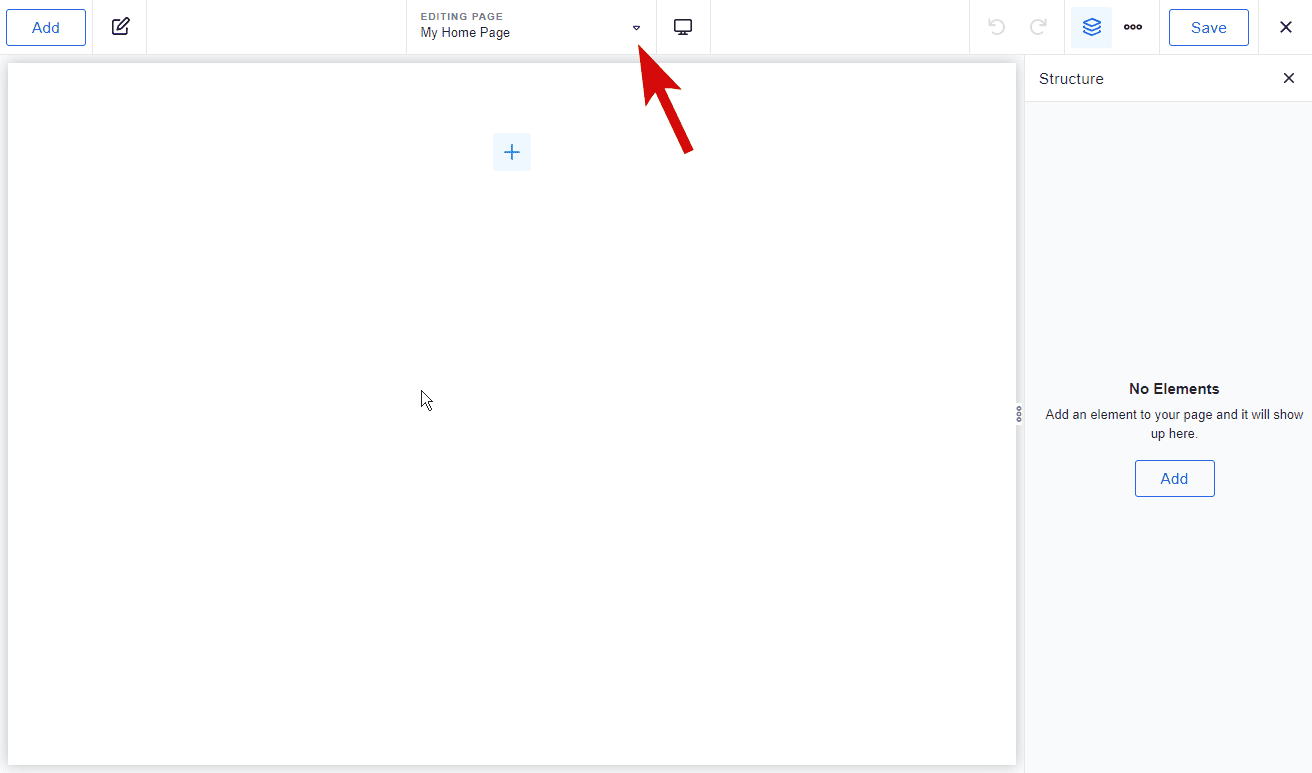
Beside it, another icon shows the layout structure. Here, you’ll have an overview of the hierarchy of your elements. This is important to ensure that each element is placed within the right container, as you will see in the next few minutes.

The center drop-down list lets you select pages or templates to edit.
On the top left, there's an option to modify an element, opening a side menu for styling and advanced settings.
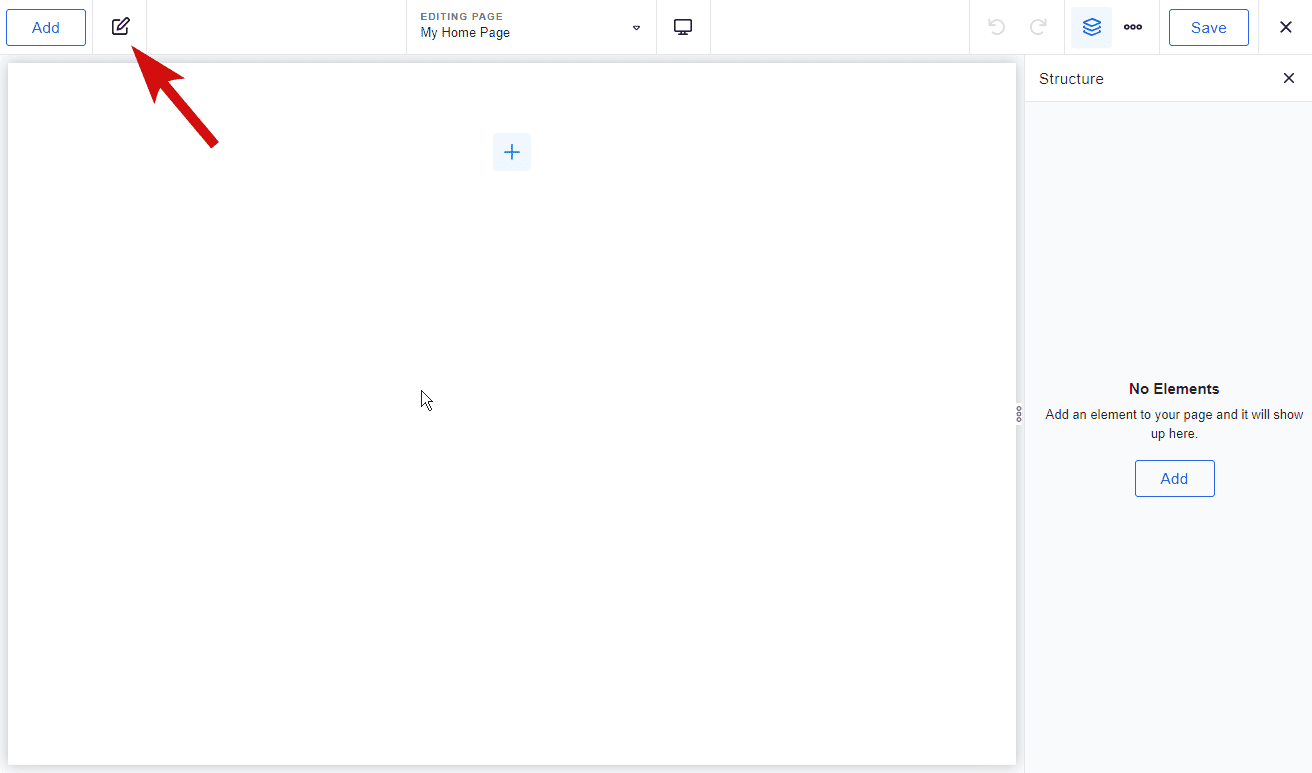
Lastly, the 'Add' button allows the insertion of various elements to your page. This includes Breakdance’s native elements as well as elements from third-party tools.
5) Drag and Drop Elements
Breakdance uses a drag-and-drop design to eliminate coding hassles.
Start your design by adding the 'Section' element. All other elements fit inside sections. If you bypass this step, Breakdance will automatically set up a section for you.
Everytime you add a new element, you simply search for them on the left side menu. Then, click and drag them to the center of your page.
To duplicate any element, go to the structure on the right, hover over the desired element, and tap the duplicate icon.
6) Add Grids, Columns, and Divs
Let’s try to create a section with three different images in a single row.
Start with a 'Grid' element. I find this easier to use because it adjusts width automatically, ensuring equal dimensions. Set the desired number of elements per row. In our example, three Divs are added.
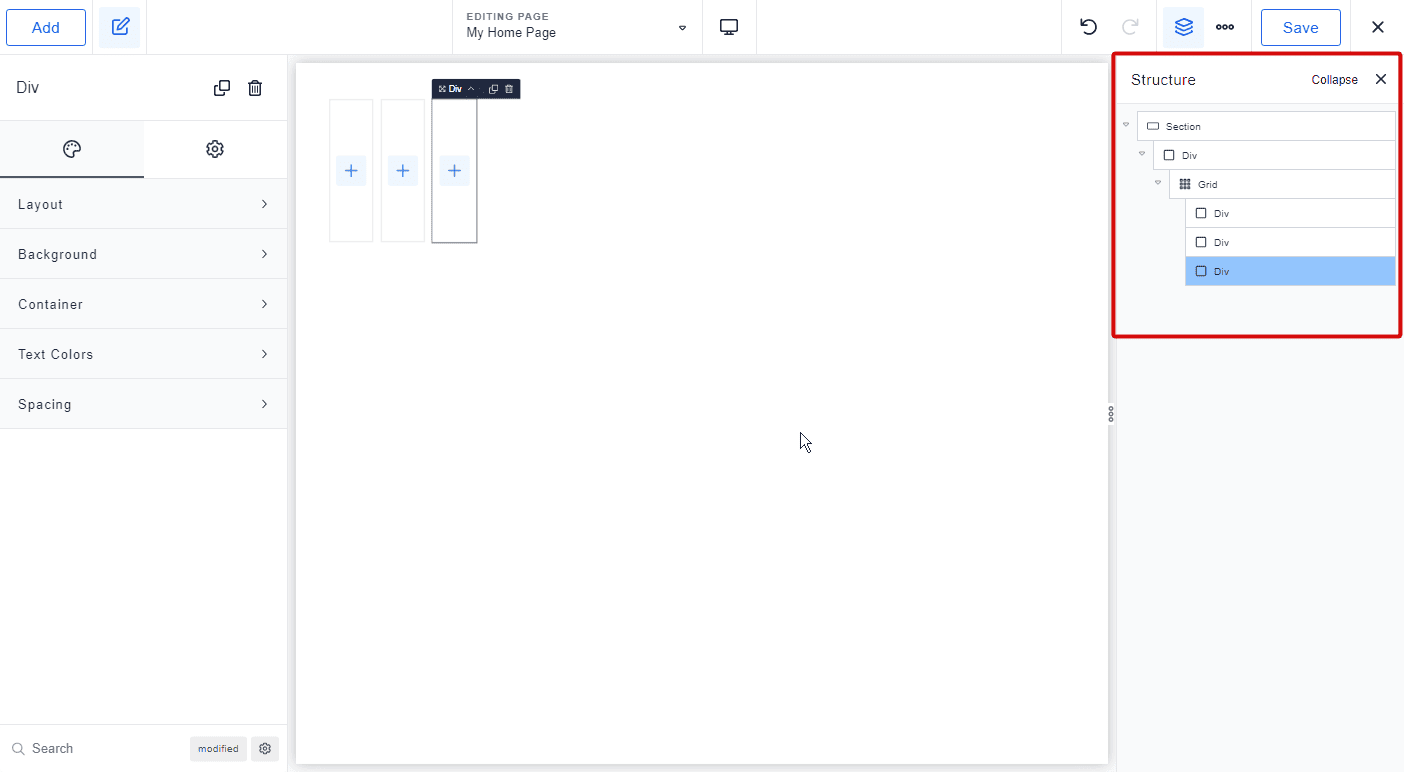
Note that you can also use a ‘Column’ element instead of Grid. Column allows you to control the width of each column.
But for me, in general, Grid offers more flexibility when adding multiple elements. Go ahead and experiment with these elements to know which is better.
7) Customize the Design
Inside each Div, I’ve added the ‘Image Hover Card’ element. This displays an image that reveals text upon hovering.
Adjust the image and style via the left-side menu.
8) Use a Template from the Breakdance Design Library
Templates save you time in designing web pages from scratch.
Breakdance offers professional-looking templates ready to use. All you need to do is import a template and modify it to your liking.
On your WordPress dashboard, go to Breakdance > Design Library. Here, you will see a preview of the different templates available.

Choose a template, click ‘import’ and then ‘Confirm Overwrite & Import.’ For this guide, we use the Agventure template.
Note that once you’ve imported a template, you might lose your previous template designs.
Once the import is complete, you can go to the Templates section and select a template you want to edit. Each template has a priority setting determining its display hierarchy. You can set this by clicking ‘settings’ just below the template name.
Let’s try to open the Single Post template. Below the template name, click ‘Edit in Breakdance.’
For the Agventure template, this is how your page should look like.
9) Install Third Party Tools
If you want to extend Breakdance’s capabilities, I highly recommend you try these third-party add-ons:
- Destiny Elements: Comes with unique elements for a wide range of design requirements.
- BD-dLibrary: Offers agnostic blocks you can easily copy and paste to set up a complete website in hours.
- Elements Hive: Offers cool animations and interactive visual effects to enhance user experience.
If you’re interested in learning more, read our guide about the best third-party plugins and extensions to use with Breakdance.
10) Ensure Your Page Is Mobile Responsive
Not all of your visitors use computers to view your website. Some might use tablets or mobile phones. If your page is not responsive, it might not look good when viewed on other devices.
Thankfully, Breakdance can automatically make pages mobile responsive. This simply means that certain parts of your page will behave differently on different screen sizes. In web design, developers refer to this as CSS breakpoints.

But you don’t need to add custom codes to make your website responsive. In Breakdance, simply toggle between desktop, tablet, and mobile views at the editor’s top. Then, adjust the layout and element size on the left side menu.
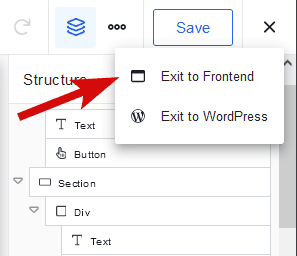
11) Save and Preview
Once you’re satisfied with the looks of your page, save the changes. For a quick preview, click 'Exit to Frontend' on the top right.
Here’s the final look of our simple web page.
What’s Next?
Breakdance is a powerful website builder that offers you a lot of options to cater to different design requirements. While it’s relatively new, I believe it offers almost everything you’ll need to develop a professional-looking website.
The user interface is intuitive, too! For me, it’s a great choice for anyone looking for a quick and easy solution, no matter what their expertise levels are.
If you’re seriously considering Breakdance in your next project, check out our Breakdance 101 beginner course. This in-depth course will guide you from the installation to the production stage so you won’t miss any important step.
Don’t forget to share your Breakdance journey in the comments below. I’d love to hear from you!
Want to Learn Even More?
If you enjoyed this article, subscribe to our free newsletter where we share tips & tricks on how to use tech & AI to grow and optimize your business, career, and life.